Spring Boot allows you to create multiple profiles (such as development, test, and production) so that different configurations can be applied for different environments. One common use case is disabling Spring Security in the development profile while keeping authentication enabled in production. This simplifies local development and testing without affecting application security in production.
- Use Spring Profiles to enable different security configurations.
- Keep security enabled in production while disabling it during development.
- Avoid modifying application code when switching environments.
How it Works?
The application contains two security configurations:
- Production Security Configuration: (!development) secures all endpoints and requires authentication.
- Development Security Configuration: (development) allows all requests without authentication.
By changing the active profile, Spring Boot automatically loads the appropriate configuration.
Key Terminologies:
- Spring Profile: Allows different configurations (such as development, test, and production) to be loaded based on the active environment.
- Security Configuration: Defines the authentication and authorization rules for the application.
- @Profile Annotation: Activates a configuration class only when the specified profile is active.
- Development Profile: Typically used during local development to disable or relax security for easier testing.
Steps to Disable Security for a Profile in Spring Boot
We will develop a simple Spring application that demonstrate disable the security of the development profile of the Spring application.
Step 1: Create a Spring Boot Project
Create a new Spring Boot project using Spring Initializr.
Add the following dependencies:
- Spring Web
- Spring Security
- Spring Boot DevTools
- Lombok
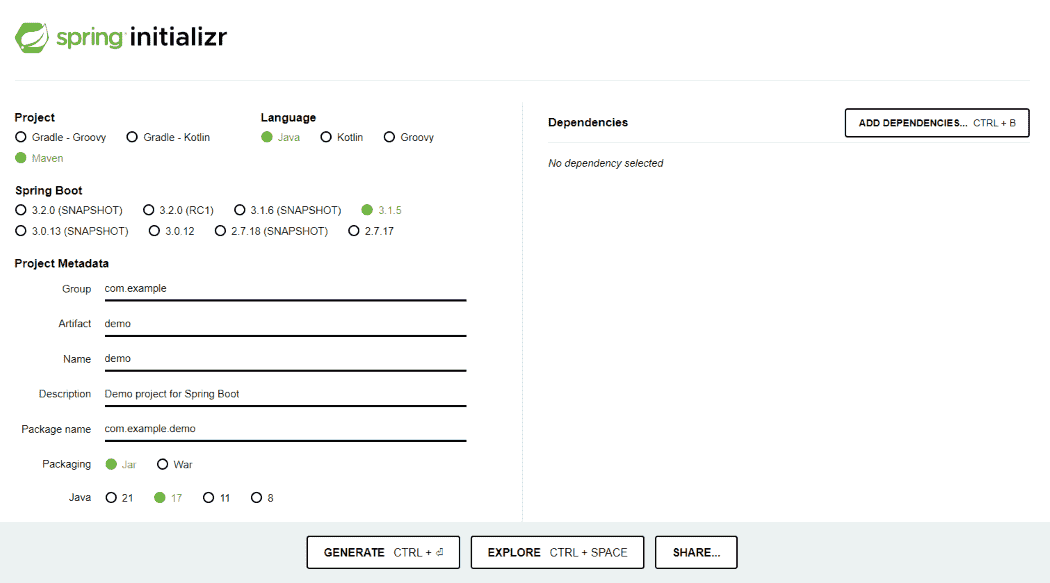
Generate the project and run it in IntelliJ IDEA by referring to the above article.
Step 2: Verify the pom.xml File
After project creation, verify that the required dependencies are present in your pom.xml file.
<?xml version="1.0" encoding="UTF-8"?>
<project xmlns="https://maven.apache.org/POM/4.0.0" xmlns:xsi="https://www.w3.org/2001/XMLSchema-instance"
         xsi:schemaLocation="https://maven.apache.org/POM/4.0.0 https://maven.apache.org/xsd/maven-4.0.0.xsd">
    <modelVersion>4.0.0</modelVersion>
    <parent>
        <groupId>org.springframework.boot</groupId>
        <artifactId>spring-boot-starter-parent</artifactId>
        <version>3.2.4</version>
        <relativePath/> <!-- lookup parent from repository -->
    </parent>
    <groupId>org.example</groupId>
    <artifactId>spring-disable-security-demo</artifactId>
    <version>0.0.1-SNAPSHOT</version>
    <name>spring-disable-security-demo</name>
    <description>spring-disable-security-demo</description>
    <properties>
        <java.version>17</java.version>
    </properties>
    <dependencies>
        <dependency>
            <groupId>org.springframework.boot</groupId>
            <artifactId>spring-boot-starter-security</artifactId>
        </dependency>
        <dependency>
            <groupId>org.springframework.boot</groupId>
            <artifactId>spring-boot-starter-web</artifactId>
        </dependency>

        <dependency>
            <groupId>org.springframework.boot</groupId>
            <artifactId>spring-boot-devtools</artifactId>
            <scope>runtime</scope>
            <optional>true</optional>
        </dependency>
        <dependency>
            <groupId>org.projectlombok</groupId>
            <artifactId>lombok</artifactId>
            <optional>true</optional>
        </dependency>
        <dependency>
            <groupId>org.springframework.boot</groupId>
            <artifactId>spring-boot-starter-test</artifactId>
            <scope>test</scope>
        </dependency>
        <dependency>
            <groupId>org.springframework.security</groupId>
            <artifactId>spring-security-test</artifactId>
            <scope>test</scope>
        </dependency>
    </dependencies>

    <build>
        <plugins>
            <plugin>
                <groupId>org.springframework.boot</groupId>
                <artifactId>spring-boot-maven-plugin</artifactId>
                <configuration>
                    <excludes>
                        <exclude>
                            <groupId>org.projectlombok</groupId>
                            <artifactId>lombok</artifactId>
                        </exclude>
                    </excludes>
                </configuration>
            </plugin>
        </plugins>
    </build>

</project>
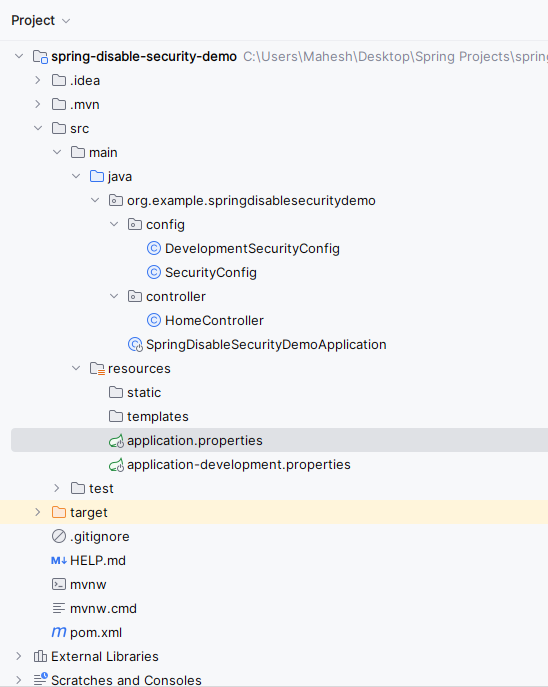
Below we can see the project folder structure after successfully creation of the project.
Step 3: Configure the Default Application Properties
Open application.properties and configure the application name, server port, default credentials, and active profile.
spring.application.name=spring-disable-security-demo
server.port=8081
spring.security.user.name=admin
spring.security.user.password=admin
spring.profiles.active=development
Step 4: Configure Development Profile Properties
Create application-development.properties. This file contains settings that are only applied when the development profile is active.
server.port= 8082
Step 5: Create Production Security Configuration
This configuration is active for every profile except development. It secures all endpoints and requires user authentication.
package org.example.springdisablesecuritydemo.config;

import org.springframework.context.annotation.Configuration;
import org.springframework.context.annotation.Profile;
import org.springframework.security.config.annotation.web.builders.HttpSecurity;
import org.springframework.security.config.annotation.web.configuration.EnableWebSecurity;

@Configuration
@Profile("!development")
@EnableWebSecurity
public class SecurityConfig {

    protected void configure(HttpSecurity http) throws Exception {
        http
                .authorizeRequests()
                .anyRequest().authenticated()
                .and()
                .formLogin()
                .loginPage("/login")
                .permitAll()
                .and()
                .logout()
                .permitAll();
    }
}
Step 6: Create the Development Security Configuration
This configuration is loaded only for the development profile. It permits all requests and disables CSRF, allowing unrestricted access during development.
package org.example.springdisablesecuritydemo.config;

import org.springframework.context.annotation.Configuration;
import org.springframework.context.annotation.Profile;
import org.springframework.security.config.annotation.web.builders.HttpSecurity;
import org.springframework.security.config.annotation.web.configuration.EnableWebSecurity;

@Configuration
@Profile("development")
public class DevelopmentSecurityConfig {

    protected void configure(HttpSecurity http) throws Exception {
        http.authorizeRequests()
                .anyRequest().permitAll()
                .and().csrf().disable();
    }
}
Step 7: Create the REST Controller
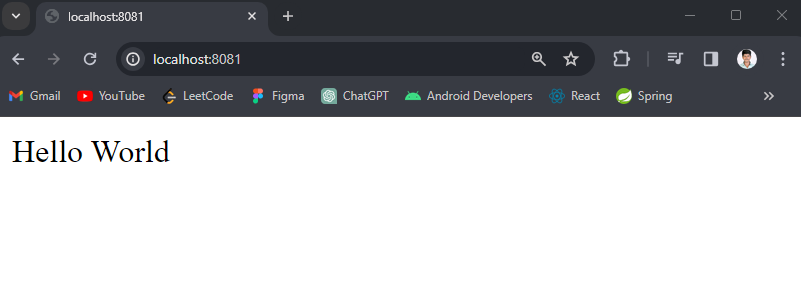
This controller exposes a simple REST endpoint that returns "Hello World", allowing us to verify whether security is enabled or disabled.
package org.example.springdisablesecuritydemo.controller;

import org.springframework.web.bind.annotation.GetMapping;
import org.springframework.web.bind.annotation.RestController;

@RestController
public class HomeController {

    @GetMapping("/")
    public String hello() {
        return "Hello World";
    }
}
Step 8: Create the Main Class
Create the main Spring Boot application class.
package org.example.springdisablesecuritydemo;

import org.springframework.boot.SpringApplication;
import org.springframework.boot.autoconfigure.SpringBootApplication;

@SpringBootApplication
public class SpringDisableSecurityDemoApplication {

    public static void main(String[] args) {
        SpringApplication.run(SpringDisableSecurityDemoApplication.class, args);
    }
}
Step 9: Run the Application with Security Enabled
- Right Click Project
- Run 'SpringDisableSecurityDemoApplication'
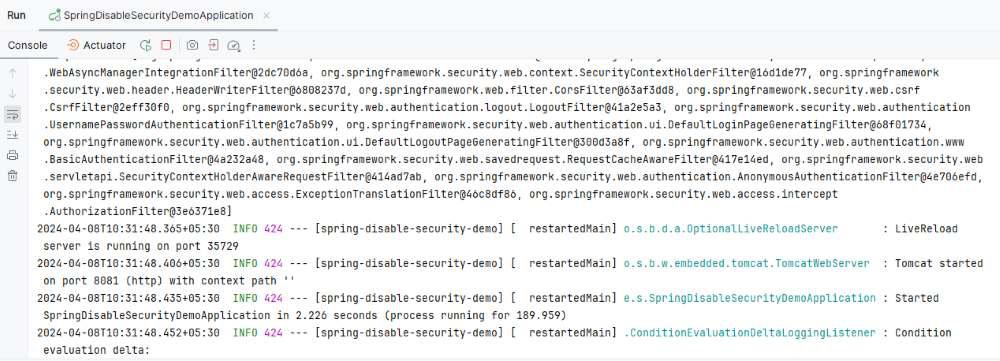
After successfully completion of the spring project, run it as spring application and once it runs successfully, it starts at port 8081.
Endpoint API:
GET http:localhost:8081/
Output:
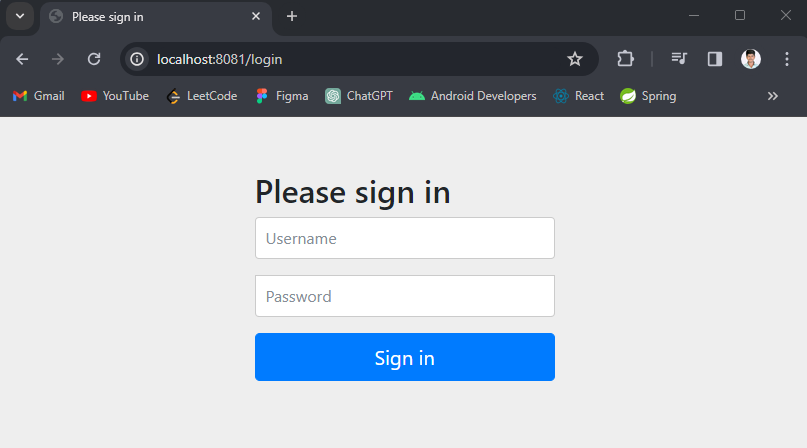
Once sign in done, then the output will be like below image:
Step 10: Enable the Development Profile
Activating the development profile instructs Spring Boot to load the development-specific security configuration.
spring.application.name=spring-disable-security-demo
server.port= 8081
spring.security.user.name=admin
spring.security.user.password=admin
spring.profiles.active=development
Step 11: Re-run the Application
- Restart the application.
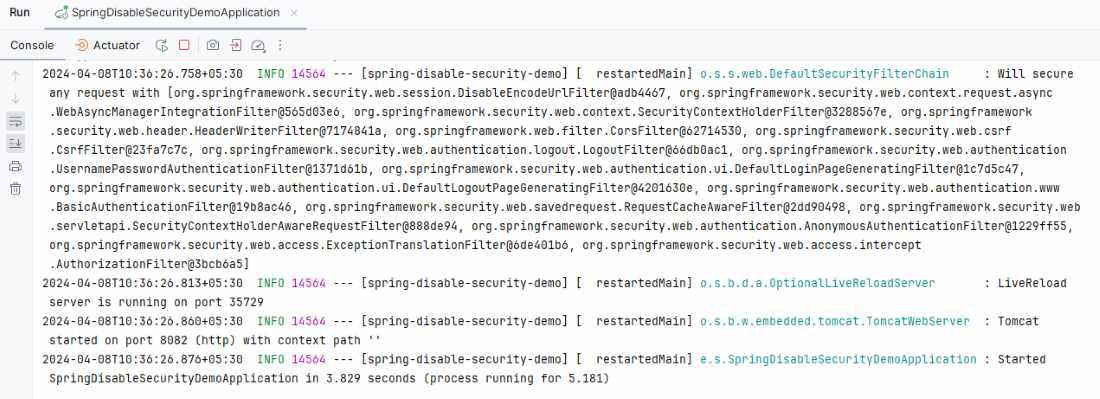
- The application now starts on port 8082.
API Endpoint:
GET http://localhost:8082/
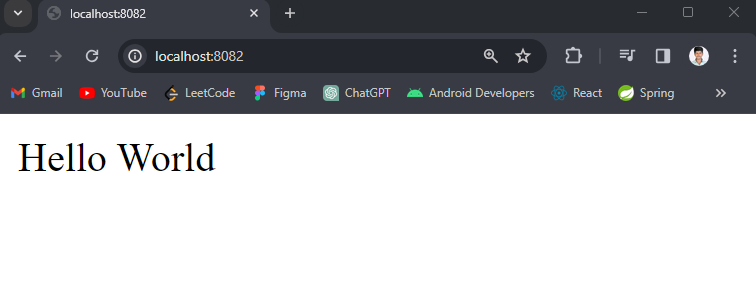
Output:
Since the development profile is active, Spring Boot loads DevelopmentSecurityConfig, allowing unrestricted access to all endpoints.