

Metasploitable 2 is a deliberately vulnerable Linux virtual machine created for penetration testing and cybersecurity training. It contains multiple known security flaws that allow security professionals and students to practice vulnerability assessment and exploitation in a safe environment. Since the machine is intentionally insecure, it should only be deployed in an isolated lab network and never be connected to the public internet.
System Requirements
Before installing Metasploitable 2, ensure your system meets the following requirements:
- 64-bit Windows, Linux, or macOS host operating system.
- Oracle VirtualBox or VMware Workstation installed.
- At least 2 GB RAM available for the virtual machine.
- Minimum 10 GB free disk space.
- Internet connection for downloading the VM image.
Download Metasploitable 2
Metasploitable 2 is distributed as a pre-configured virtual machine instead of an ISO installer. Download the compressed virtual machine package from the official Rapid7 GitHub repository.
Link: https://sourceforge.net/projects/metasploitable/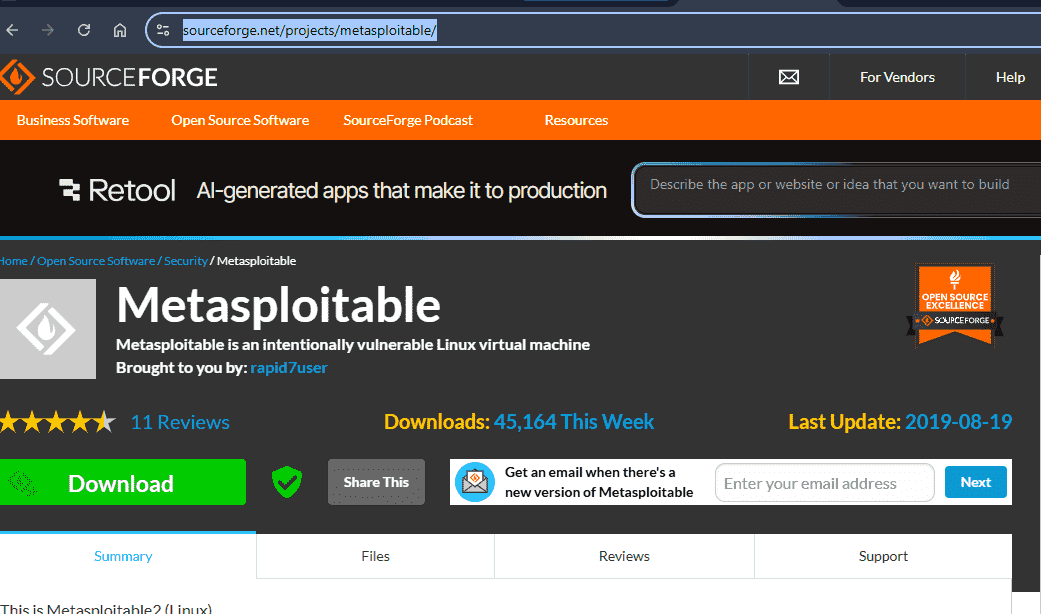
After downloading, extract the ZIP archive. The extracted folder typically contains:
- .vmdk virtual hard disk.
- .vmx configuration file (VMware).
- Supporting virtual machine files.
Installing Metasploitable 2 in VirtualBox
Since Metasploitable 2 is originally built for VMware, VirtualBox imports the virtual hard disk instead of using the VMX configuration.
Step 1: Open VirtualBox
Launch Oracle VirtualBox and click New to create a virtual machine.
Step 2: Configure the Virtual Machine
Provide the following settings.
| Setting | Value |
|---|---|
| Name | Metasploitable2 |
| Type | Linux |
| Version | Ubuntu (32-bit) |
| Memory | 512 MB–1 GB |
Step 3: Attach Existing Virtual Disk
Choose Use an Existing Virtual Hard Disk and Browse and select the extracted Metasploitable.vmdk file. Click Finish.
Step 4: Configure Network Adapter
Open Settings(Network). Choose one of the following:
- Host-Only Adapter (recommended for isolated labs).
- Internal Network.
- NAT (only if internet access is required).
Note: Avoid using Bridged Adapter because it exposes the vulnerable machine to your local network.
Step 5: Start the Virtual Machine
Click Start. Linux boots automatically and displays the login prompt.
Step 6: Login
Use the default credentials:
Username: msfadmin
Password: msfadmin
Successful login indicates that the installation is complete.
Verify the Installation
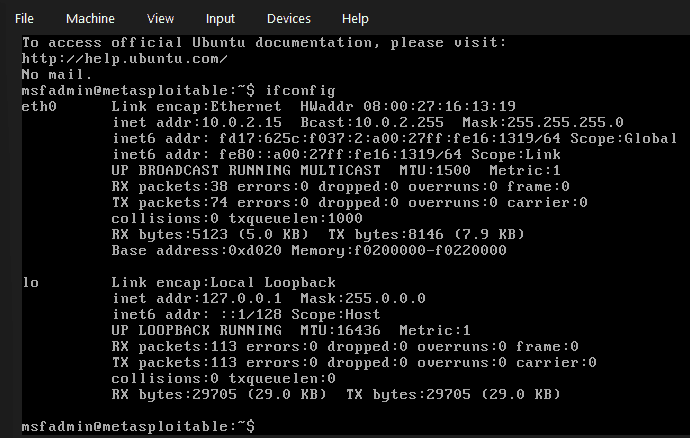
After logging in, verify that the operating system is functioning correctly.
Check the IP address
ifconfig or ip addrThe assigned IP address will be used later for vulnerability scanning using tools such as Nmap or Metasploit Framework.
Basic Post-Installation Checks
Perform a few quick checks before beginning security testing.
Verify network connectivity
ping <Your_Attacker_IP>Check running services
netstat -tulnpDisplay system information
uname -aCommon Installation Issues
| Problem | Solution |
|---|---|
| VM does not boot | Verify that the VMDK file is attached correctly. |
| No network connectivity | Check the selected network adapter mode. |
| Login failure | Use the default username and password: msfadmin. |
| Black screen during startup | Increase RAM to at least 512 MB and restart the VM. |
| Virtualization error | Enable Intel VT-x or AMD-V in BIOS/UEFI settings. |
Security Best Practices
Although Metasploitable 2 is designed for learning, proper isolation is essential.
- Use Host-Only or Internal Network for the virtual machine.
- Never expose Metasploitable 2 to the public internet.
- Snapshot the VM before performing exploitation exercises.
- Use the machine only inside a controlled penetration testing lab.
- Restore snapshots after completing experiments to return to a clean state.
