Django REST Framework (DRF) allows passing context from a ViewSet to a Serializer. This context is a dictionary that carries extra information the serializer may need.
- Helps validate or serialize fields based on user permissions.
- Can include request-specific data such as IP address or headers.
- Allows customizing serializer behavior without tying it directly to the view.
- Supports cleaner and more flexible handling of dynamic data.
Passing the active request into serializer context in a ViewSet
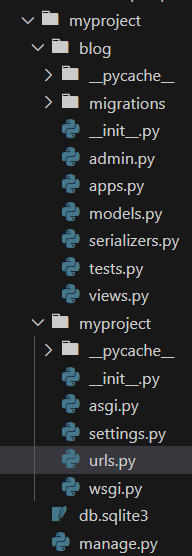
Consider a project called 'myproject' with an app named 'blog':
Update settings.py
Add the app and rest framework to our "INSTALLED_APPS" in settings.py
INSTALLED_APPS = [
    # ...
    'rest_framework',
    'blog',
  	# Add this for token authentication
    'rest_framework.authtoken',
]
Set Up Token Authentication
To enable token authentication, we need to configure DRF. Add the following settings in settings.py:
# ...

REST_FRAMEWORK = {
    'DEFAULT_AUTHENTICATION_CLASSES': [
        'rest_framework.authentication.TokenAuthentication',
        'rest_framework.authentication.SessionAuthentication',
    ],
}
Create the Post Model
In blog/models.py, define a simple Post model:
from django.db import models
from django.contrib.auth.models import User

class Post(models.Model):
    title = models.CharField(max_length=100)
    content = models.TextField()
    author = models.ForeignKey(User, on_delete=models.CASCADE)

    def __str__(self):
        return self.title
Run the migrations to create the database table:
python manage.py makemigrations
python manage.py migrate
Create a Serializer
In blog/serializers.py, create a serializer for the Post model. To utilize the request object inside the serializer, simply access it via self.context. We to pass any additional context we may need, including the request object, user, or custom parameters.
from rest_framework import serializers
from .models import Post

class PostSerializer(serializers.ModelSerializer):
    class Meta:
        model = Post
        fields = ['id', 'title', 'content']

    def save(self, *args, **kwargs):
        request = self.context.get('request')
        if request and request.user:
          	self.author = request.user
        return super().save(*args, **Kwargs)
1. Using the context Parameter in the ViewSet
This PostViewSet handles CRUD operations for the Post model, using PostSerializer and restricting access to authenticated users with IsAuthenticated. The get_serializer method is overridden to explicitly pass the request context (self.request) to the serializer via the context argument.
from rest_framework import viewsets
from .models import Post
from .serializers import PostSerializer
from rest_framework.permissions import IsAuthenticated

class PostViewSet(viewsets.ModelViewSet):
    queryset = Post.objects.all()
    serializer_class = PostSerializer
    permission_classes = [IsAuthenticated]

    def get_serializer(self, *args, **kwargs):
        # Pass the request context explicitly when instantiating the serializer
        kwargs['context'] = {'request': self.request}
        return super().get_serializer(*args, **kwargs)
2. Overriding get_serializer_context() in the ViewSet
This PostViewSet provides CRUD operations for the Post model, restricted to authenticated users with IsAuthenticated permission. It uses the PostSerializer and passes the request context to the serializer by overriding get_serializer_context(). This allows the serializer to access the request data.
from rest_framework import viewsets
from .models import Post
from .serializers import PostSerializer
from rest_framework.permissions import IsAuthenticated

class PostViewSet(viewsets.ModelViewSet):
    queryset = Post.objects.all()
    serializer_class = PostSerializer
    permission_classes = [IsAuthenticated]

    def get_serializer_context(self):
        context = super().get_serializer_context()
        # Add request context
        context['request'] = self.request
        return context
Set Up URLs
In blog/urls.py, set up the URLs for the ViewSet:
from django.contrib import admin
from django.urls import path, include
from rest_framework.routers import DefaultRouter
from blog.views import PostViewSet

router = DefaultRouter()
router.register(r'posts', PostViewSet)

urlpatterns = [
    path('admin/', admin.site.urls),
    path('', include(router.urls)),
]
Create Token Authentication for Users
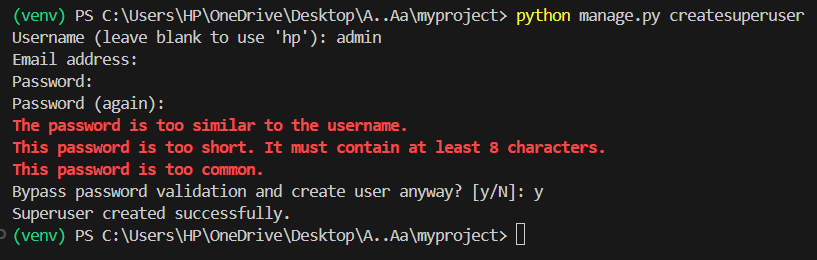
To use token authentication, we'll need to create tokens for users. We can do this using the Django shell. First, create a superuser:
python manage.py createsuperuser
Then, enter the shell:
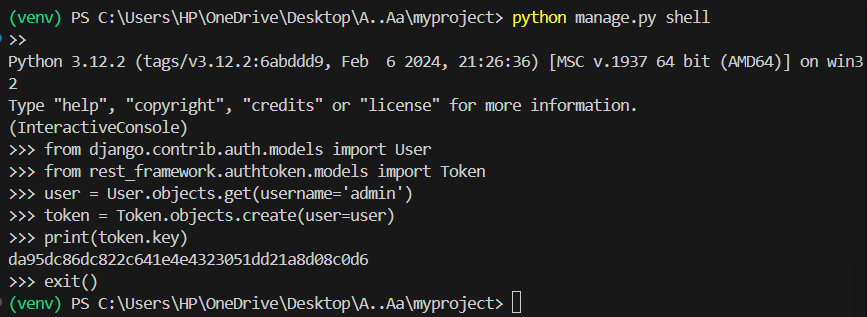
python manage.py shell
Inside the shell, create a token for the superuser:
from django.contrib.auth.models import User
from rest_framework.authtoken.models import Token

user = User.objects.get(username='your_username')
token = Token.objects.create(user=user)
print(token.key)
Run the Server
python manage.py runserver
Create a Post
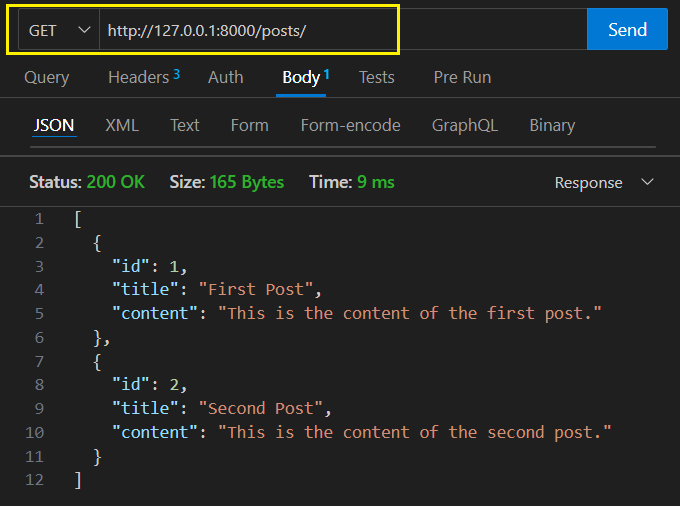
Use a GET request to "http://127.0.0.1:8000/posts/"
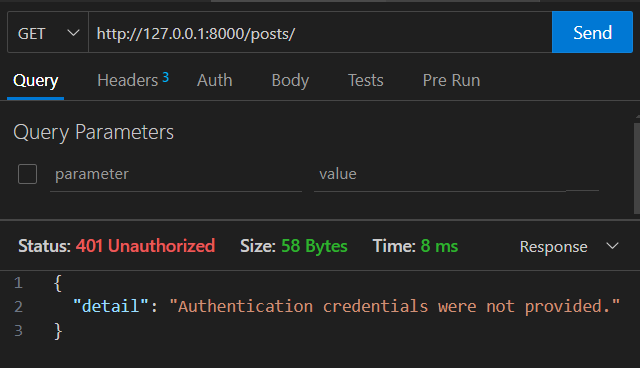
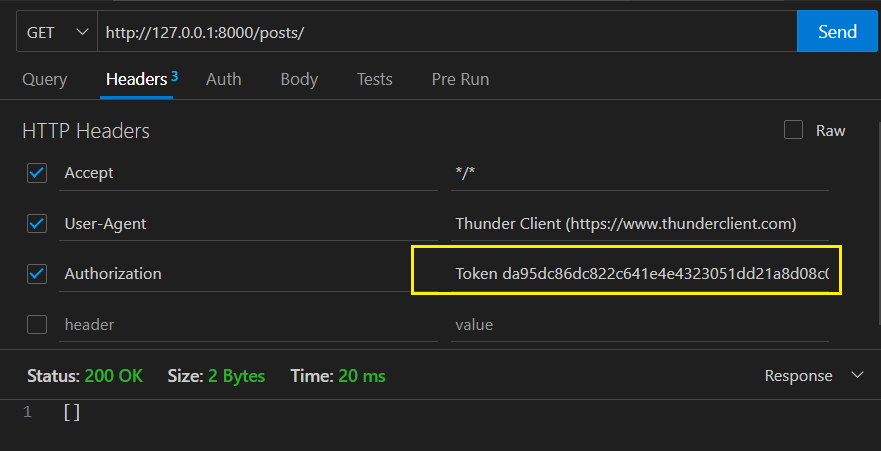
In the headers, add Authorization: Token your_token_key.
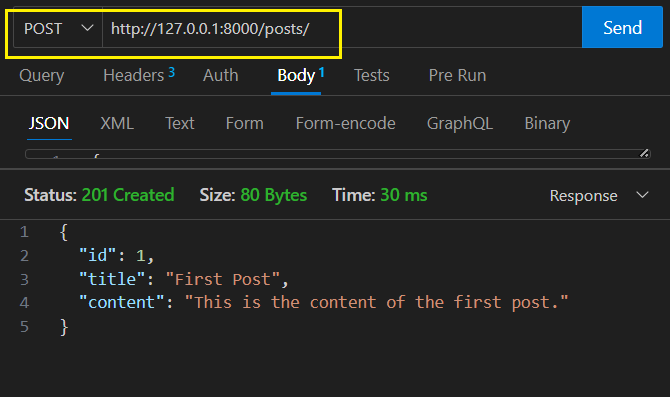
In the body, include a JSON object with title and content.
{
"title": "First Post",
"content": "This is the content of the first post."
}
Fetch All Posts
- Use a GET request to http://127.0.0.1:8000/posts/.
- Include the same authorization header.