

Spring Boot, a popular framework for building Java applications, offers a wealth of features that simplify development. Among these, "Profiles" stand out as a powerful tool for managing configurations in different environments. This article will delve into what profiles are, why they are crucial, and how to use them effectively.
Spring Boot's Profiles allow developers to manage these configurations easily. A profile represents a specific set of configuration values, beans, and other settings tailored to a particular environment.
Using Profiles in Spring Boot
Step 1: Create a Spring Boot Project
Create a spring boot project and name it according to you. If you are new to Spring Boot you can go through the following-
Step 2: Adding dependencies
Navigate to pom.xml file and add the following dependencies in it-
<dependencies>
        <dependency>
            <groupId>org.springframework.boot</groupId>
            <artifactId>spring-boot-starter-web</artifactId>
        </dependency>
        <dependency>
            <groupId>org.springframework.boot</groupId>
            <artifactId>spring-boot-devtools</artifactId>
            <scope>runtime</scope>
            <optional>true</optional>
        </dependency>
        <dependency>
            <groupId>org.springframework.boot</groupId>
            <artifactId>spring-boot-starter-test</artifactId>
            <scope>test</scope>
        </dependency>
    </dependencies>
Step 3: Define Port
Navigate to the application.properties file and use the following code in it-
server.port=7070
my.website.name=GeeksForGeeks
my.prop = Default Value
Step 4: Create Controller class
Create a package names as Controller. Inside the package create a java class named as MyContoller. Use the following code in it-
package com.example.profilesExample.controller;

import org.springframework.beans.factory.annotation.Value;
import org.springframework.web.bind.annotation.RequestMapping;
import org.springframework.web.bind.annotation.RequestMethod;
import org.springframework.web.bind.annotation.RestController;

@RestController
public class MyController {

    // Injecting the value of 'my.website.name'
      // property from configuration
    @Value("${my.website.name}")
    private String myWebsiteName;

    // Handling GET requests at the root path ("/")
      // and returning a welcome message
    @RequestMapping(path = "/", method = RequestMethod.GET)
    public String welcome() {
        // Constructing and returning a welcome message
          // including the injected website name
        return "Welcome to " + myWebsiteName;
    }

}
Step 5: Run your Spring Boot application.
When you will your Spring Boot application you will see that
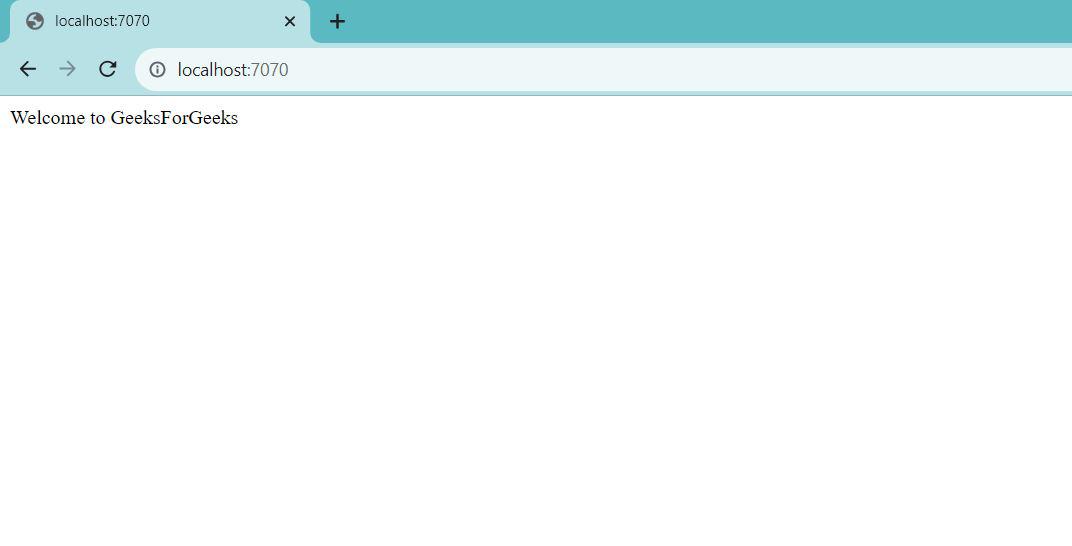
 In the above image you can see that currently we deault profile is active as we haven't added or activated any other profile yet. You can also go to the URL: http://localhost:7070/ and see the following result-
Step 6: Adding new resource file for Dev profile and Test profile
Add a new resource file names as application-dev.properties and add the following code in it
server.port=8080
my.website.name=GeeksForGeeks for Dev
my.prop = Dev Value
Add a new resource file names as application-test.properties and add the following code in it-
server.port=9090
my.website.name=GeeksForGeeks for Test
my.prop = Test Value
Step 7: Activating the Dev profile
Navigate to resources > application.properties and add the following line of code in it-
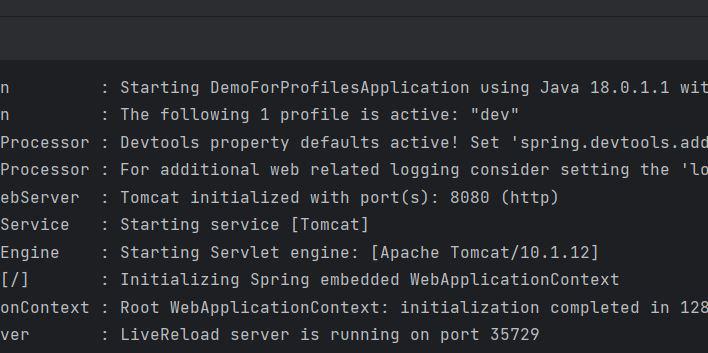
spring.profiles.active=devNow again run the Spring Boot application and we can see that now Dev profile is set as active rather than default and it is accessible at the port defined by us
Now go to the URL: http://localhost:8080/ and you will see that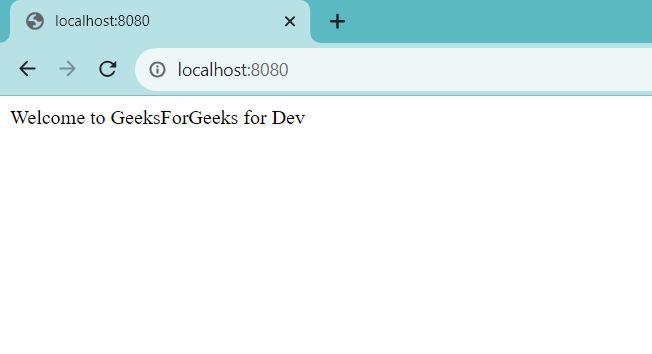
Similarly you can check by activating the Test profile as well.
