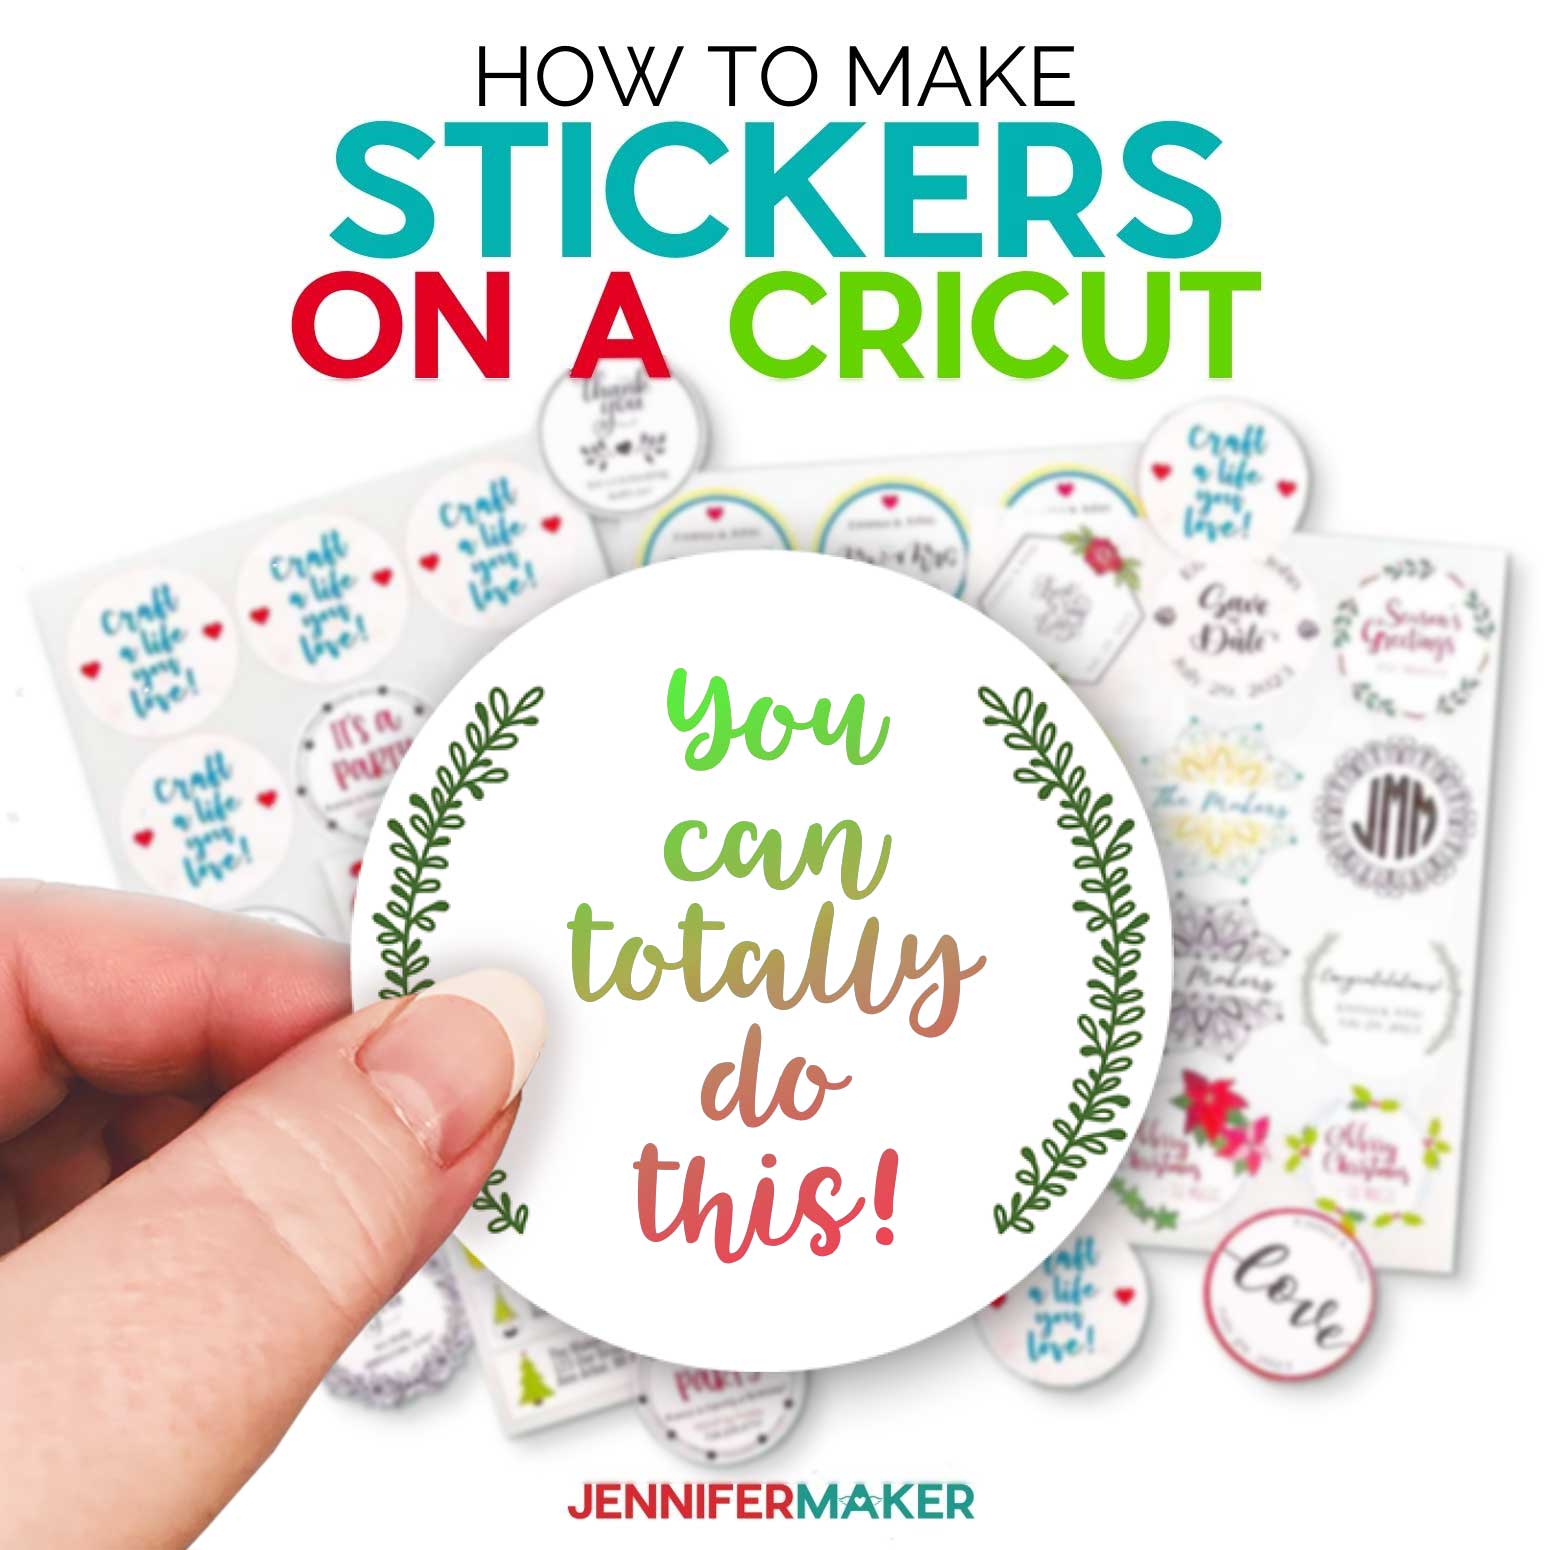
Learn four different methods for making stickers with Cricut water resistant. I’ll show you what worked, what failed, and which sticker protection method ended up being my favorite.

And that is exactly what this tutorial is all about. I’m going to show you, not only how to make stickers with Cricut, with 30+ beautiful new designs, but also how to make stickers that are waterproof… or as close to waterproof as possible.
I have done all the testing with different sticker papers and different ways to protect the stickers and I’m going to share my findings with you, along with the one way I think works best.
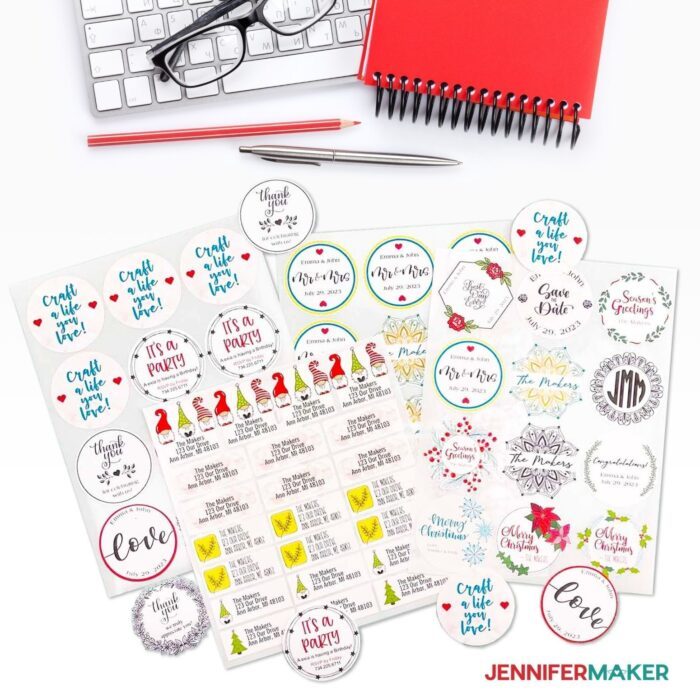
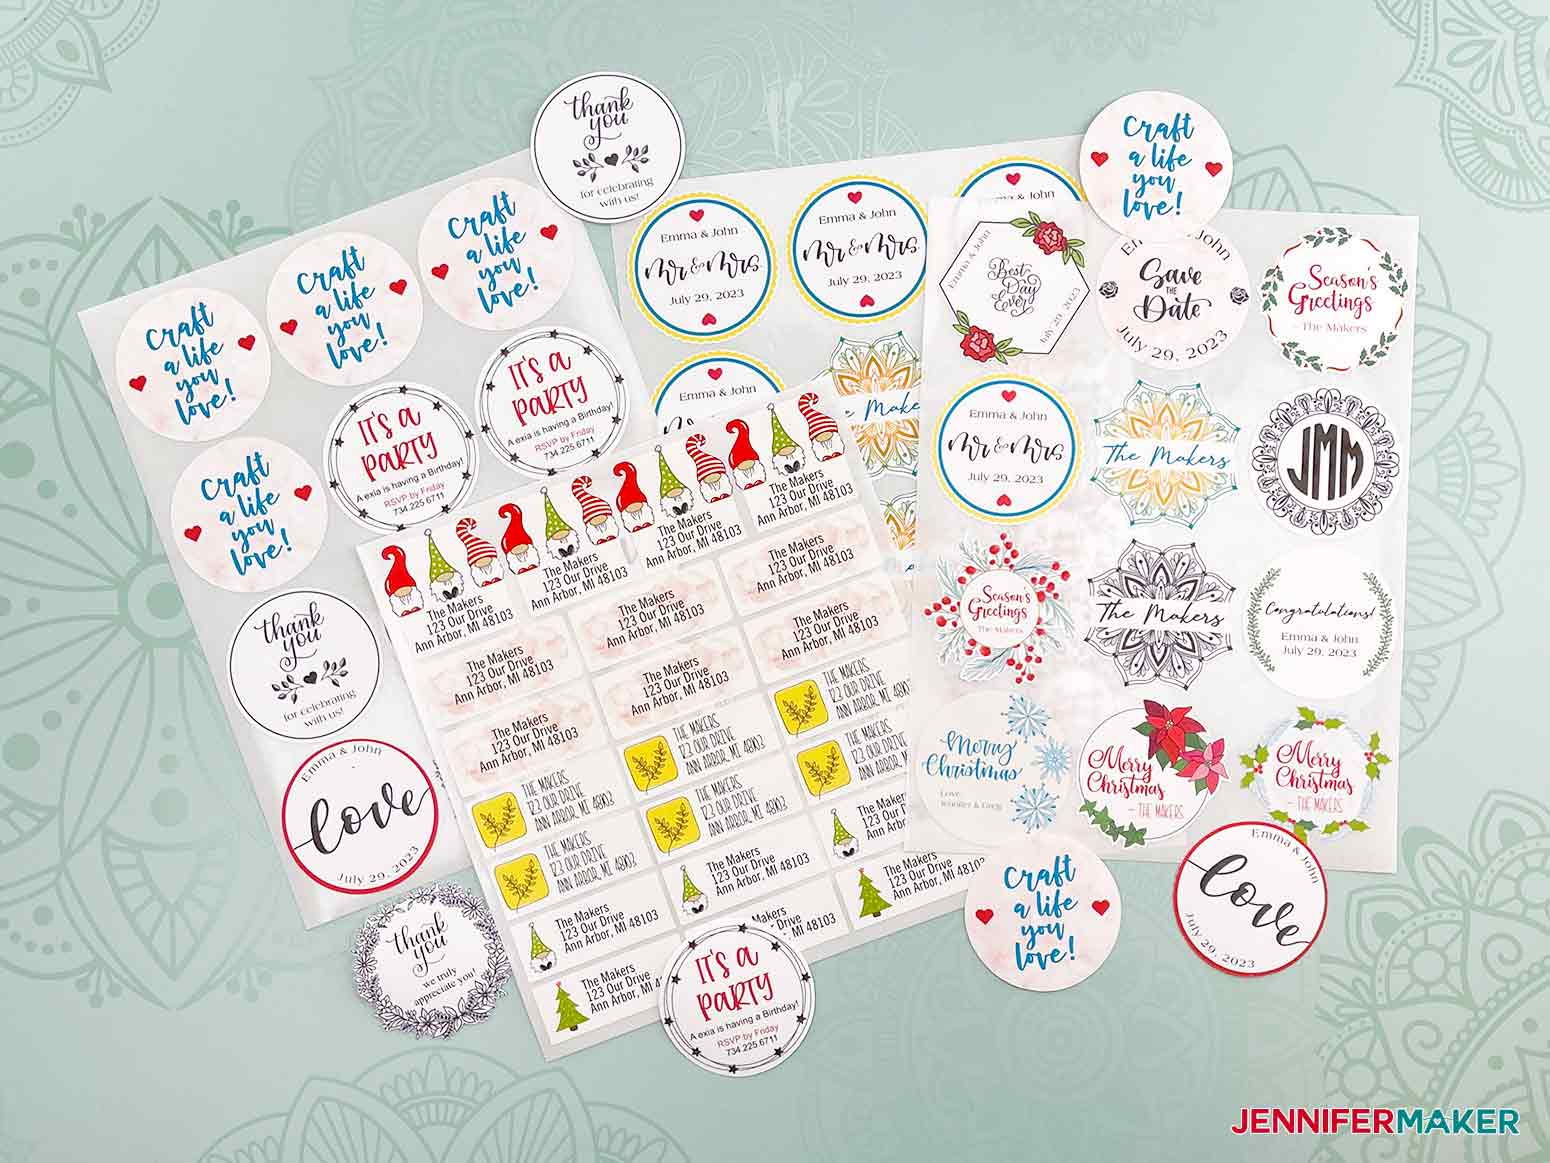
This project contains more than 30 sticker designs! I’m so excited for you to check them out as these have been one of my all-time favorite designs. I’ve included four collections: Christmas, Everyday, Thank You and Wedding.
Whether you’re looking to make some stickers to add on to your holiday cards, or you’re just looking for a fun way to decorate your planner, I think you’ll find something that’s just right!
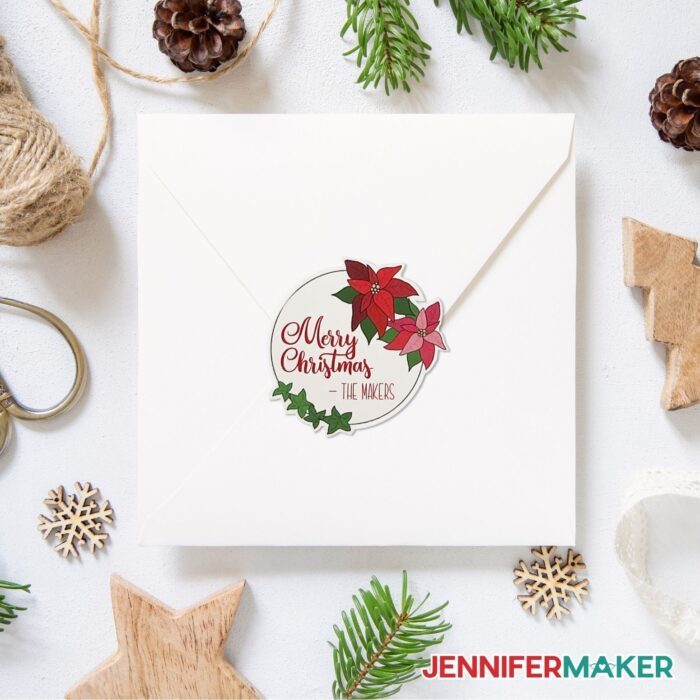
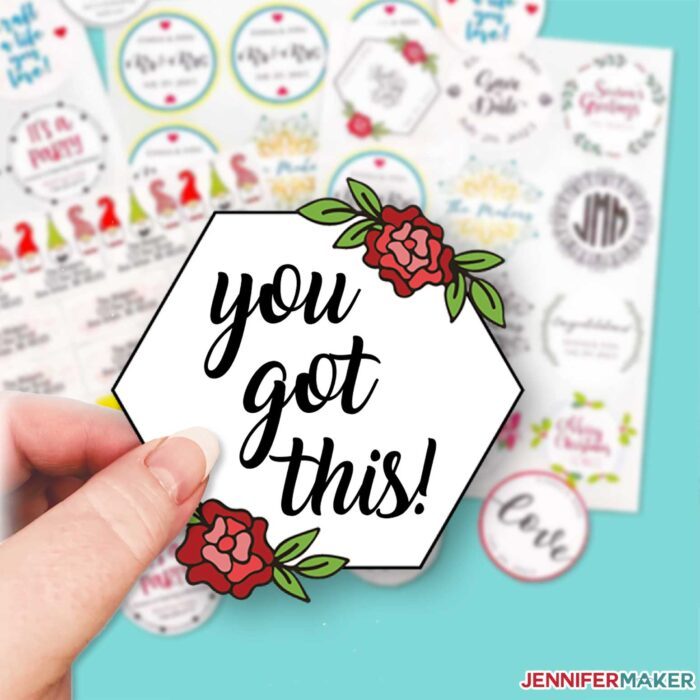
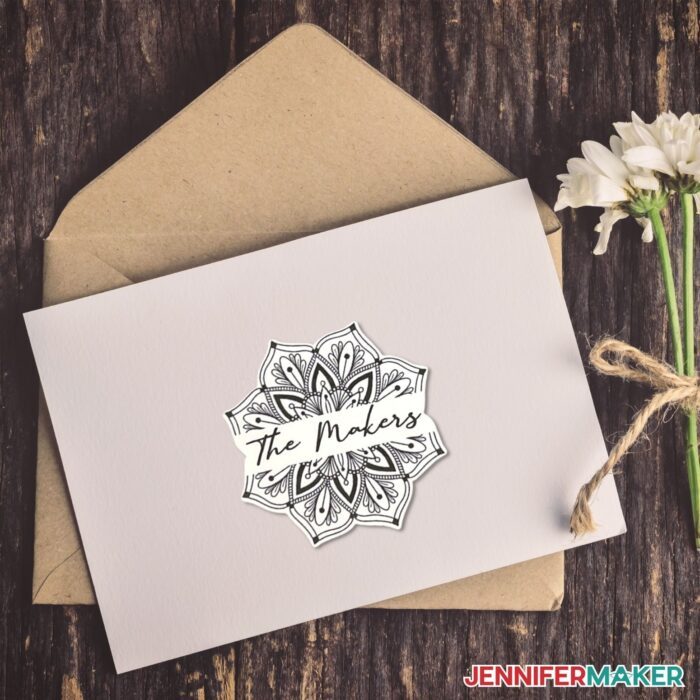
You can also make your stickers on a sticker sheet using the kiss cut method like in the photo above, or you can make your Cricut stickers die cut like the one below where the sticker is cut all the way through. Both ways are a great way to get some practice on making your very own beautiful stickers!
If this is your first time making custom stickers, have no fear! By following my step by step tutorial, you will learn the perfect cut setting you need to get that cut just right. You’ll understand what the black rectangle, or black lines (registration box) are for when using print then cut (yes, I get this question a lot!). You’ll also learn a few other important things such as the material settings, the best sticker paper to use, and my favorite way to make this process have the best results.
Like I previously mentioned, there are different kinds of stickers you can make with your Cricut machine including these fun and festive stickers I made for the holidays:
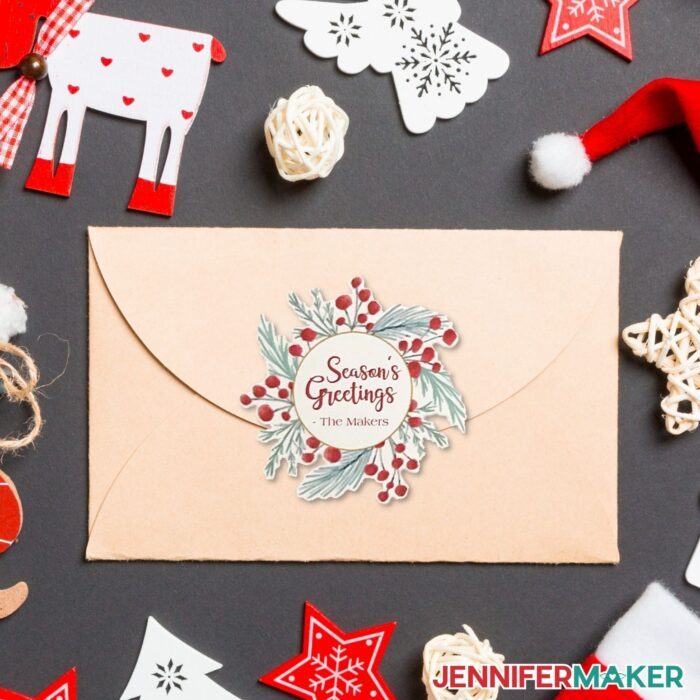
These holiday stickers can be used for all sorts of things, to dress up envelopes, greeting cards, letters. And let’s not forget, these add wonderful personalization to your gift tags. The best part about making stickers is that it’s totally up to you and you get to decide where they look best!
I printed my stickers on two different types of paper: Avery sticker paper and printable vinyl sticker paper. I then sealed them three different ways. One way was to apply clear or transparent vinyl, one using polyurethane spray and lastly I used duraclear varnish. I share my test results with you at the end of this tutorial, but I will tell you this, I was actually surprised with the findings!
Other tools I used for this project include my handy Cricut machine, a lightgrip mat (blue mat), a brayer, scraper, and trimmer (or scissors ).
Let me show you how easy it is to make stickers with your Cricut using my free designs! This post contains some affiliate links for your convenience (which means if you make a purchase after clicking a link I will earn a small commission but it won’t cost you a penny more)! Read my full disclosure policy.
Materials to Make Stickers with Cricut
View my Amazon shopping list with the exact items we used to make this project
- Printable Vinyl Sticker Paper -OR-
- Printable Vinyl Stickers
- Avery 8.5″ x 11″ Sticker Paper
- Clear Vinyl Laminate -OR- Cricut Transparent Vinyl
- Polyurethane Spray
- Gloss or Matte DuraClear Varnish (optional)
- Fast Drying Polyurethane Spray (optional)
- Kraft Paper (optional, to protect your surface)
- (Optional) Fonts: I used Hello Georgina (free alternative to Annie Leu font found in Design Space), Roman Serif (free alternative to Americana Std font found in Design Space), and Sallim font (free)
- A method to print and cut your stickers – I used the Cricut Maker but you can also use the Cricut Maker 3 or Explore Series machines
- Inkjet Printer (I used the HP Envy 7155)
- LightGrip Machine Mat 12″ x 12″ (blue)
- XL Scraper Tool
- Brayer (optional)
- Cricut Trimmer or Scissors
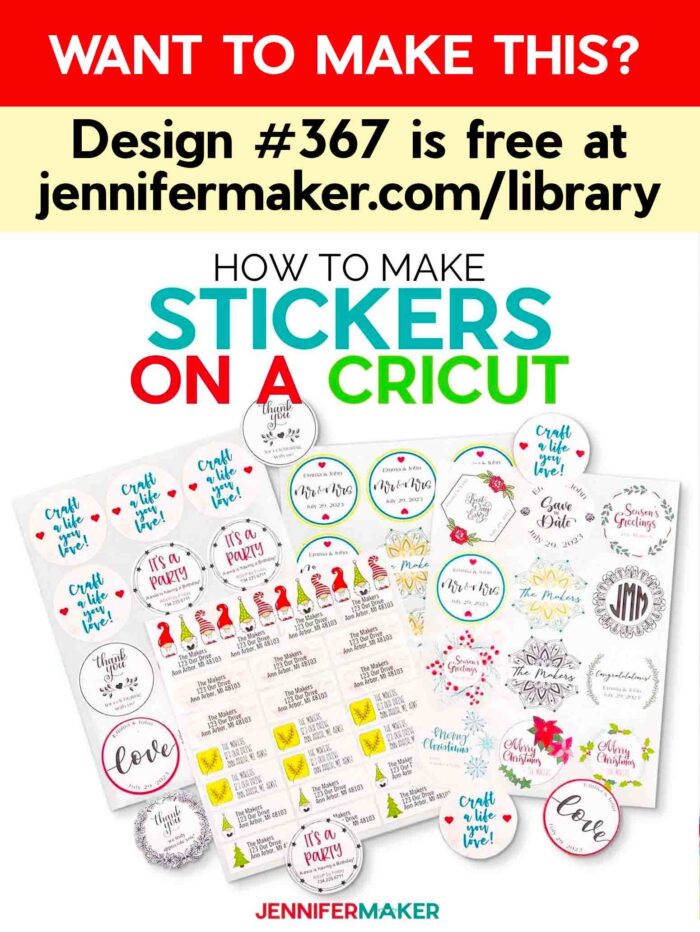
- Design #367 – My free Sticker Collection with over 30 images (available in my free resource library – get the password by filling out the form at the bottom of this page)
How to Make Stickers with Cricut and Waterproof Them!
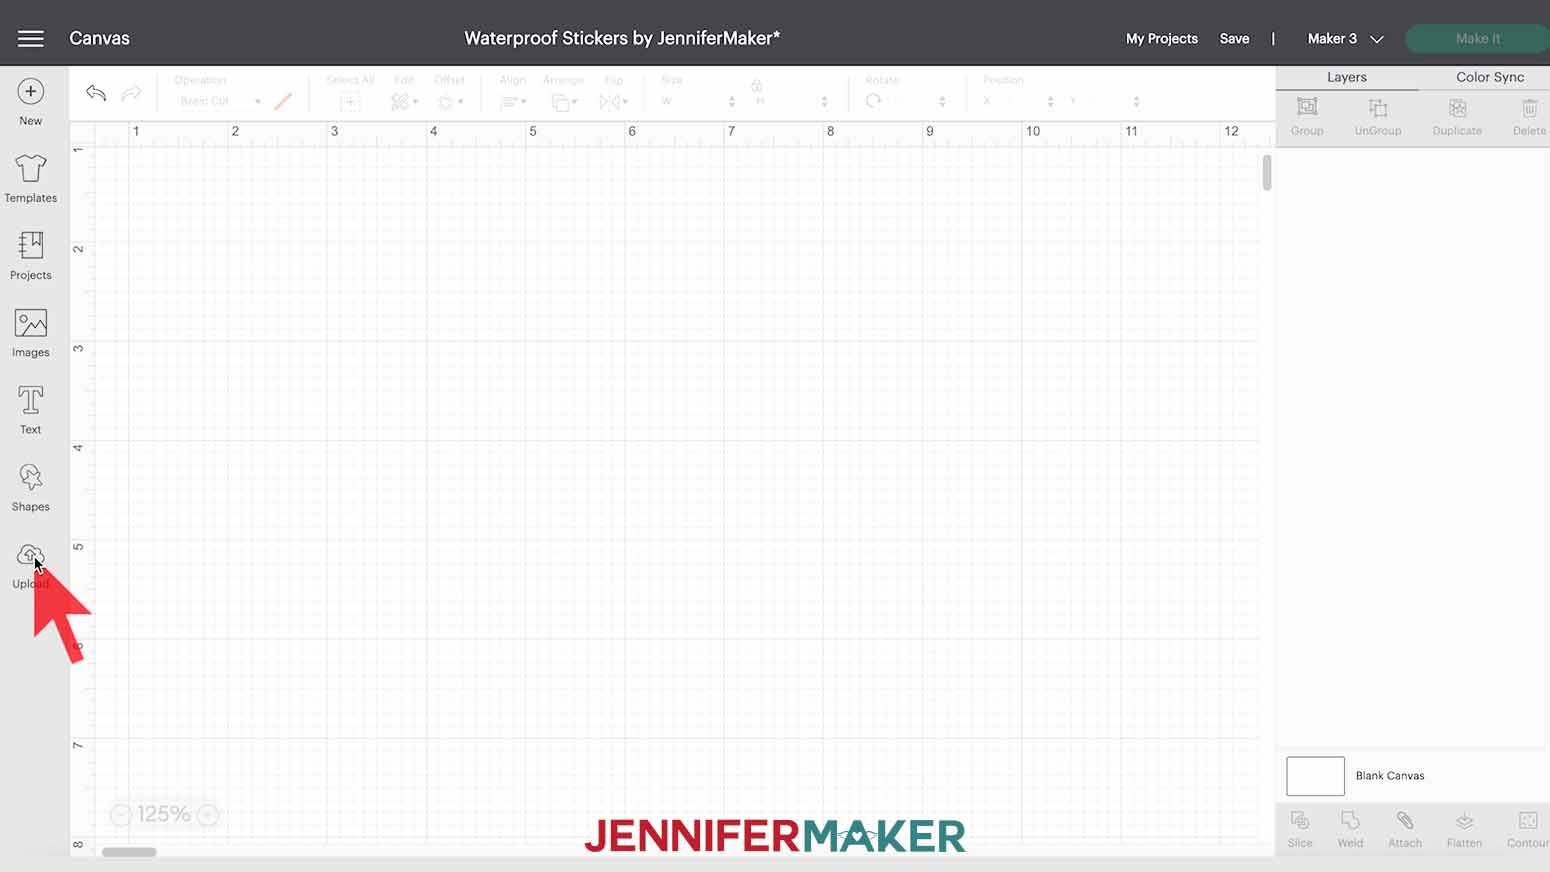
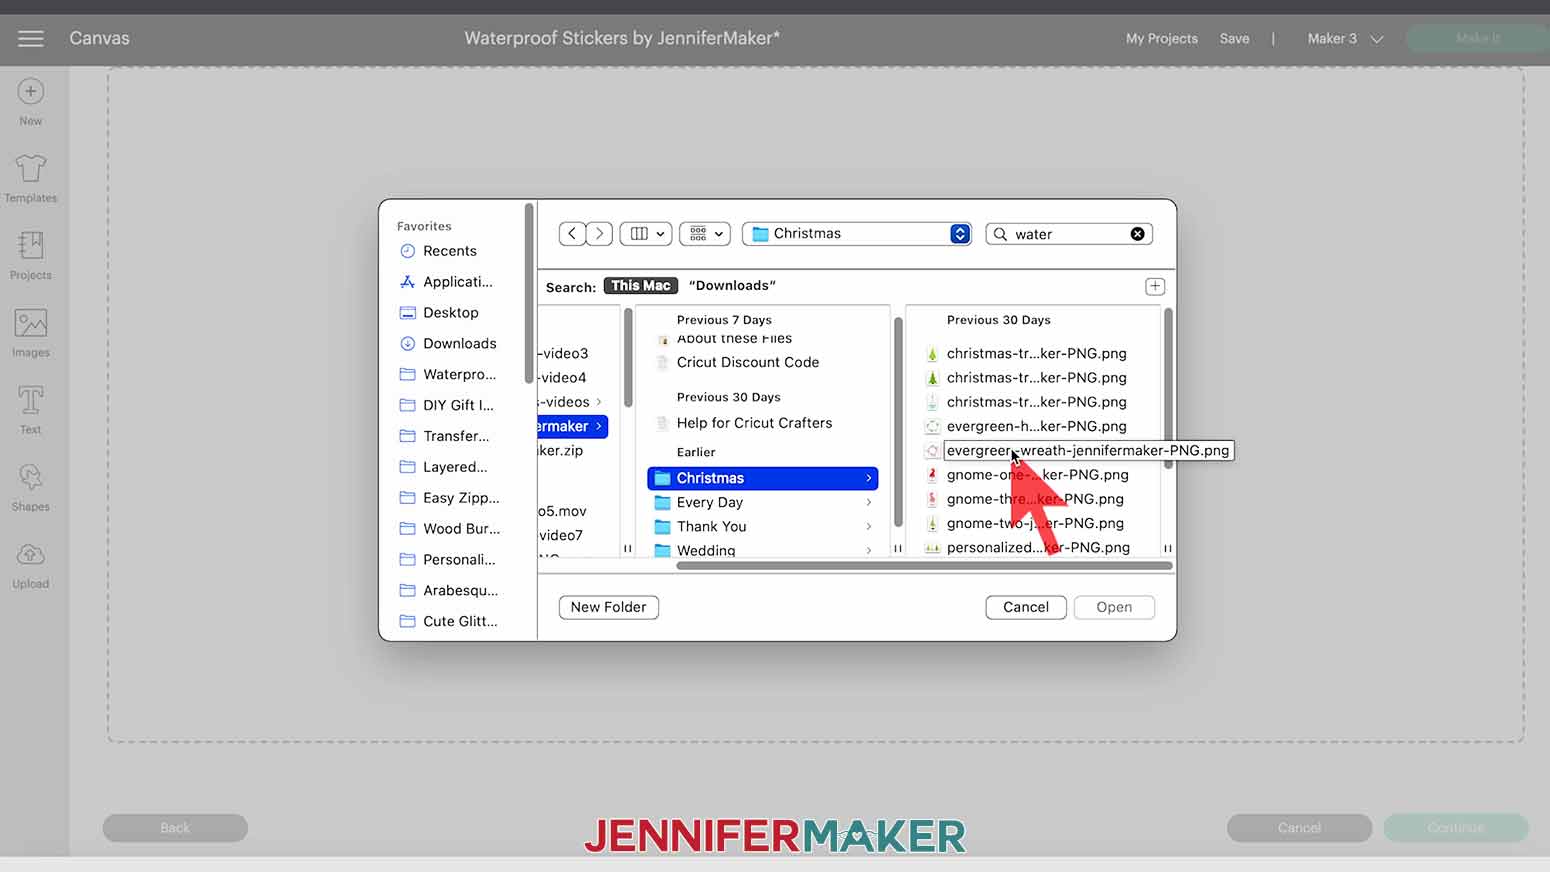
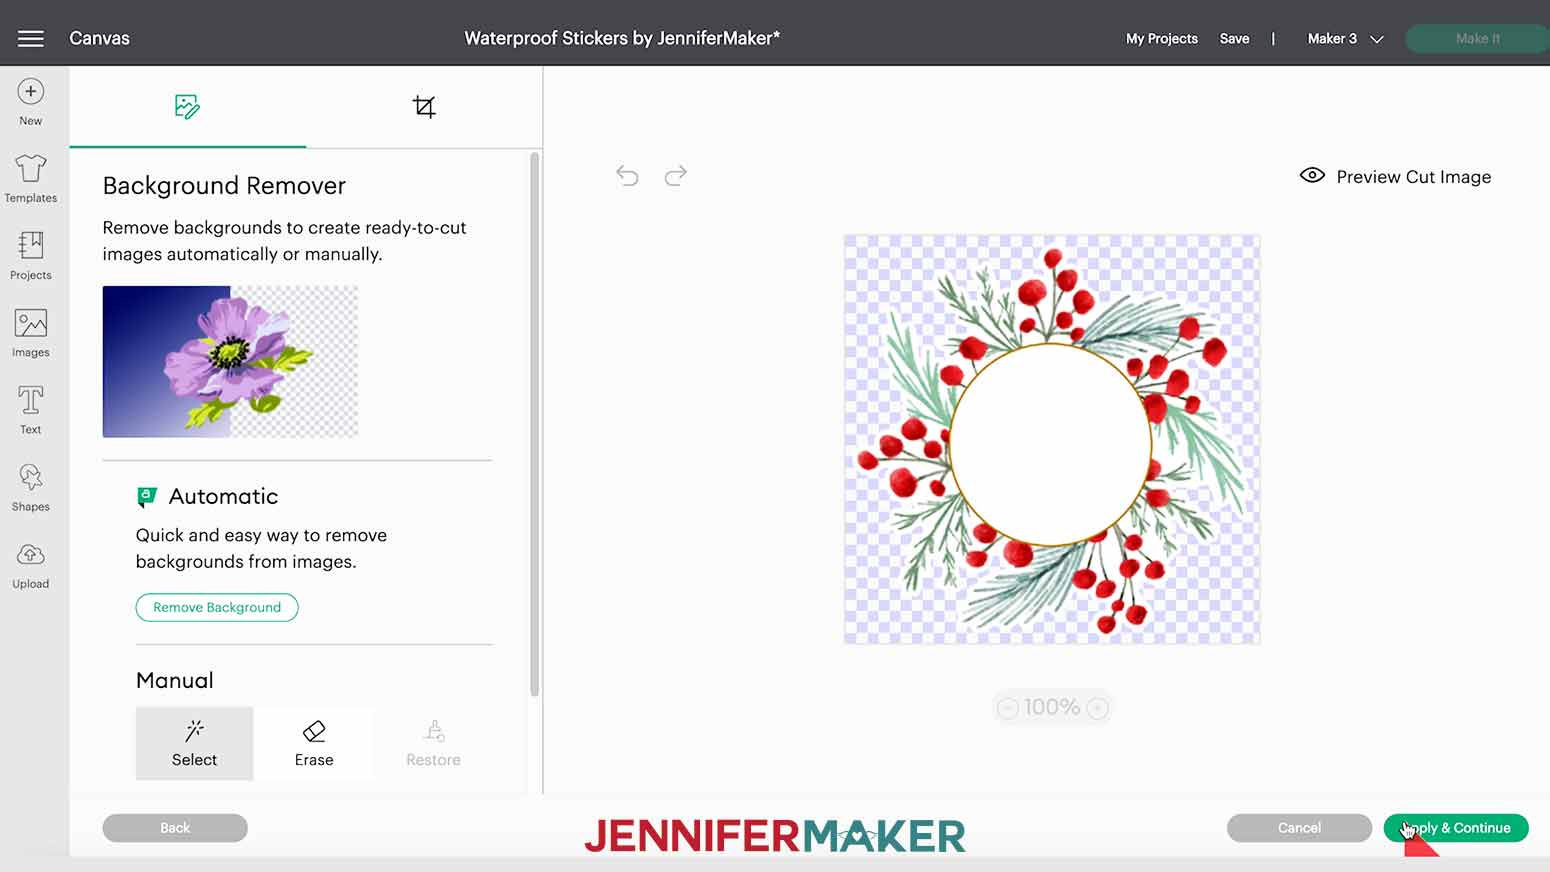
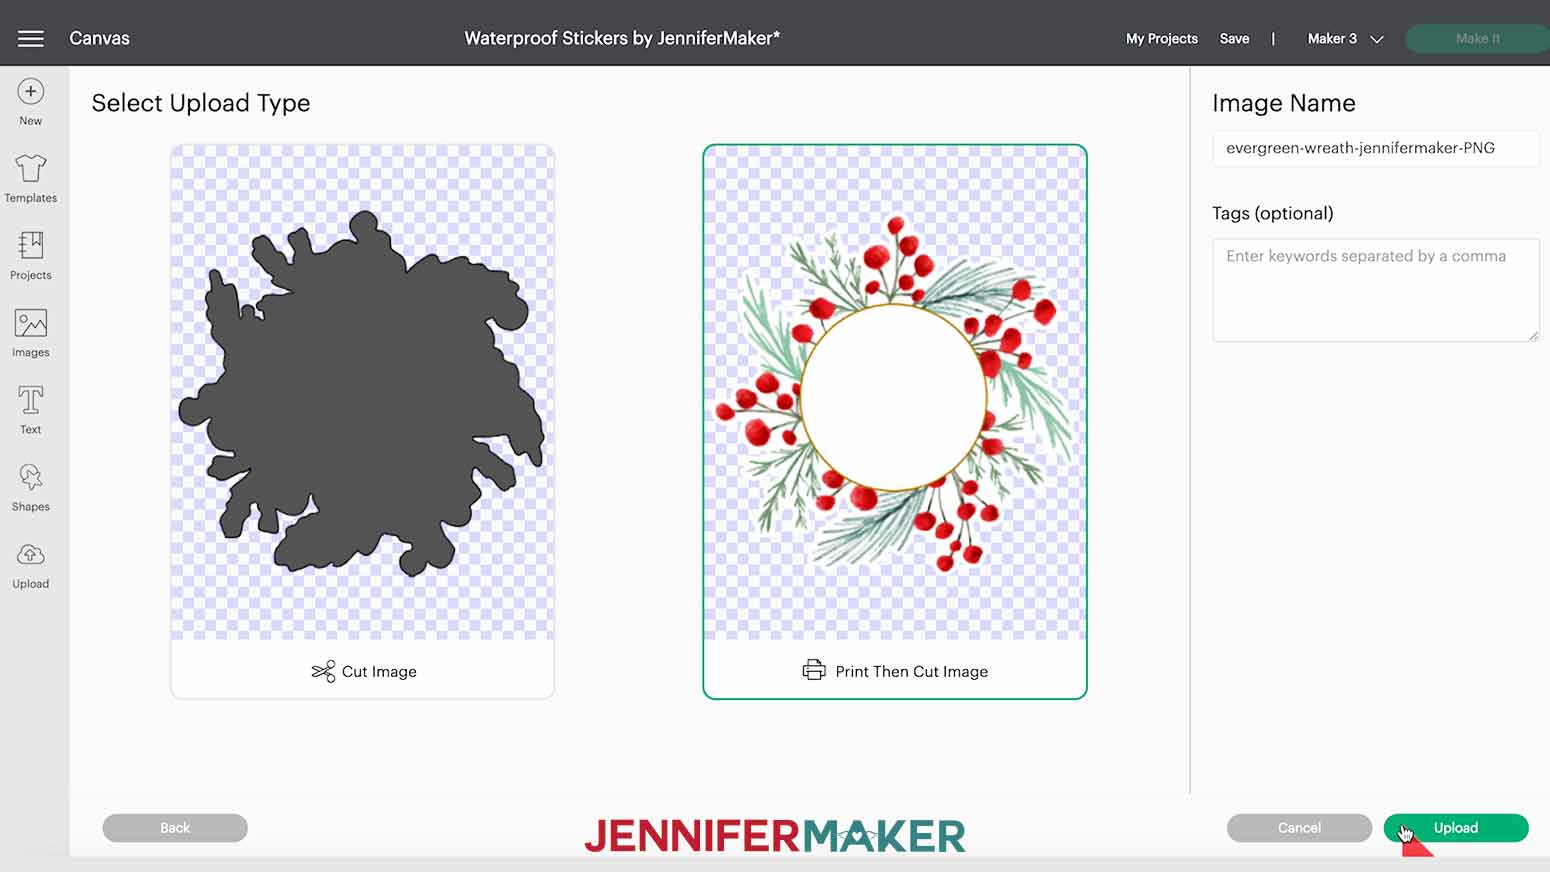
I am going to show you three different methods I tested for making stickers water resistant. I am going to share all three methods and show you what worked, what failed, and which method ended up being my favorite. First, download my free Waterproof Stickers file, design #367, from my free resource library. I made several different designs which can all be personalized. Here's a look at some of the images you can choose from. I've included designs and elements for Christmas, weddings, announcements, thank you messages, general love, and every day use. Before I share the methods I used to waterproof my stickers, let’s upload a few of my images to Design Space and make some personalized stickers. One big lesson I have learned when cutting stickers is that calibration is key. In case you aren't familiar with the term calibration, it simply means to adjust something, in this case our Cricut cutting machine, so that it can be used in an accurate and exact way. So before we design and cut our stickers, I recommend that you perform a calibration of your Cricut machine and you clean the print heads on your inkjet printer. This will give you the best print then cut results for your project. Consult the owner's manual for your printer to find out how to clean the print heads. Once that is done it's time to make some stickers! In Cricut Design Space create a new canvas. To create a new canvas, click on the "New Project" button in the upper right corner of Design Space. I am going to begin by uploading some images that I can add to the canvas. On the left side of your screen, click the "Upload" icon. TIP: If you're not sure how to upload a file to Cricut Design Space, watch this helpful video in training series I made. If you're on an iPhone or iPad, here's how to download and upload files to the Cricut Design Space app. Click “Browse.” Locate the files for this project. First I am going to select and upload the “evergreen-wreath-jennifermaker-PNG.png” file from the Christmas folder. When you see the image, choose “Complex” and then click “Continue.” Click “Apply & Continue.” Select “Print Then Cut Image” and then click “Upload.” Repeating the upload steps above, I am now going to select and upload these designs: NOTE: You can add as many images as you’d like to your canvas. Keep in mind that the more images you add, the longer it can take Design Space to process the project. With my images uploaded, I am now going to select the five images by selecting them under “Recent Uploads” and then clicking "Add to Canvas."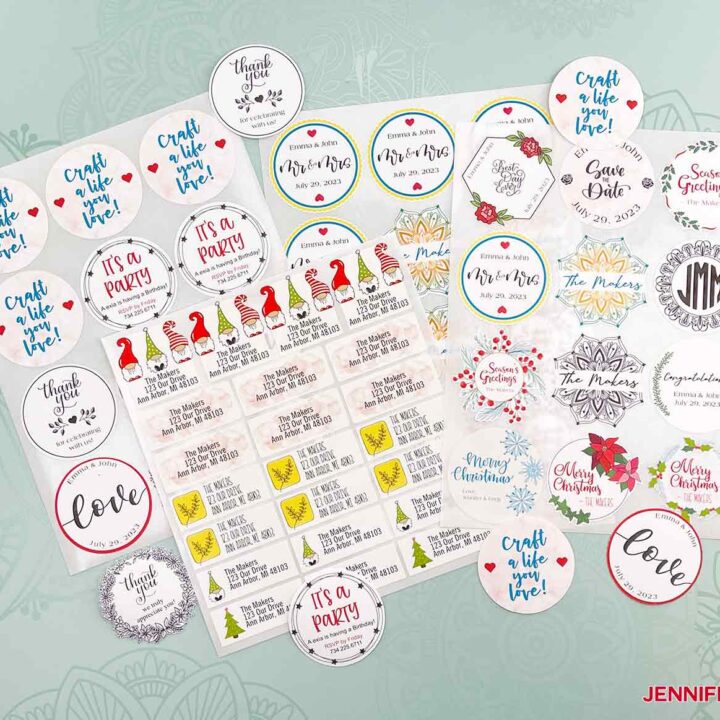
How to Make Stickers with Cricut
Materials
Tools
Instructions
STEP 1: GET MY FREE WATERPROOF STICKERS DESIGNS
STEP 2: UPLOAD AND CUT YOUR STICKERS