

Learn how to make stickers in Canva and cut them with your Cricut!
Of all the things a Cricut can do, the Print Then Cut feature may be my favorite. Especially for making stickers! I’ve made LOTS of stickers over the years, and I’m always looking for ways to improve my sticker crafting. Now, I’ve found an even cooler way to level up my sticker game: I learned how to make stickers in Canva! In just a few minutes, you can create an entire set of amazing custom stickers using free Canva tools, print them with a regular inkjet printer, then cut them using your Cricut. And to make it even easier, I designed ten free summer sticker designs for you to customize in Canva, so you can jump right in!
See the full step-by-step video tutorial on how to make stickers in Canva:

If you’ve ever found yourself endlessly scrolling through online shops or standing in front of the sticker display at your local craft store, trying to find just the right ones with the perfect words or style, I totally get it. That was me too. I’d think, “These are close… but not quite what I need.” That’s when it hit me. Why not just design and make my own? And thanks to Canva, it’s not only possible, it’s actually super fun! It’s also so rewarding to take total control over your designs, whether you’re customizing planners, decorating envelopes, or sticking them to tumblers and other surfaces.
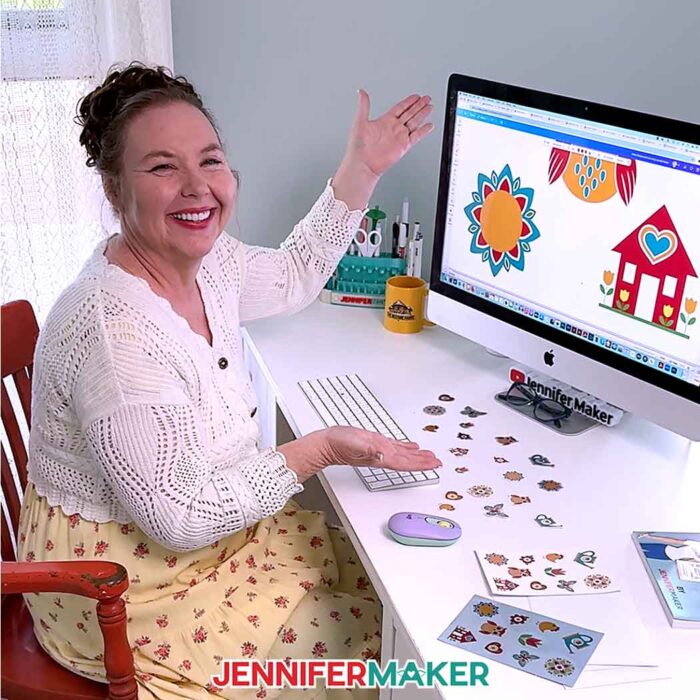
All you need to get started is a free Canva account, a Cricut cutting machine, and some sticker paper. That’s it! And I promise, you do not need to be a professional designer to do this. We’ll walk through the whole process together, starting with choosing or uploading your sticker images in Canva. My free designs are a great place to begin, and include happy, colorful PNG images that are perfect for Print Then Cut projects. Want a sheet full of mini stickers? Easy! Prefer large single stickers for laptops or water bottles? You’ve got it!
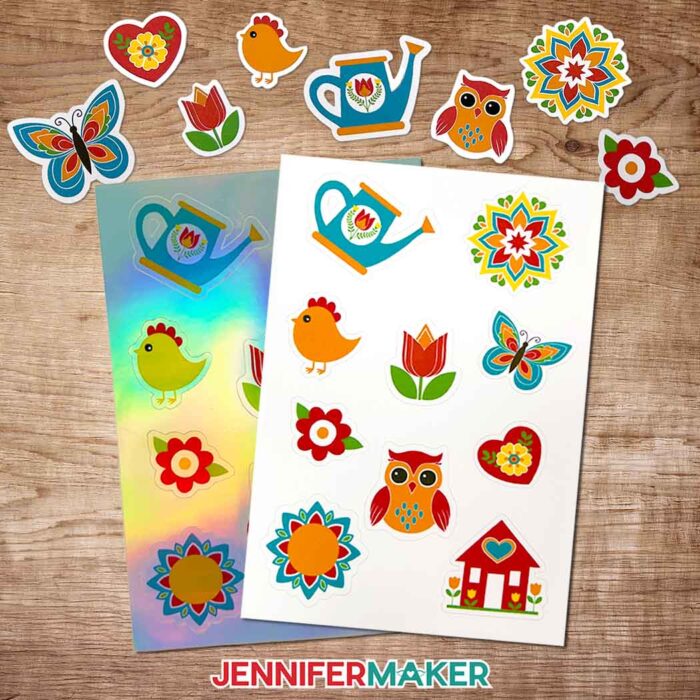
Once you’ve picked your favorite images, we’ll create a custom sticker sheet in Canva. I recommend 6″ x 9″ since that size works beautifully with Cricut’s Print Then Cut feature.
And here’s where the real fun begins … designing your sticker sheet! You can add stickers in different designs and sizes, drag them around, rotate them, change colors, and even add custom text or fun elements from Canva’s built-in library. This is a great way to explore Canva’s tools and make your sticker sheet truly one-of-a-kind. And if you love that classic sticker look with a white outline, there’s a super easy way to do that with Canva’s outline shadow effect. I’ll show you how in the video tutorial!
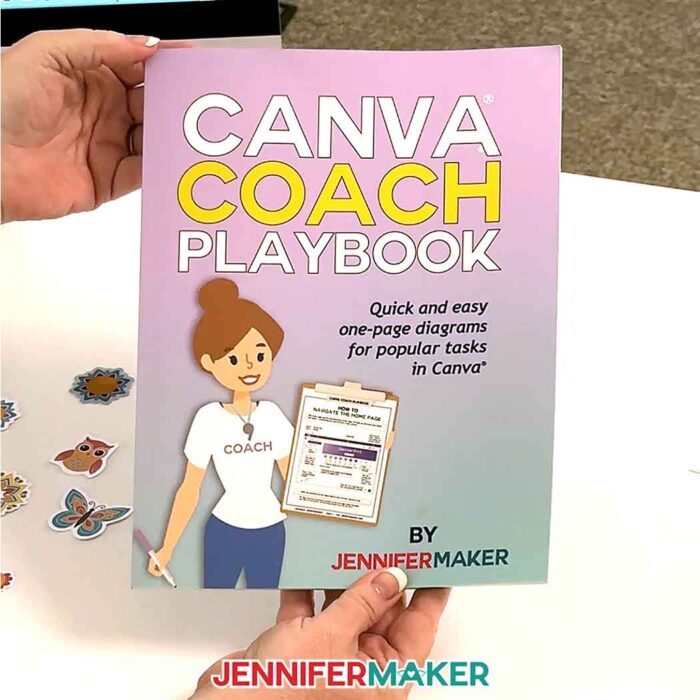
Want to do more with Canva? Check out my Canva Coach Playbook, which includes tons more Canva tips, tricks, and techniques for you to get the most out of your designs!
Once your sticker sheet is ready, I’ll show how to download it as a PNG and upload it to Cricut Design Space for printing and cutting. Backgrounds can be tricky for Print Then Cut projects, but whether you’re using the manual or automatic tool, it only takes a moment to get your designs ready to turn into stickers. With Canva Pro, you can export your design with a transparent background, which is super handy in Cricut Design Space. But if you’re using the free version, no worries! I’ll show you how to remove the background manually in just a few clicks. With or without Cricut Access!
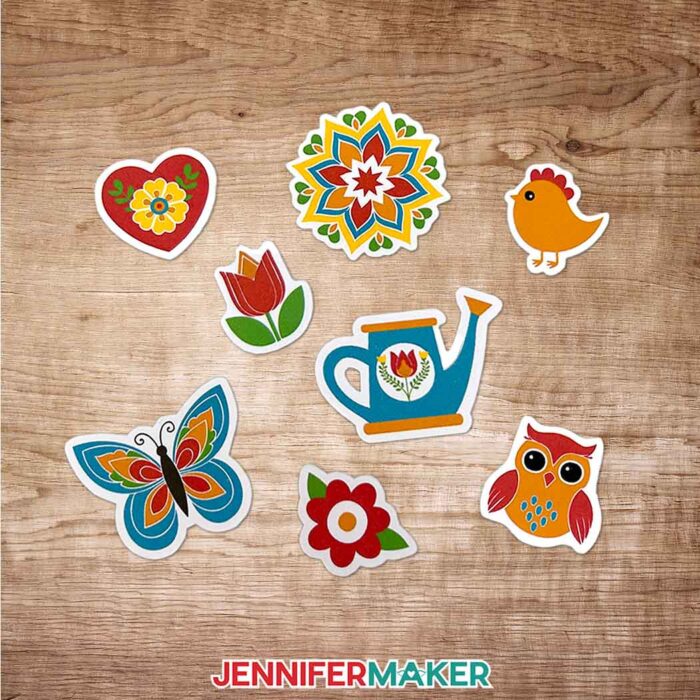
After that, we print! Be sure to use high quality printer settings for the most professional-looking results. I love using “Premium Photo Paper” settings for a smooth, vibrant finish. Once printed, let your sticker sheet dry completely before sticking it to your Cricut mat. Be sure to use a brayer to smooth it down for perfect cutting, too! Whether you want a kiss cut, where the stickers peel off the backing, or a die cut, where the stickers are cut all the way out, Cricut can handle both. I’ll share which settings to use for both methods. Then you can just load your mat, press the button, and let your Cricut do the work!
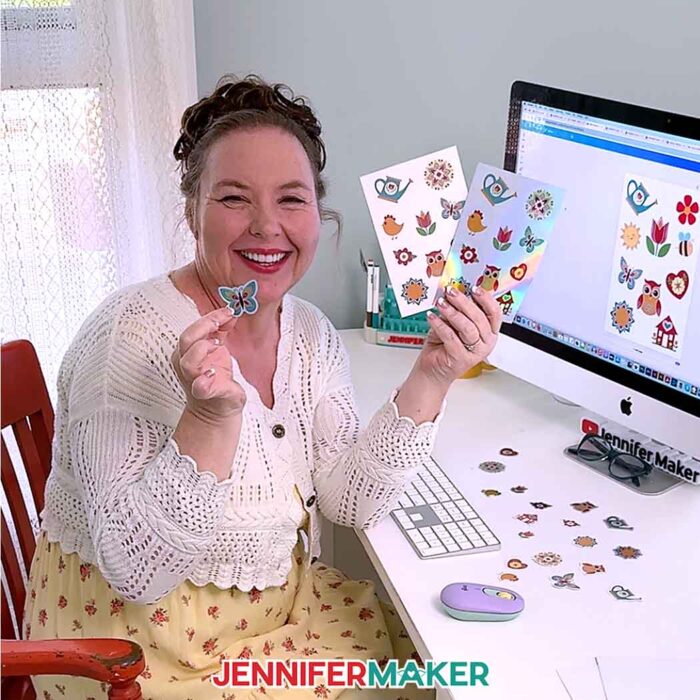
Another thing I love about this process is how customizable it is. You can make a whole sheet of different designs, or print one large sticker at a time. I still remember the first sticker I made! It was simple, but it felt like magic. And now, using Canva, I can create anything I imagine, whenever I need it, without spending hours searching for just the right thing in a store.
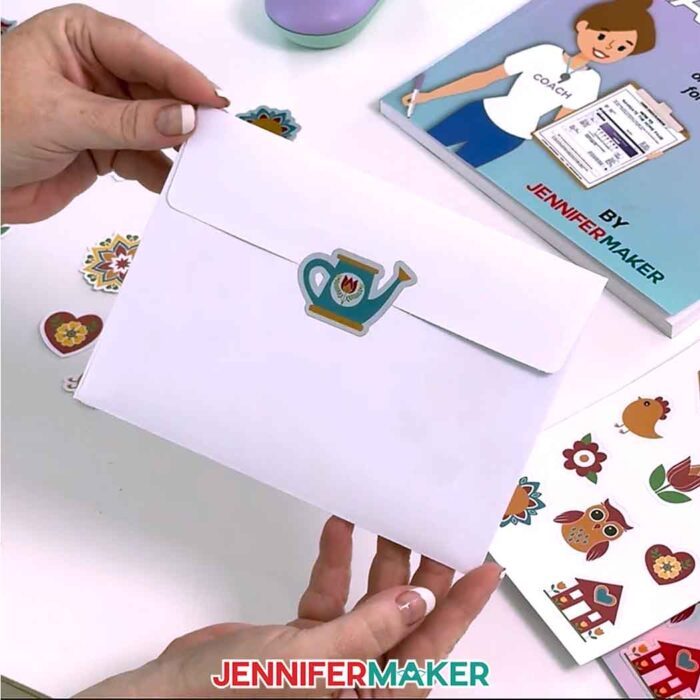
So if you’ve been thinking about making your own stickers, or you’ve felt overwhelmed by the idea of designing something from scratch, let me encourage you. This is totally doable, even for beginners! It’s fun, it’s rewarding, and it opens up a whole new world of crafting possibilities!
Would you like to make a sticker sheet with a custom background in Canva? I have a workshop just for you in my ADVANCE program. Plus, I’ll even share my special trick for die-cutting and kiss-cutting at the same time so your Cricut cuts your sheet down to size, too! Learn more about ADVANCE with JenniferMaker here!
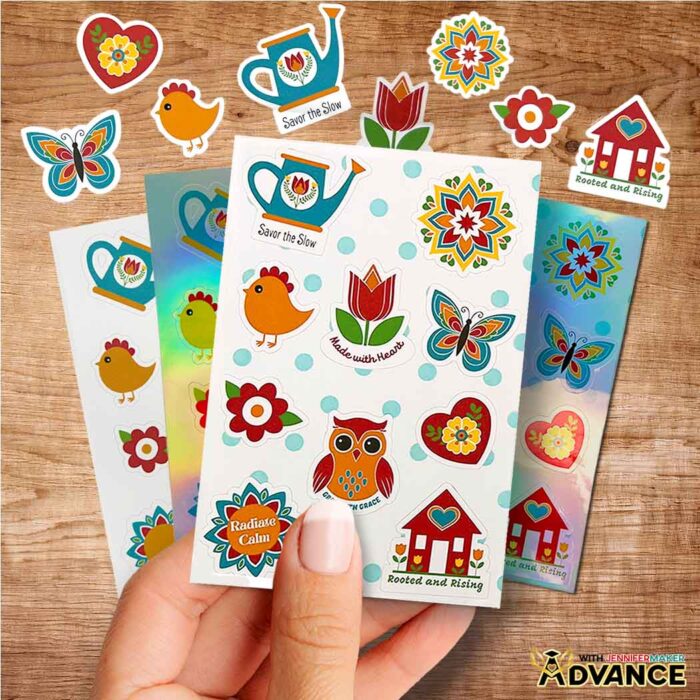
Let me show you how to make stickers in Canva and cut them on your Cricut! This post contains some affiliate links for your convenience (which means if you make a purchase after clicking a link I will earn a small commission but it won’t cost you a penny more, there is no additional cost)! Read my full disclosure policy.
Materials to Print Then Cut Your Canva Stickers
View my Amazon shopping list with the exact items I used.
- One (1) Sheet of 8.5” x 11” Printable Sticker Paper -OR-
- One (1) Sheet of 8.5” x 11” Holographic Sticker Paper
- Copy Paper (optional for protecting your printed stickers while securing with brayer)
- A way to cut your sticker paper – I’m using the Cricut Maker 4, but you can also use any Maker series machine, a Cricut Explore series machine, the Cricut Venture, or the Cricut Joy Xtra
- Inkjet Printer
- Cricut Green StandardGrip Machine Mat 12” x 12”