 Looking for a unique gift box for that special gift? Or maybe just a fun ornament for the Christmas tree? I’ve got you covered for Day 2 of MAKE IT MERRY: 25 Days of Maker Projects. Today’s project is a simple paper orb that folds from just one piece of cardstock! A ribbon (and a little glue) keeps it closed. You can embellish the sides with extra decorations, or just leave it as is. I love this best as a gift box, I think!
Scoring is important in this project, so either use a scoring stylus or score by hand following the score lines in my files.
I’ve made a couple of these already. And I was delighted to find that using a metallic paper made these look like bells! So if you know anyone who likes bells (any Polar Express fans out there?) this would make an amazing gift box!
I can’t take credit for designing this—one of my Patreon supporters requested I make an SVG version after she saw several of them online, most notably this cute one over at MixedUpCraft.com which gives directions for making one by hand.
Let me show you how to make my version of this fun project! This post contains some affiliate links for your convenience (which means if you make a purchase after clicking a link I will earn a small commission but it won’t cost you a penny more)! Read my full disclosure policy.
Materials for the Paper Orb
- 1-2 sheets of 65 lb. cardstock (I think it looks best with a foil cardstock)—the second piece is for cutting out the squares from a contrasting color
- Tacky glue
- A piece of ribbon about 12″ long
- A way to cut your cardstock (I used the Cricut)
- Design #66 – My free pattern (in my resource library—get the password at the bottom of this post)
How to Make the Paper Orb Gift Box + Ornament
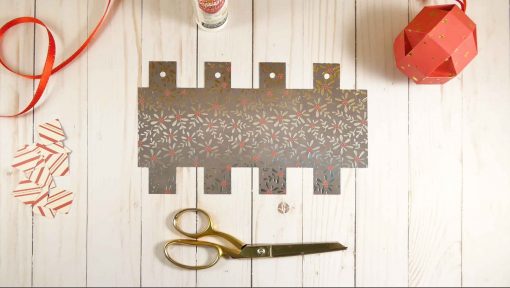
Cut out your cardstock. If you upload this to Cricut Design Space, ungroup everything and change the score layer (the one with just lines) from Cut to Score, then Attach it to the red layer so it scores it.

Tip: Put your cardstock on your mat facedown so the score lines are on the backside, which will make it easier to fold!
Once it is cut, carefully fold the large piece of cardstock along the score lines both vertical and horizontal.
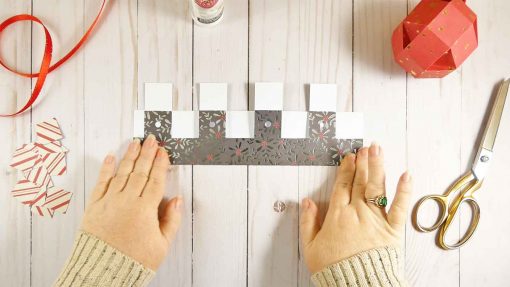
You need to also fold the cardstock on the diagonal score lines, which just takes a little patience. Note that these diagonal folds need to be folded out (whereas the horizontal and vertical scores were folded in). If it’s easier, you can first fold them in then fold them out.
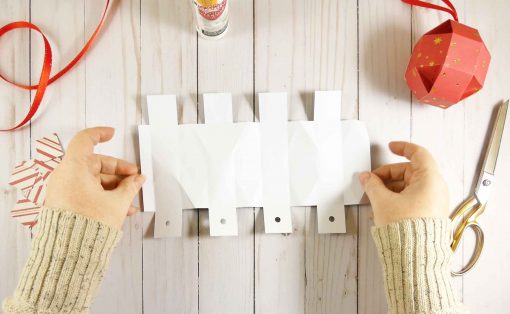
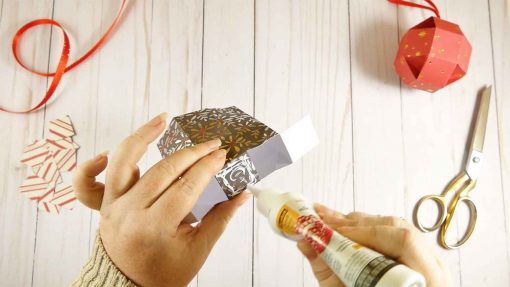
Glue the tab on the right side of the cardstock to the underside of the left side, forming a sort of tube.
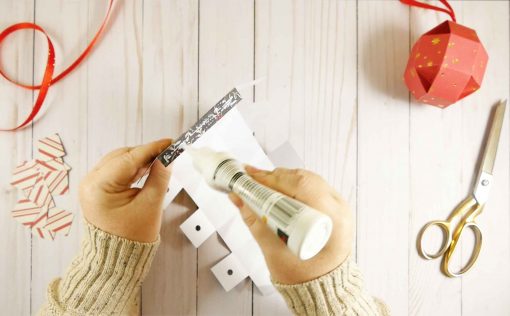
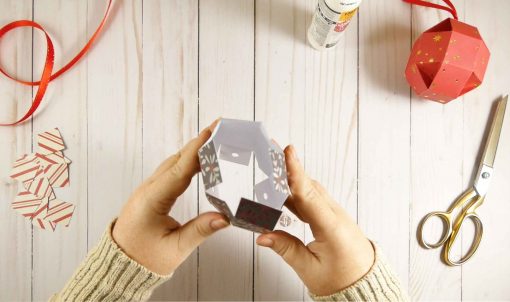
Put glue the bottom tab and attach it to the tab directly across from it. This begins to form the bottom.
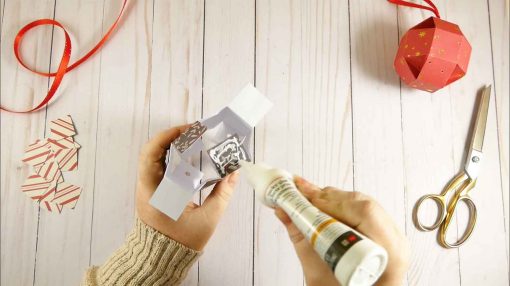
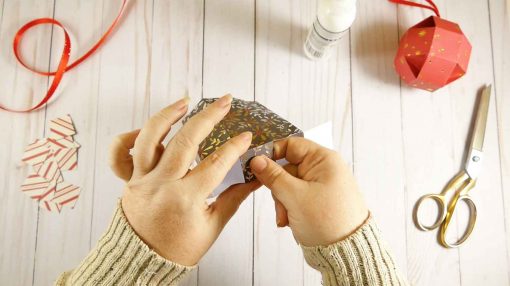
Glue the other two tabs on the bottom atop the first two tabs, completely the bottom or the orb.