
CentOS 8 has finally been released! The new version, which is a community version of RHEL 8, ships with new and exciting features that promise an enhanced user experience.
Read Also: How to Upgrade CentOS 7 to CentOS 8
Installing CentOS 8 is pretty much like installing the earlier versions of CentOS 7.x with only slight variations in the UI of the installer.
Prerequisites
Before you begin, perform a flight check and ensure you have the following:
- Download CentOS 8 DVD ISO Image.
- Create a bootable instance of CentOS 8 USB drive or DVD using Rufus tool.
- A system with a minimum of 8GB Hard disk space and 2 GB for optimal performance.
- A good internet connection.
Let’s dive in and see how to install CentOS 8.
Step 1: Insert the CentOS 8 Bootable Installation Media
1. With your PC turned on, plug in your bootable USB drive or insert the CentOS 8 DVD medium and reboot. Make sure to change the boot order in your BIOS settings in order to boot from your preferred boot medium.
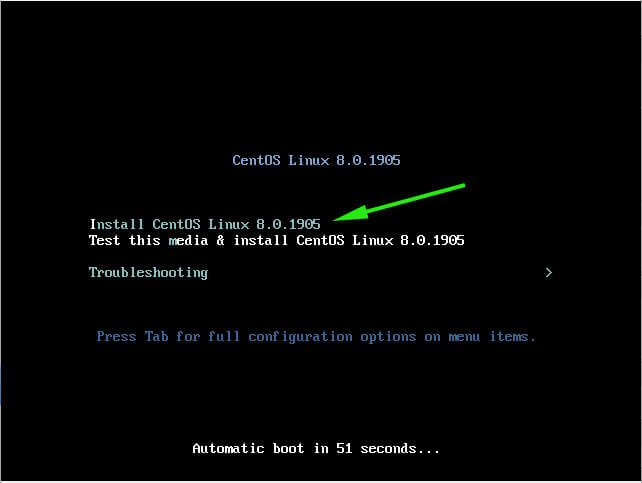
The boot screen will be displayed as shown below. Select the first option ‘Install CentOS 8.0.1905’ and Hit ‘ENTER‘.
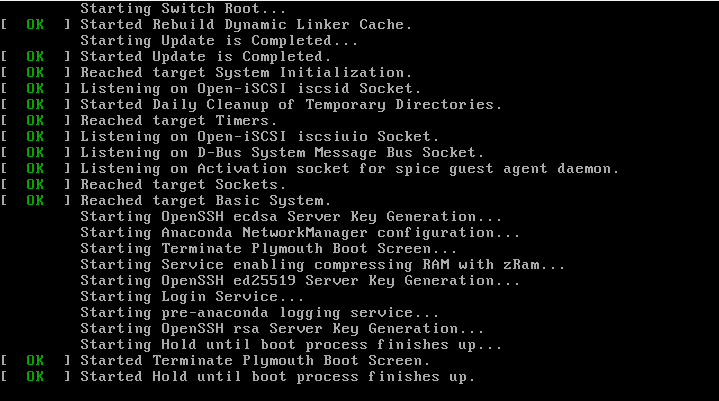
2. Boot messages will follow thereafter as shown.
Step 2: Select CentOs 8 Installation Language
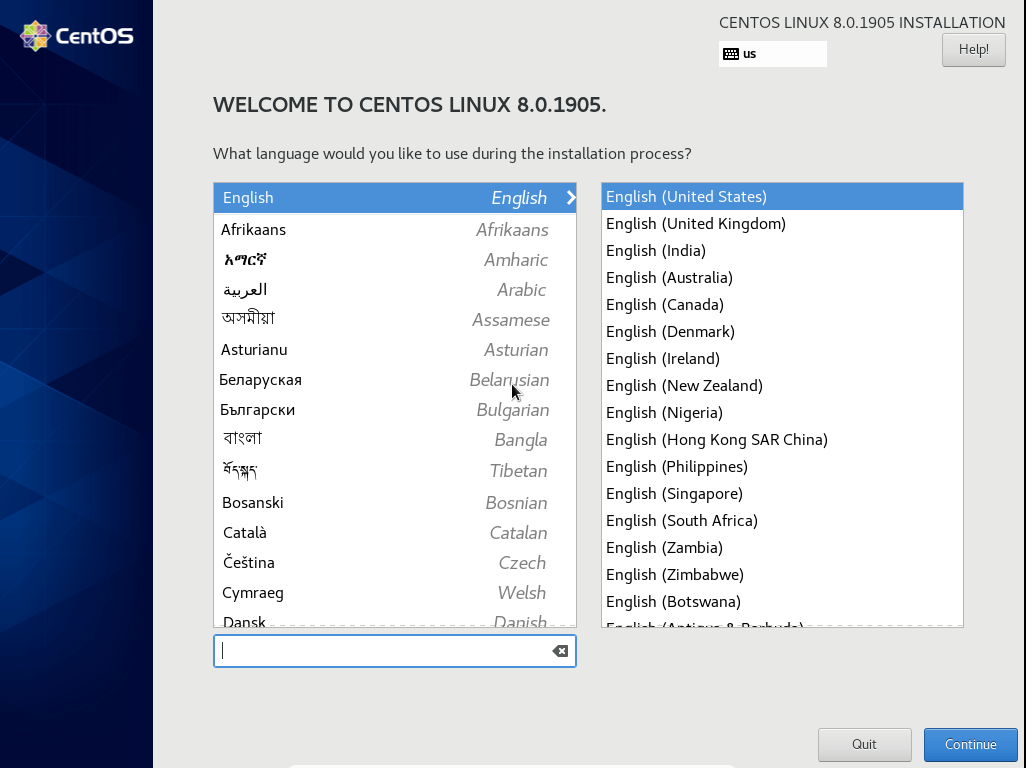
3. On the ‘Welcome Screen’, choose your preferred installation language and click ‘Continue’.
Step 3: Installation Summary of CentOS 8
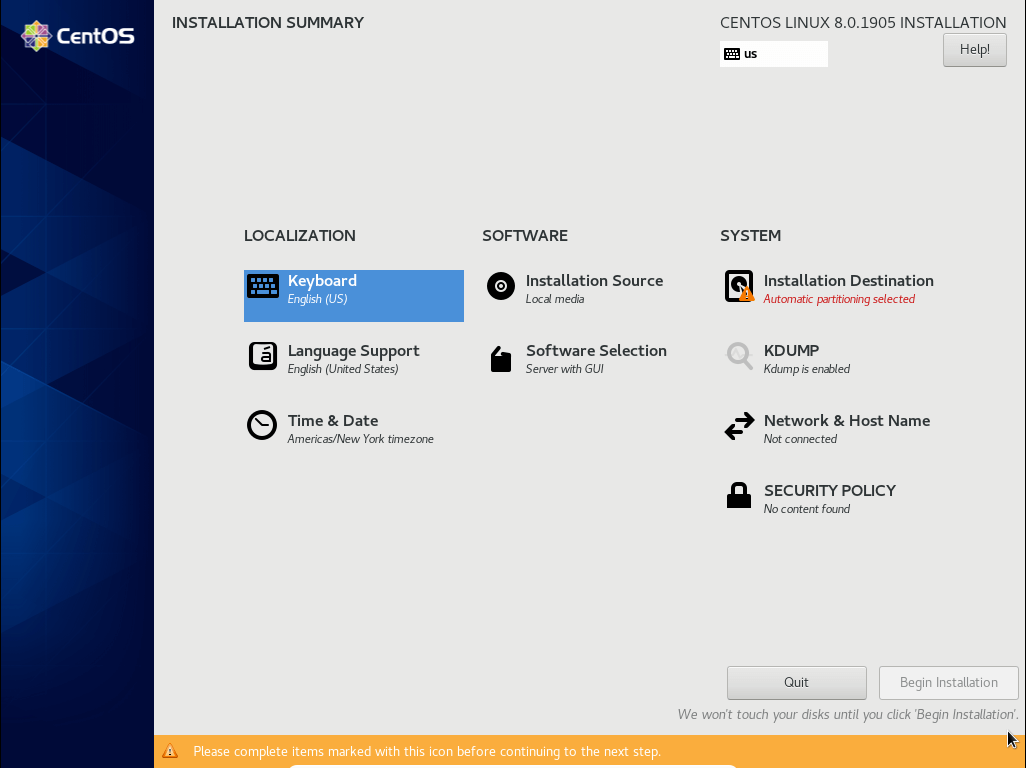
4. On the next screen, an installation summary will be displayed presenting all the options that need to be configured as shown. We will configure each of these options in turn.
Step 4: Configure Keyboard
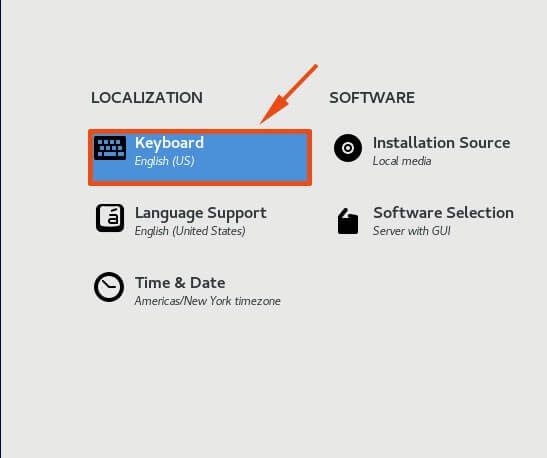
5. Click on the keyboard option as shown to configure the keyboard.
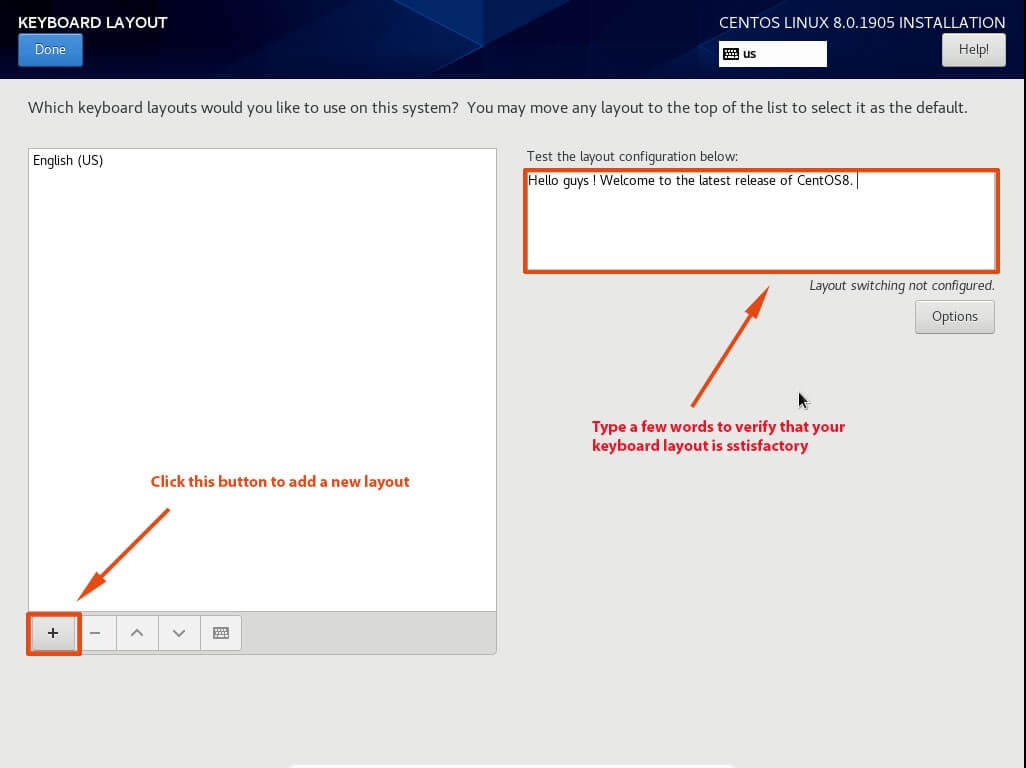
6. By default, the keyboard layout is in English (US). At the right Text field, you can type a few words to verify that all is well, and you can type without any glitches with the current layout.
To add a new keyboard layout, click the [+] button at the bottom left of the screen. Next, click ‘Done’ to return to the main menu.
Step 5: Configure Language
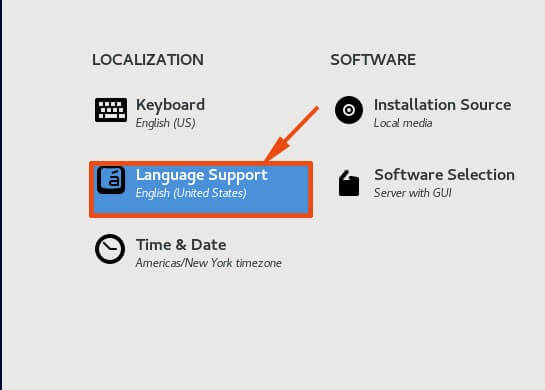
7. Click on the ‘Language Support‘ option.
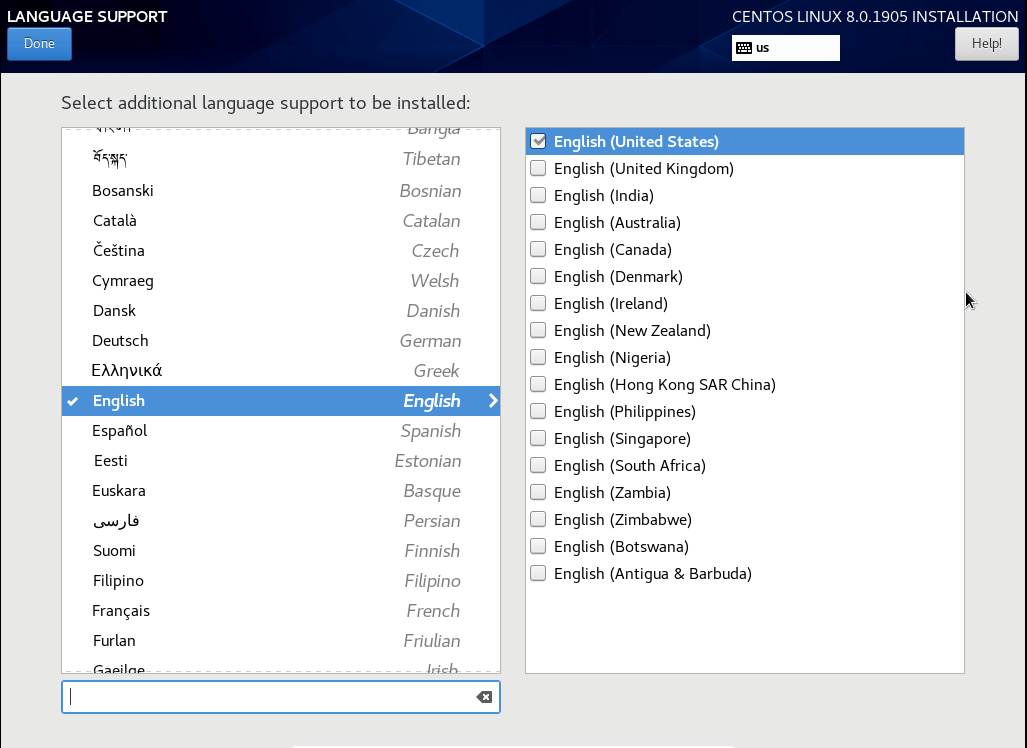
8. Select your preferred language and click ‘Done‘ on the top left corner of the window to go back to the main menu.
Step 6: Configure Time and Date
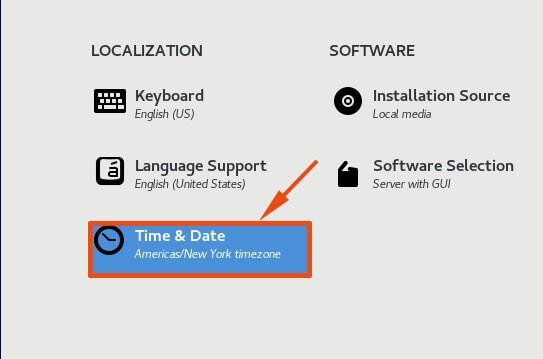
9. Next, click on the ‘Time and Date‘ option.
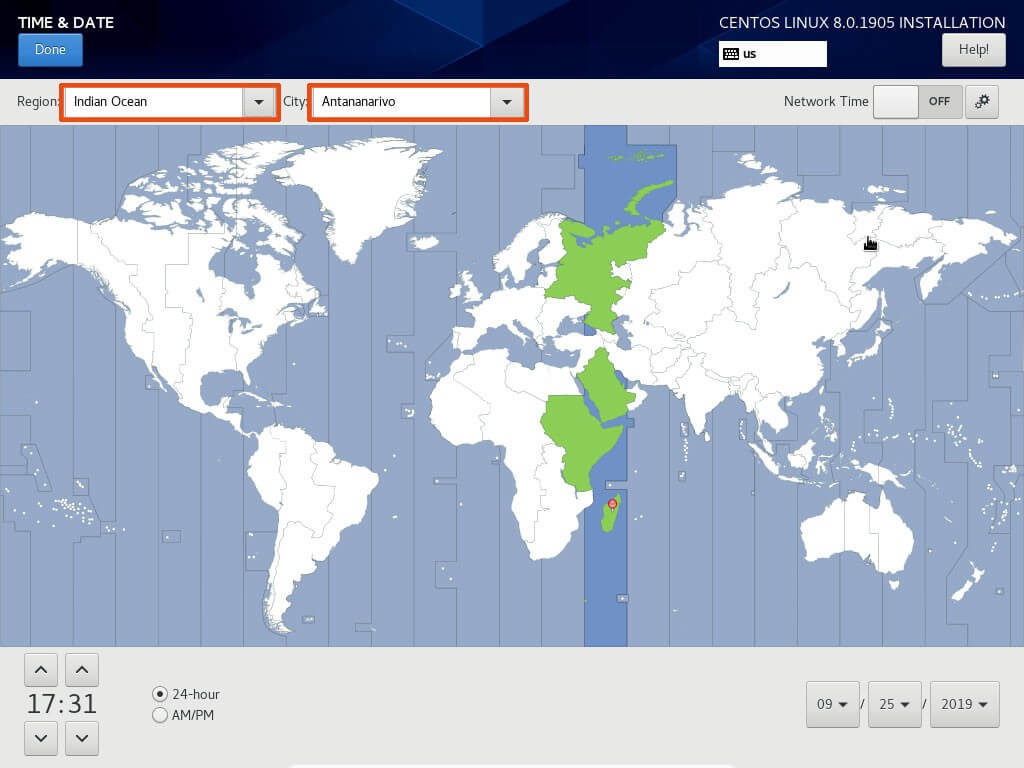
10. Click on the map as shown to configure the time and date settings based on your location on earth. Also, note the Region and City will automatically be set depending on where you click on the map.
Step 7: Configure Installation Source
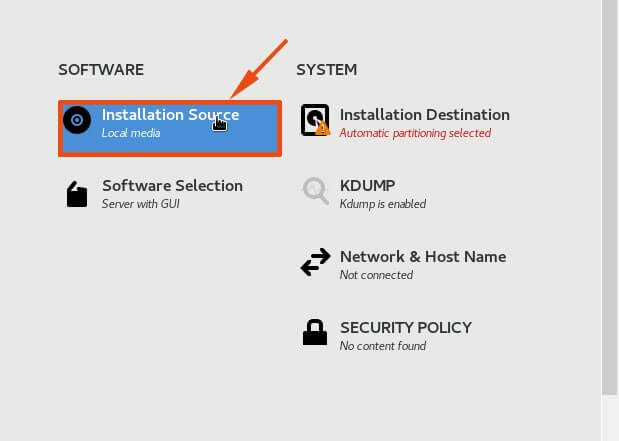
11. Back to the main menu click on the ‘Installation Source’ option.
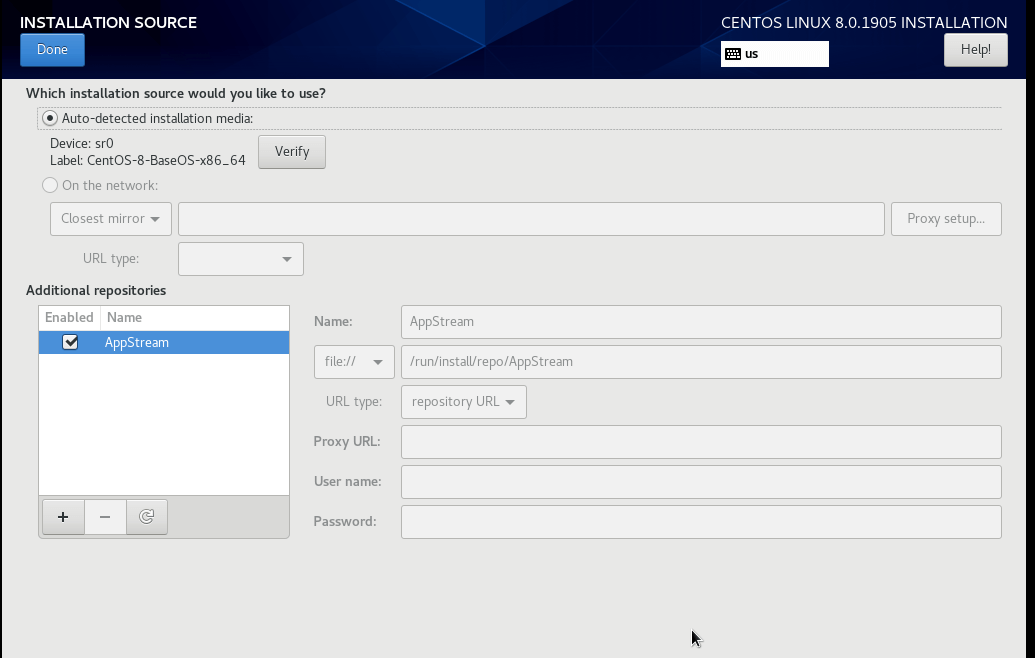
12. Here, you need not do much because the installation source points to the installation medium which is auto-detected. Click ‘Done’ to head back to the main menu.
Step 8: Software Selection
13. Next, click on ‘Software Selection’.
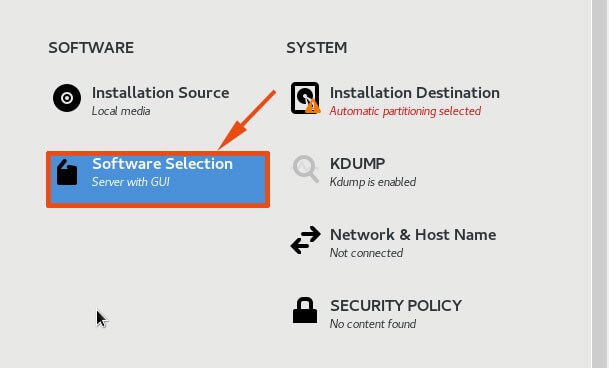
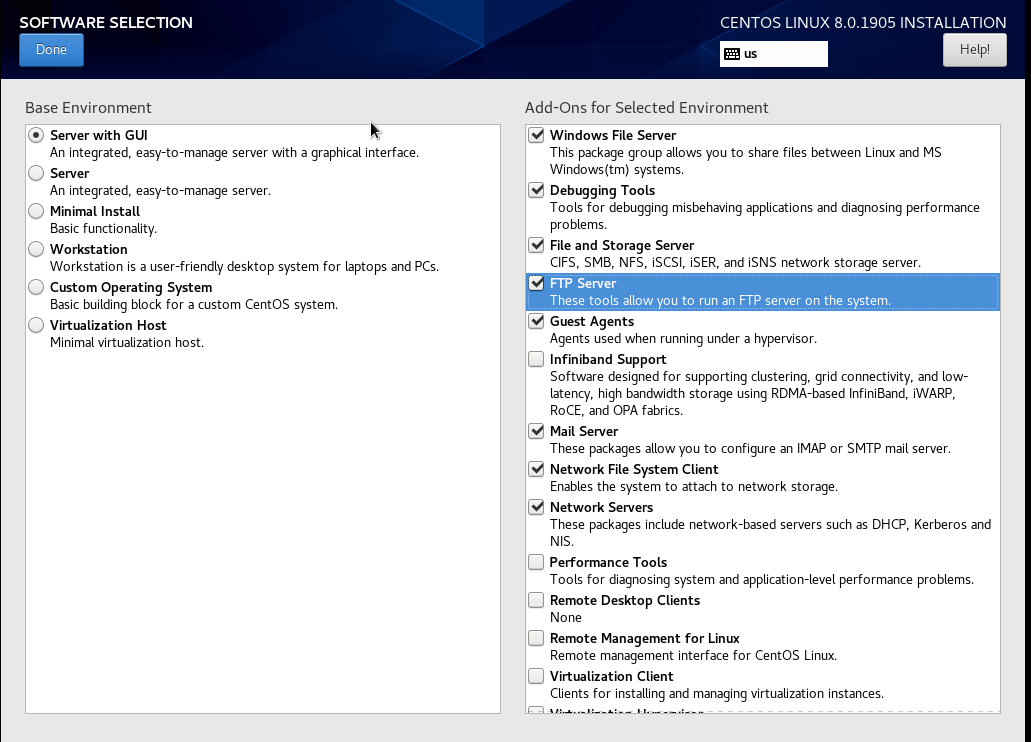
14. In the next Window, you will be presented with 6 options from which you can select your Base environment and a vast array of Software add-ons which are shipped with respective base environments.
In this guide, we have chosen to go with ‘Server with GUI’ base environment and chosen a few Add-Ons such as Windows File server, FTP server, Debugging tools and a Mail server.
When you are done with your selection, click on ‘Done’ to return to the main menu.
Step 9: Installation Destination
15. On the main menu, click on the next option which is ‘Installation Destination’.
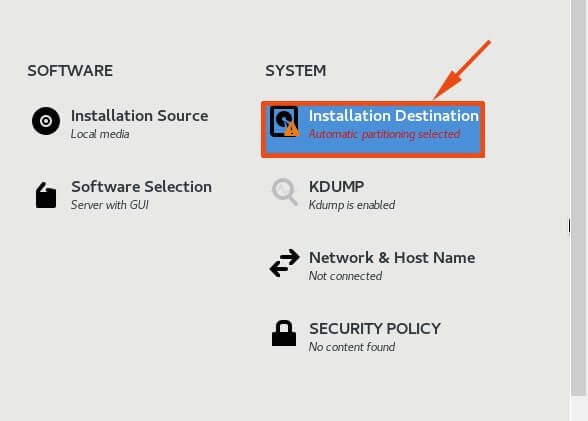
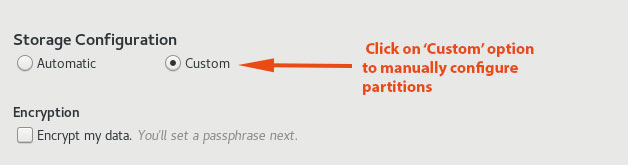
16. In this section, you will determine where to install CentOS 8 and configure the mount points. By default, the installer auto-detects your hard drives and selects the automatic partitioning option. If you are satisfied with the automatic partitioning, click on ‘Done’ to automatically create the mount points.
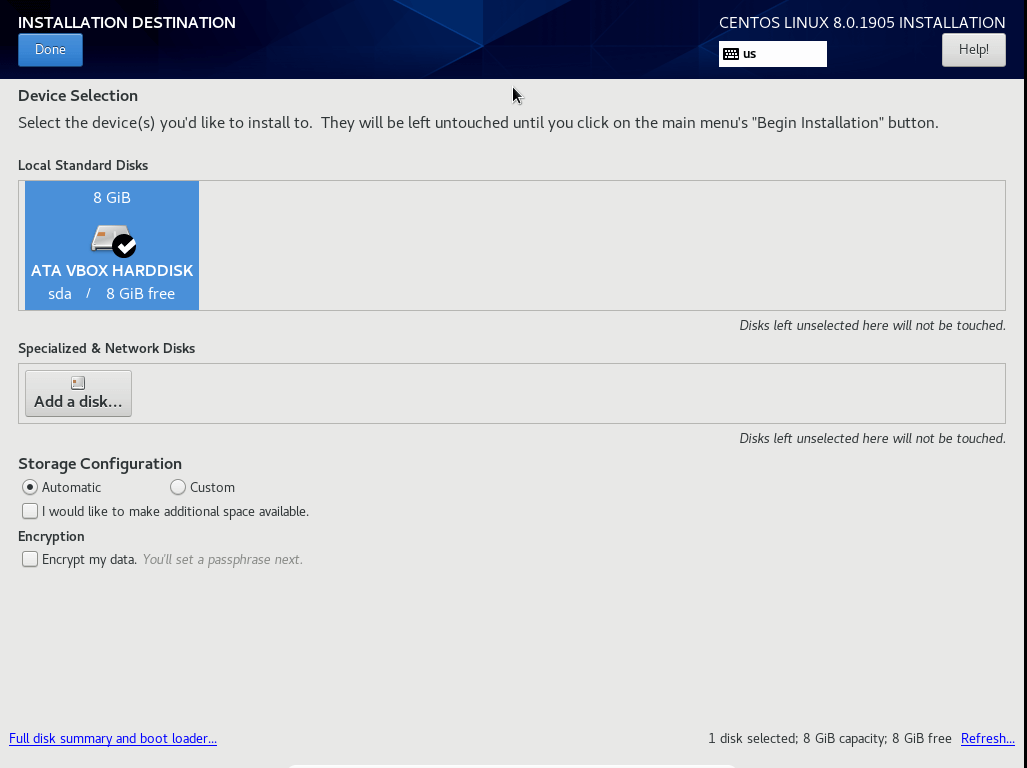
17. If you want to manually configure your own partitions, click on the ‘Custom’ option as shown.
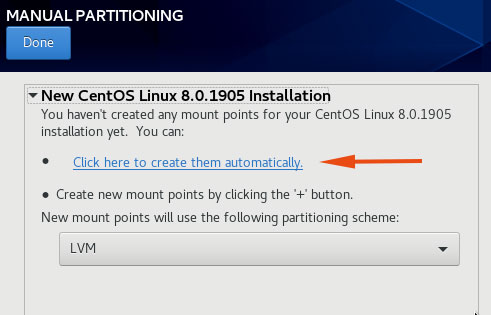
18. This takes you the ‘MANUAL PARTITIONING’ window. To make your life easy, click on the ‘Click here to create them automatically’ link.
19. The mount points will be intelligently created by the installer as shown.
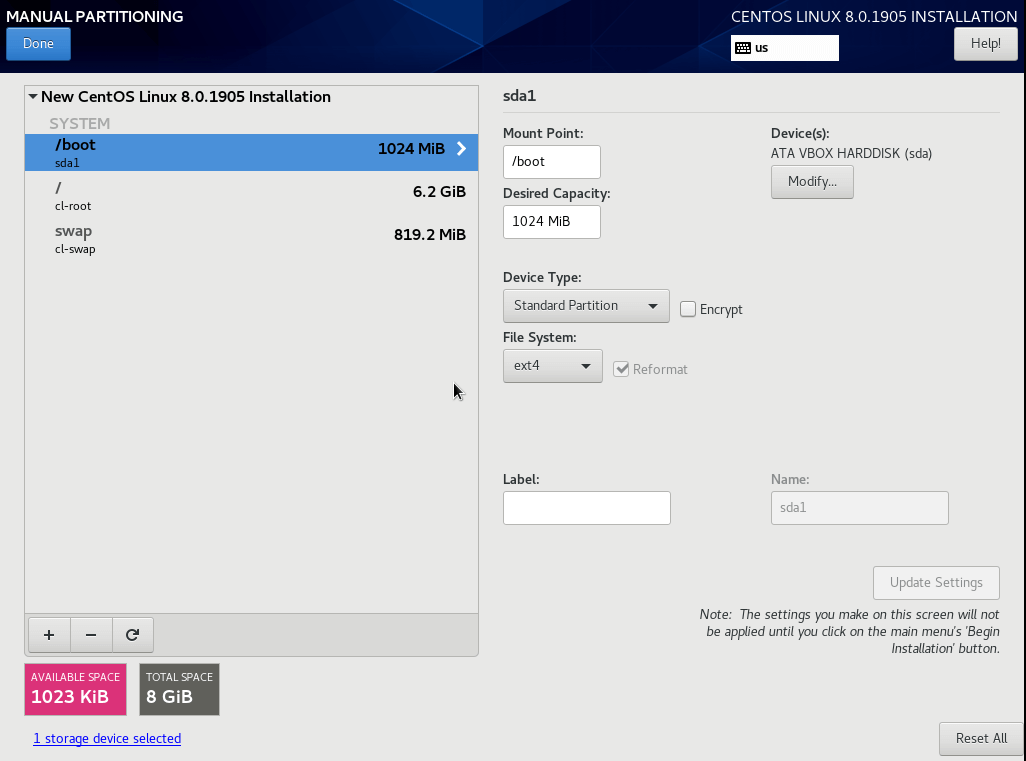
satisfied with the results, click on ‘Done’.
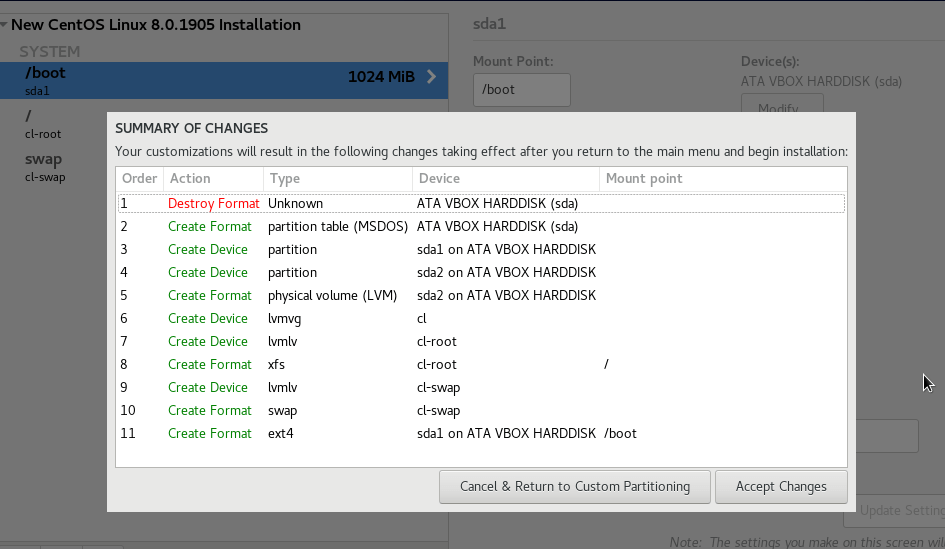
20. A ‘summary of the changes’ will be displayed as shown below. If all seems good, click on ‘Accept Changes’. To cancel and go back, click on ‘Cancel & Return to Custom Partitioning’.
Step 10: KDUMP Selection
21. Next, click on ‘KDUMP‘ as shown.
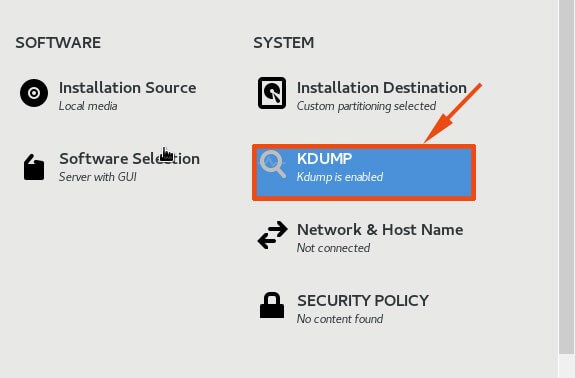
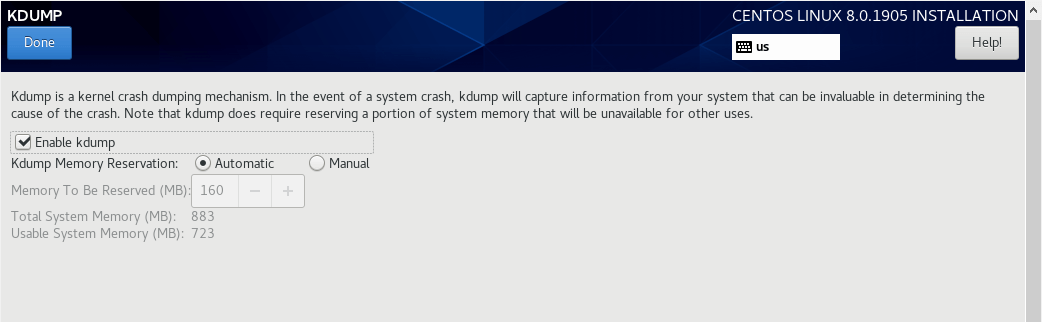
22. Kdump is a utility that dumps system crash information for analysis in order to determine the cause of system failure. The default settings are good enough, so it is safe to simply click on the ‘Done’ button to return to the Home Menu.
Step 11: Set Network and Hostname
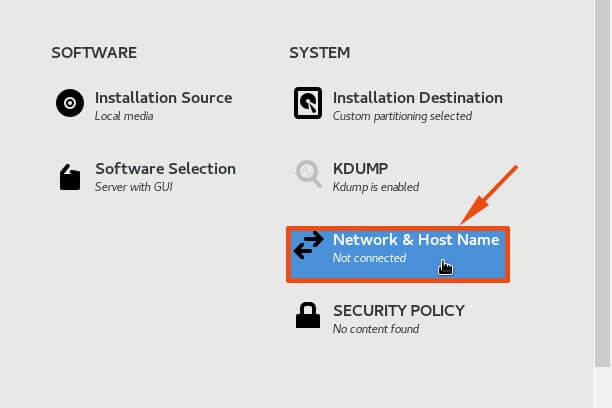
23. Back to the main menu, click on the ‘Network and Hostname’ settings option.
24. The NETWORK & HOSTNAME section displays the active network interfaces on your PC. In this case, the active interface is enp0s3.
If you are in a network running DHCP, flip on the switch at the far right for your network interface to automatically acquire an IP address.
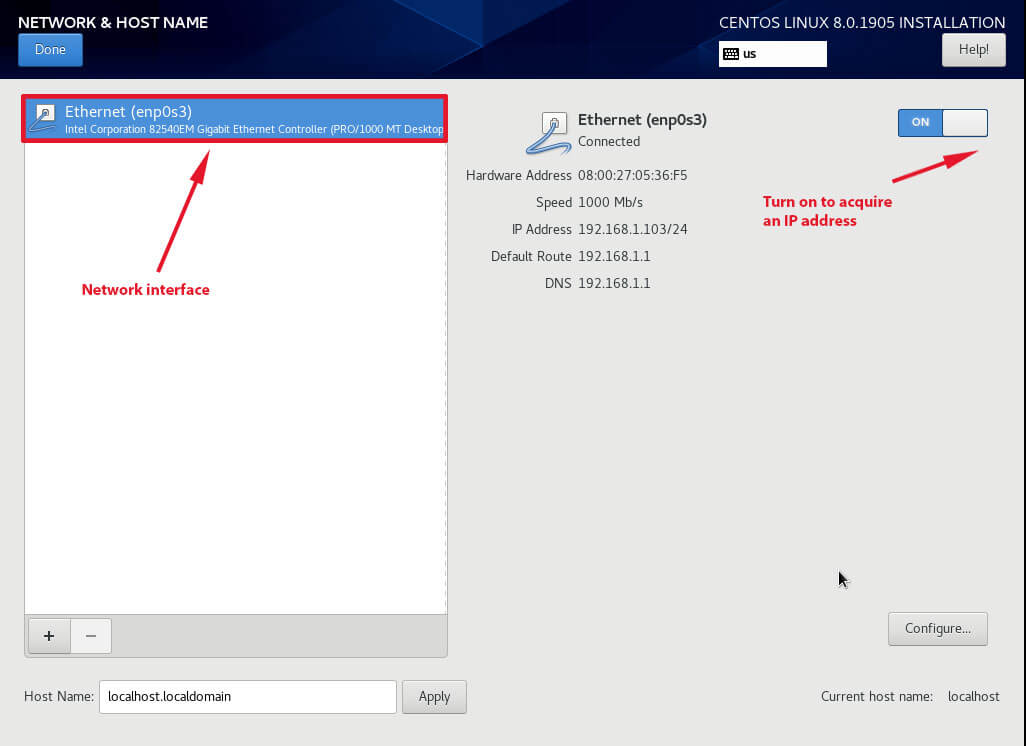
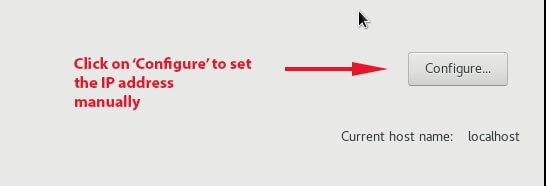
25. If your network is not running a DHCP server, click on the ‘Configure’ button.
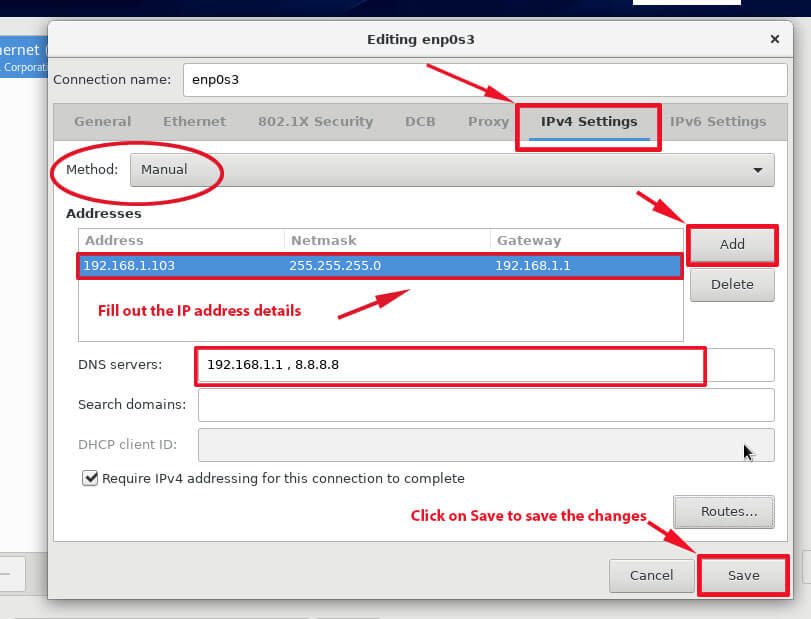
26. This shows you the section below. Click on IPv4 option and select Manual IP on the drop-down list. Next click on the ‘Add’ button and key in your preferred IP address, subnet mask, and Default gateway. Be sure to also provide the DNS server details. Finally, click on ‘Save’ to save the changes.
27. To set the hostname, head out to the bottom left corner and define your own hostname.

Step 12: Begin the CentOS 8 Installation
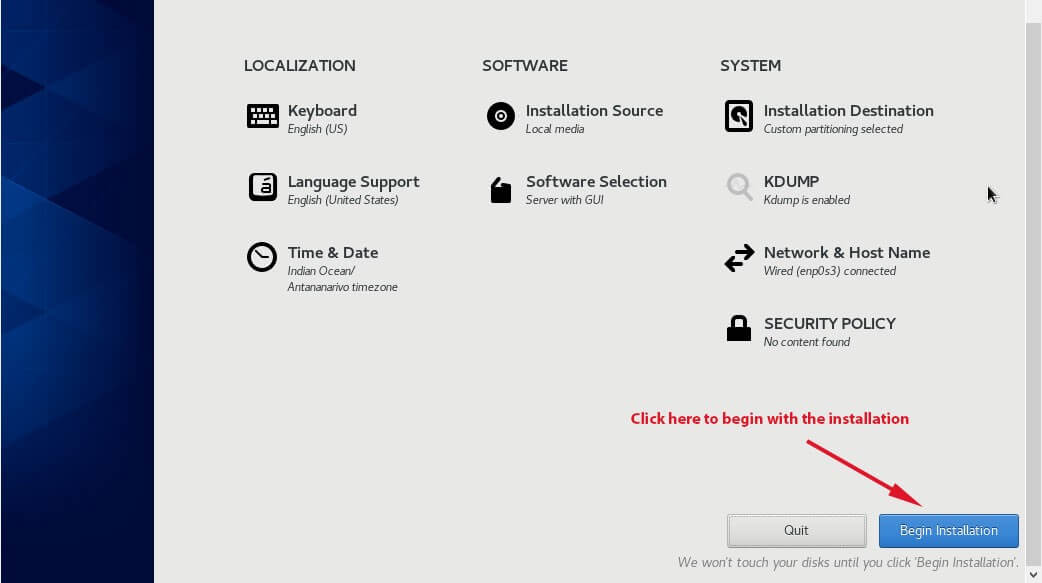
28. Having configured all the options, click on ‘Begin the installation’ to commence the installation process.
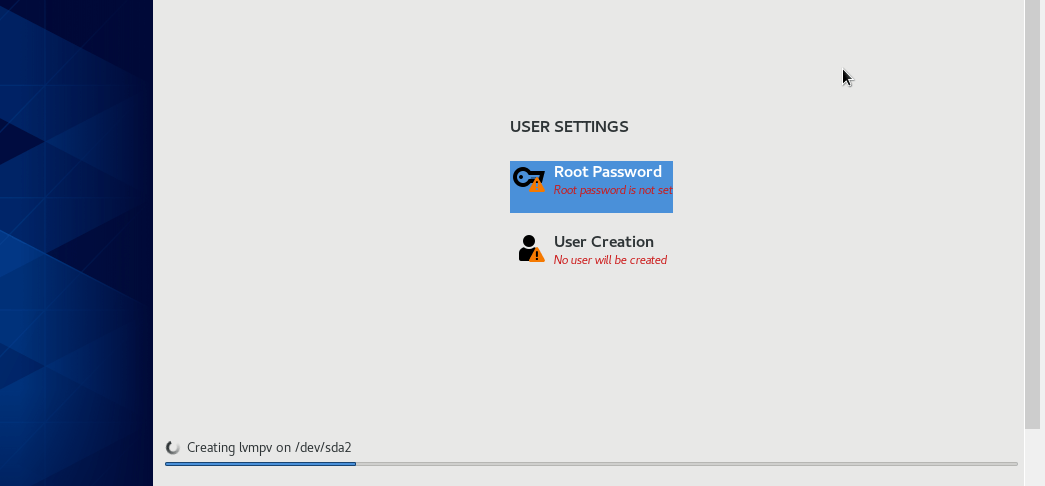
29. The next screen will prompt you to configure USER SETTINGS as shown.
Set Root User Password
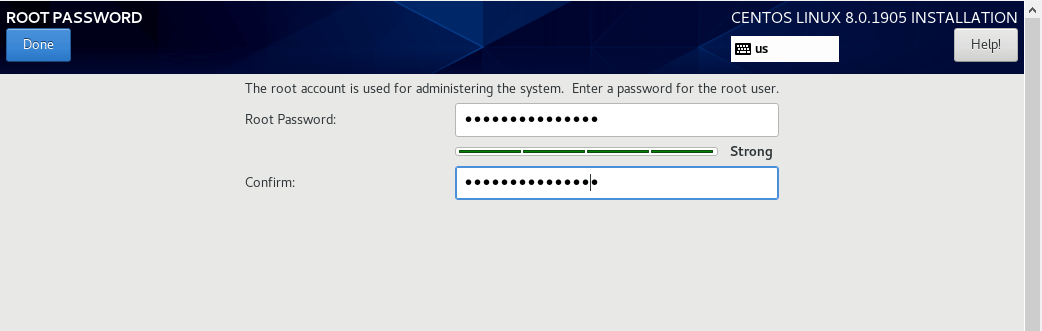
30. Click on ‘Root Password’ to configure the root password. Remember to set a strong password and ensure the password strength check indicates ‘Strong’. Click on ‘Done’ to save the changes.
Create New User Account
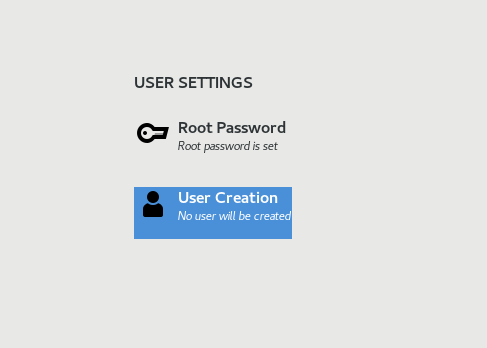
31. Next, click on ‘User Creation’ to create a regular system user.
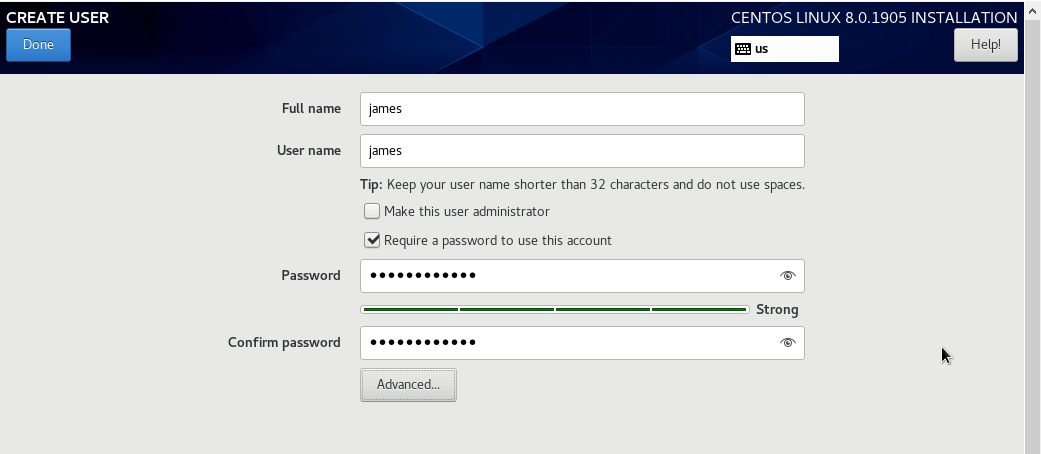
32. Provide your preferred name and, again, provide a strong password for the regular system user. Click ‘Done’ to save the regular user.
Step 13: CentOS 8 Installation Process
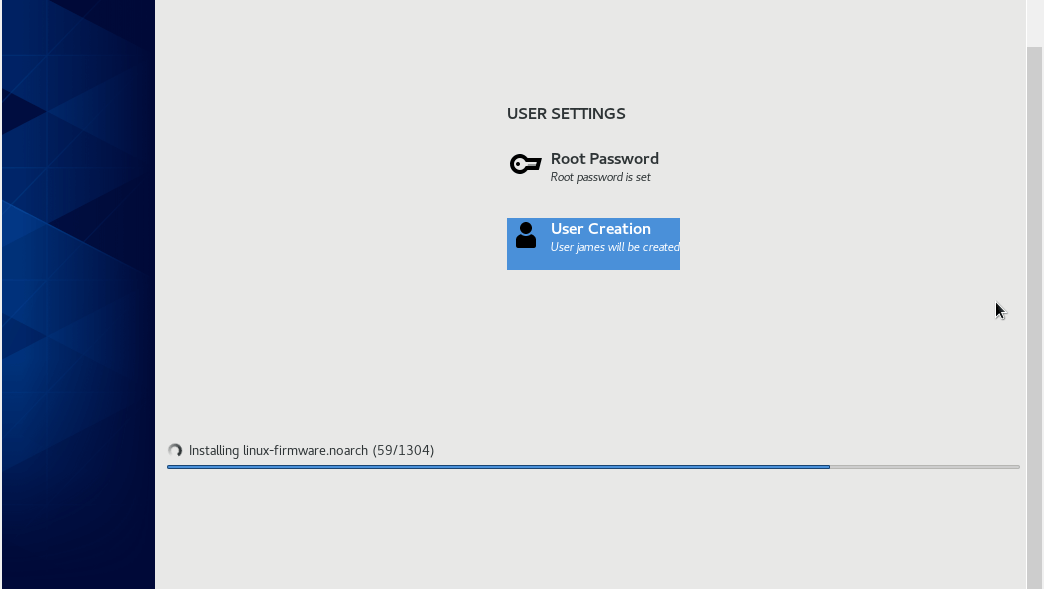
33. The installer will proceed to install the selected CentOS 8 packages, dependencies, and the grub bootloader. This process takes a while depending on your internet speed and it may be a good time to grab your cup of coffee or favorite snack 😊.
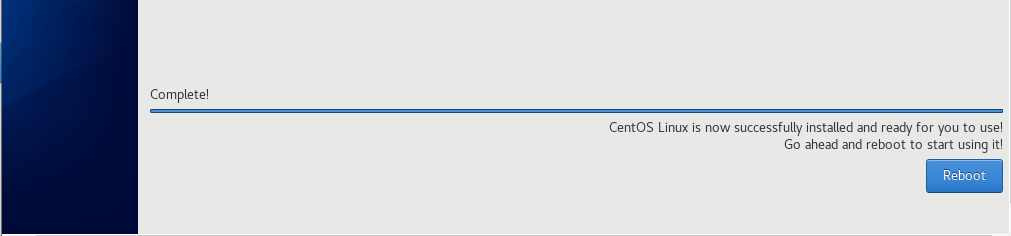
34. Finally, if all went well, you will get the notification below that the installation was successful. Click on the ‘Reboot’ button to restart and boot into your new system.
Step 14: Boot and Accept License Agreement
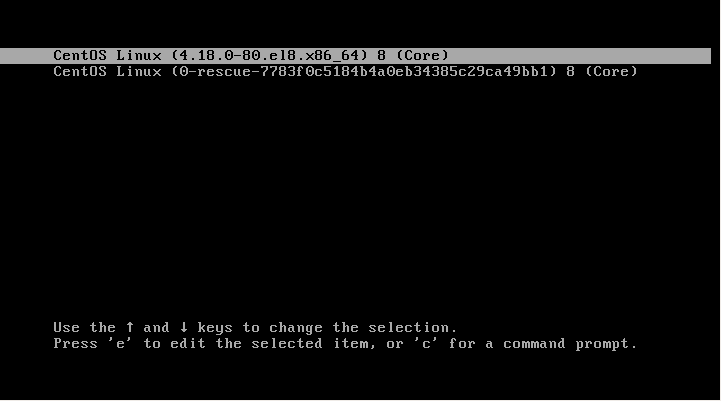
35. Upon rebooting, select the first option on the grub menu as shown.
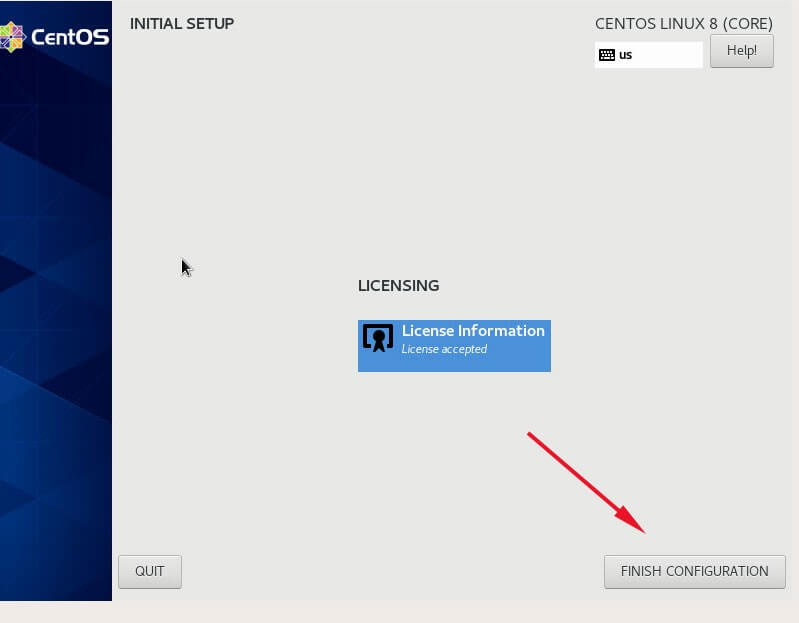
36. You will be required to Accept the License information as shown.
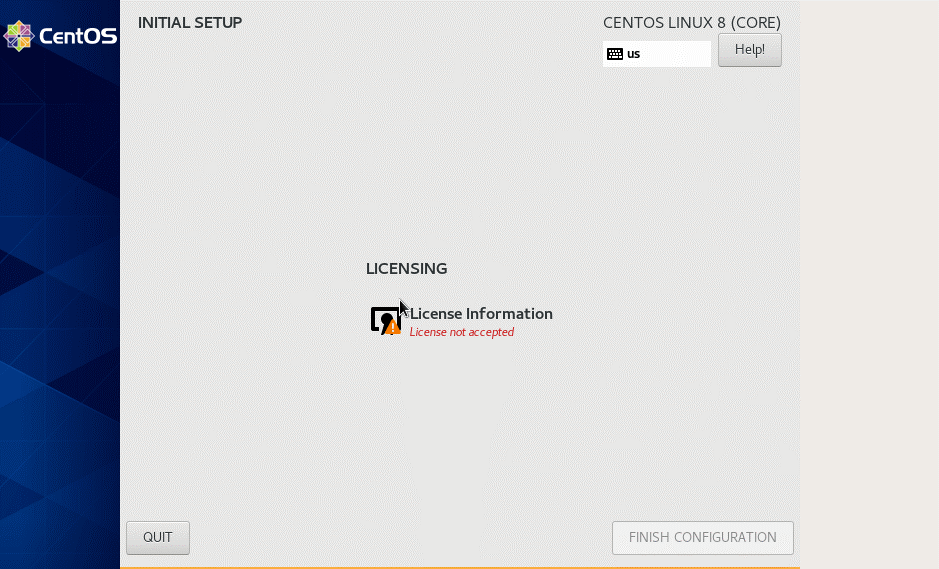
37. Click on the ‘License Information’ option and check the ‘I Accept the license agreement’ checkbox.
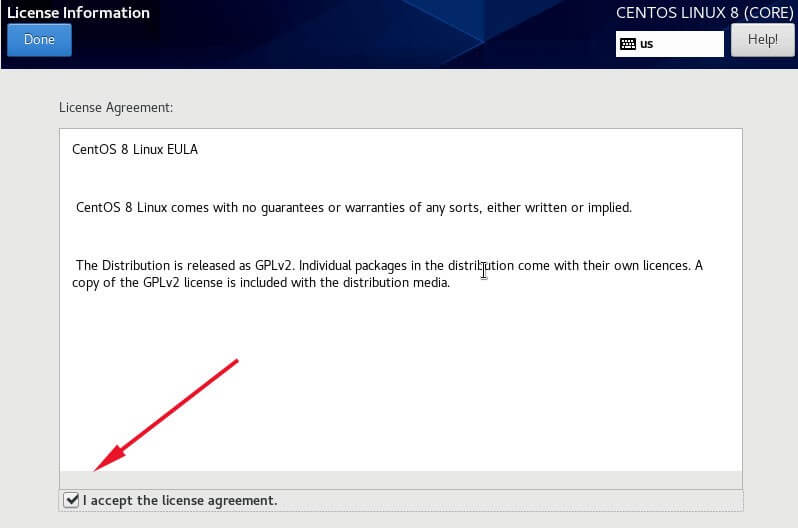
38. Finally, click on ‘FINISH CONFIGURATION‘ to wind up the installation process and log in to your new CentOS 8 system.
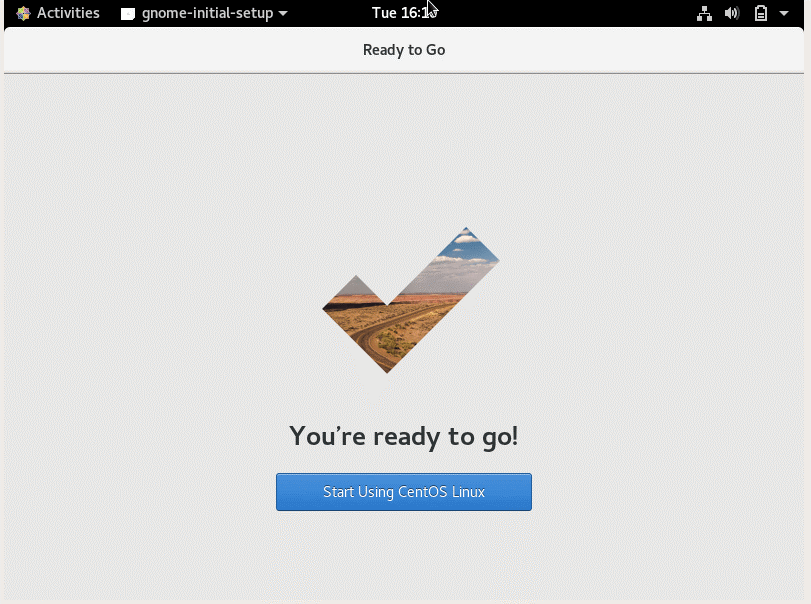
39. Once logged in, follow the post installation step and on the final section click on Start using CentOS Linux option.
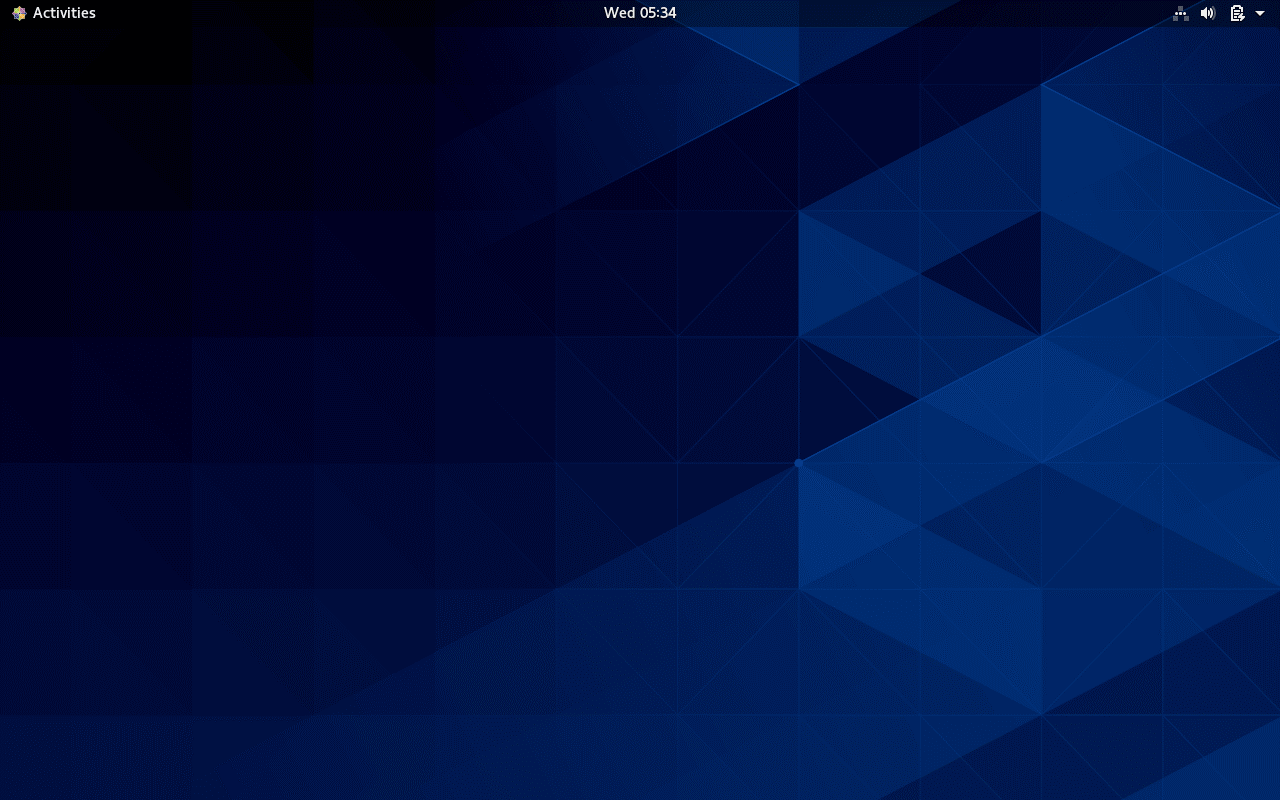
40. CentOS 8 comes with a beautiful new GNOME desktop as shown.
Congratulation! You have now successfully installed the last version of CentOS 8 on your bare new machine.
To further perform other system tasks, such as the update system, install other useful software needed to run the day to day tasks, read our Initial Server Setup with CentOS/RHEL 8.



Great step by step except THE INSTRUCTIONS DON’T SAY REMOVE THE USB BEFORE REBOOTING. That’s an important step. Omitting it reflects POORLY on the great work BECAUSE I am hesitant that OTHER IMPORTANT steps WERE OMITTED! Overall – OUTSTANDING work, just please pay attention to the details and please follow the steps BEFORE you publish it.
Obviously, if you had, you would have realized the system will return to the initial installation routine if the USB isn’t removed. Granted – I knew what to do but I want to recommend the instructions to others who may NOT.
Thanks, Paul for pointing that out. I’ll definitely be keener next time.
Begin the installation button remains gray. Also, what do I enter for security policy?
Hey Charles, the grayed-out button implies that you have missed out in configuring one or settings from step 3 right through step 11. Ensure all the options are configured. For security policy, you can leave the default settings as they are and proceed with the installation.
You should include CIS recommended steps, like creating separate mount points for
/home,/tmp, etc. It is much easier to do at set up then having to change after the server is created.Thanks for that Gator. We have taken note.
But wonderfully laid out. Thank you very much!!!
Hi Writer,
Tecmint is one of the best online sources for the Linux tutorial. Every time I got good and perfect knowledge from you guys
Thanks and keep it up!
Thanks for the positive feedback, We are greatly honoured for the review.
Hi, I already used Rufus for format into bootable USB but unfortunately come out bugs ask me for debug, afterward I using DD command for the format, it shows me missing isolinux.bin.
Hey Lau, did you download the ISO image from the Official CentOS website? Also, could be that your USB drive is faulty. Try using a new or different USB drive.
might be you mixed up bios setting with bootable type. same problem I had faced before.
After I try several times, Rufus is not compatible to use it. Etcher are works fine for CentOS 8.
How can I tell if Centos 8 will run on a given server?
I want to buy a refurb but I am unsure if I will be able to run Centos 8?
Hey Tim, CentOS 8 will run quite well on a system with 2GB RAM, 2 GHz or higher processor and 20 GB hard disk space. Does your refurb meet the requirements?
Perfect!
The greatest about this is that the interface is the same as for CentOS 7.
Thank you for the article.
~Chris