Rocky Linux 9.0 was made generally available on July 14, 2022. It comes with a boatload of new features and improvements and will enjoy support and maintenance until May 31, 2032. The previous release, Rocky Linux 8, will still continue to receive support until May 31, 2029.
In this guide, we will walk you through the installation of Rocky Linux 9.0.
Rocky Linux 9 Features
Let’s have a quick overview of some of the notable key highlights of Rocky Linux 9.
Desktop Enhancements
In Rocky Linux 9.0, GNOME 40 is the default desktop environment. It’s the latest GNOME release which comes with a redesigned and polished UI that enhances user experience.
Fractional scaling has also been incorporated to support bigger displays with higher resolutions. You can also mute applications by selecting the ‘Do not Disturb’ option which appears as a separate button in the notifications area.
Each screen now has the ability to use a different refresh rate from the others.
Language Runtimes and Tools
Rocky Linux 9 ships with the latest language runtimes, compilers including GCC 11.2.1, Go (1.17.1), Rust (1.58.1), and LLVM LLVM (13.0.1). It also ships with the latest software packages such as Python 3.9, Node.JS 15, Ruby 3.0.3, PHP 8.0, and Perl 5.32.
File System Improvements
The XFS file system now supports Direct Access (DAX) operations. This permits direct access to byte-addressable persistent memory and helps to avoid the latency of using traditional block I/O conventions. In addition, NFS introduces the “eager write” mount option to help reduce latency.
Security
With Rocky Linux 9, remote root login via SSH password authentication is disabled by default. This is aimed at preventing hackers from breaching the system via brute force attacks. However, this can be configured to allow remote root access during installation or much later.
There are also new improvements to OpenSSL 3.0.
System Monitoring
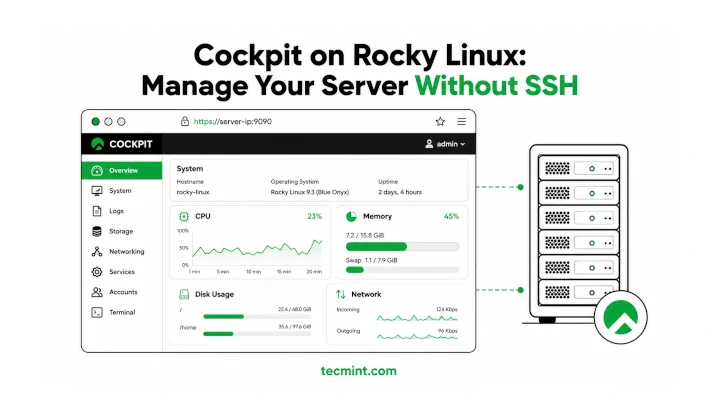
The Cockpit web console now features an improved metrics performance page that helps to diagnose the cause of high memory, CPU, and network bandwidth spikes.
With that out of the way, let us now install Rocky Linux 9.
Rocky Linux 9 Prerequisites
Before you set sail, ensure that you have the following.
- An ISO image of Rocky Linux 9.0. You can download the ISO file from the Official Rocky Linux download page. The ISO image is about 7.9GB in size, and therefore. ensure that you have a fast and reliable internet connection and sufficient disk space on your system.
- Minimum Hard disk space of 15 GB and 2GB RAM.
- A 16 GB USB drive for use as an installation medium. With the ISO image at hand, you can make the USB drive bootable using the UNetbootin tool or dd command.
Installation of Rocky Linux 9
Now grab your bootable USB drive and plug it into your system and reboot. Be sure to set your installation medium as the first boot priority in the BIOS.
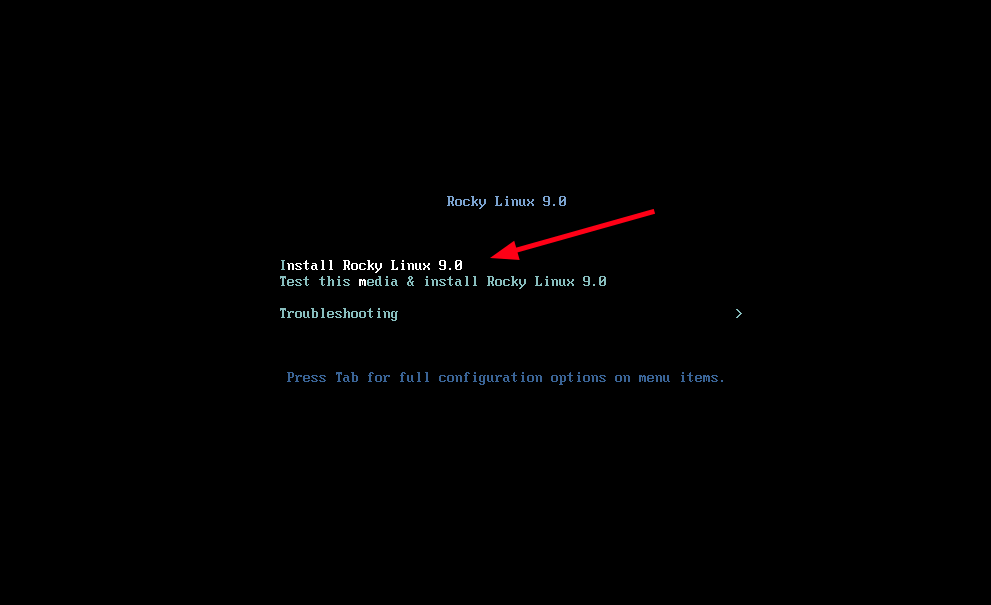
Once you have booted your PC the screen below will come to view, providing you with three options. Since our mission is to install Rocky Linux 9, select the first option ‘Install Rocky Linux 9.0’, and hit ‘ENTER’.
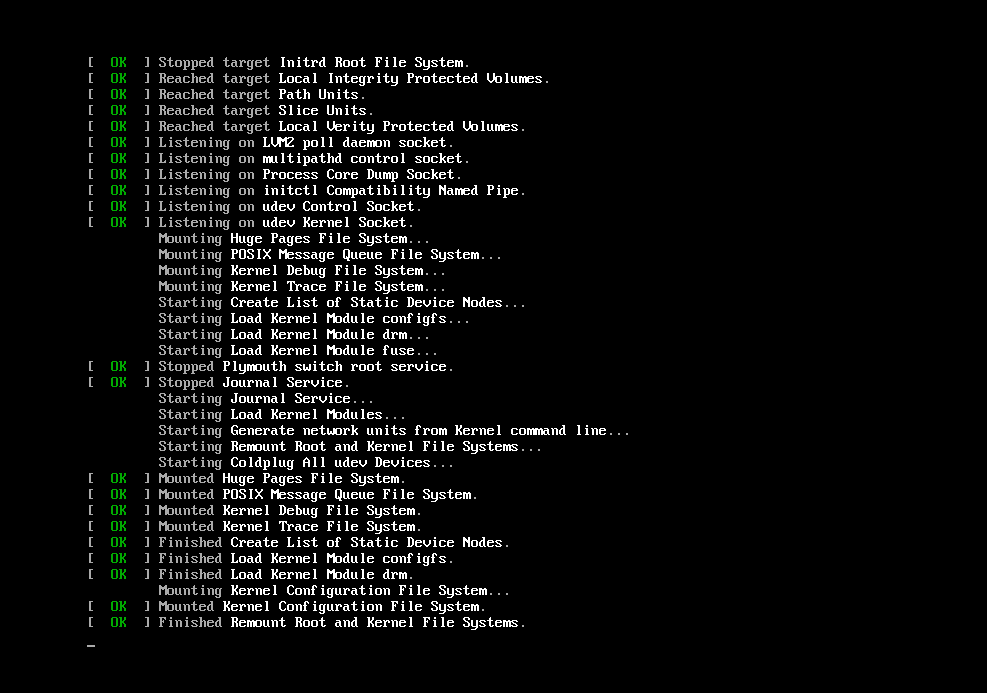
Shortly afterward, you will see a flurry of boot messages on your screen as the Anaconda installer gets ready to be initialized.
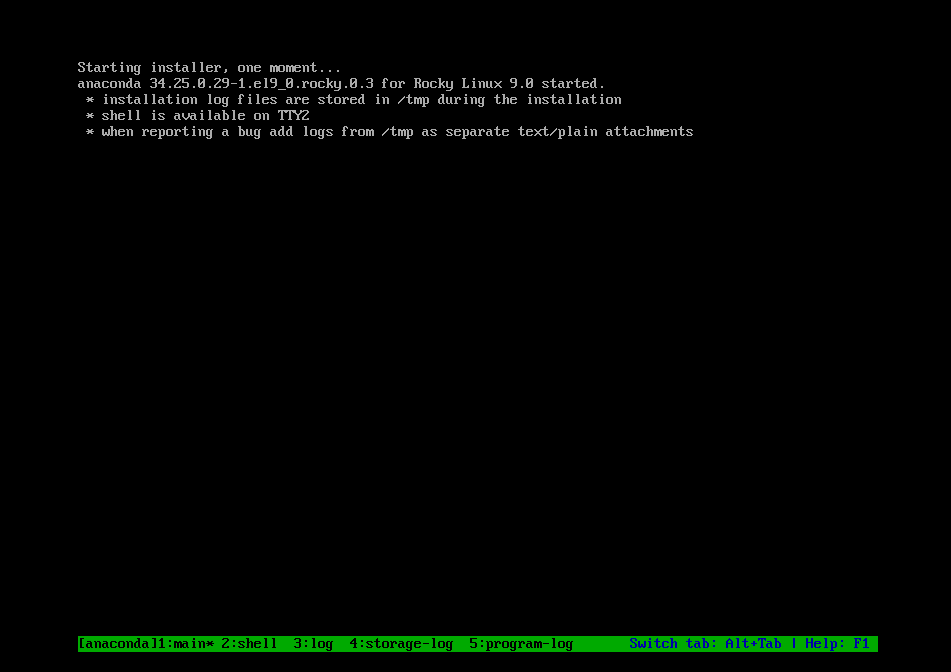
Next, this screen will be displayed indicating that the Anaconda installer is about to be started.
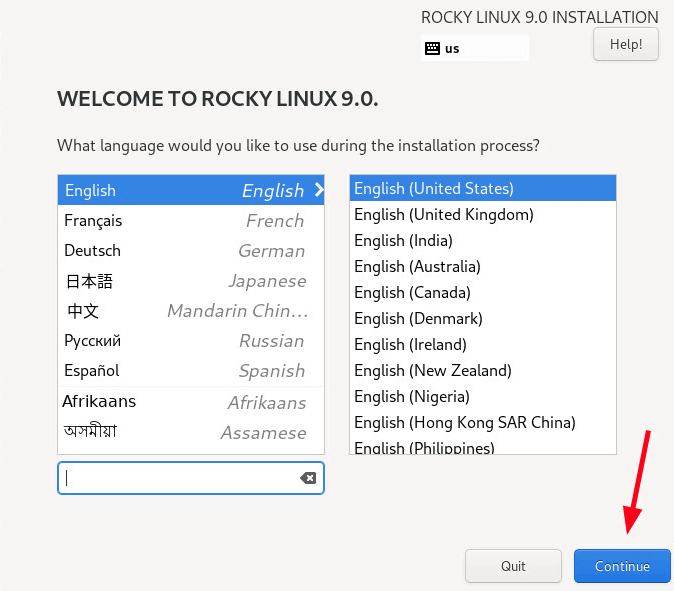
Once the installer is started, the Rocky Linux 9.0 Welcome page will be displayed, and the first course of action is to select the installation language. So, choose your preferred language and click ‘Continue’.
The next step provides a summary of crucial parameters that need to be configured. These are grouped into four main sections.
- Localization
- Software
- System
- User Settings
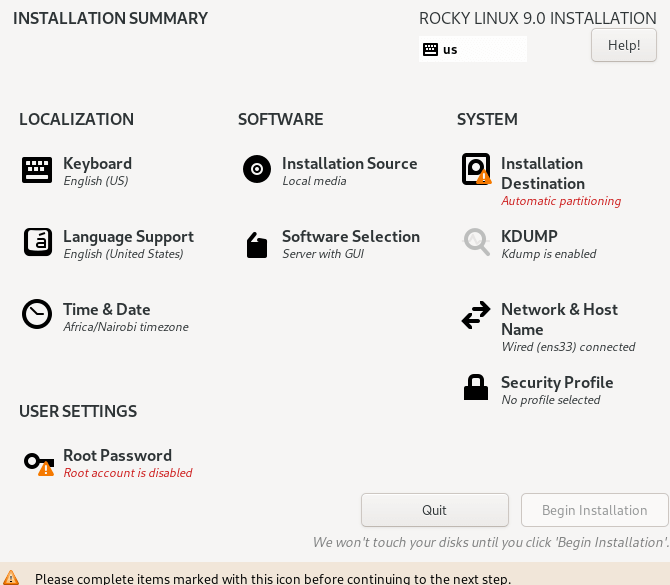
Let us configure each of these parameters.
Configure the Keyboard
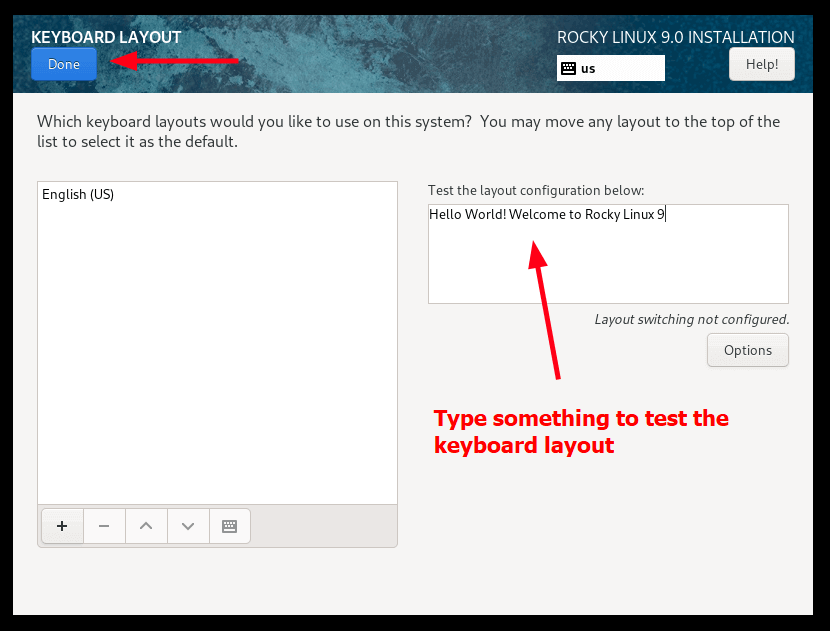
To configure the keyboard, click the ‘Keyboard’ option.
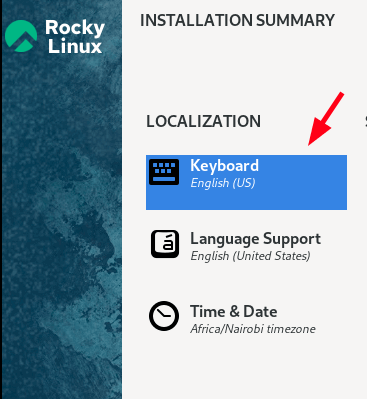
The default keyboard configuration is set to English (US). If you need to set it to a different language, click the plus sign (+) at the bottom and select your preferred layout.
Further, you can type a few words in the textbox at the right to confirm the selected layout. Once you are satisfied, click ‘Done’ to save the changes. In our example, we will go with the default selection.
Configure Language Support
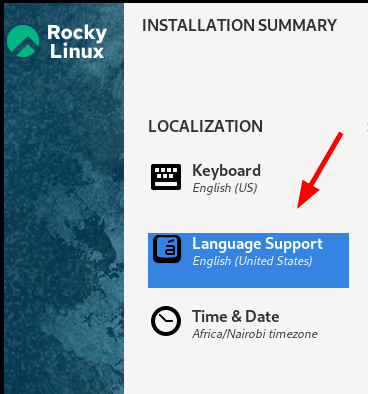
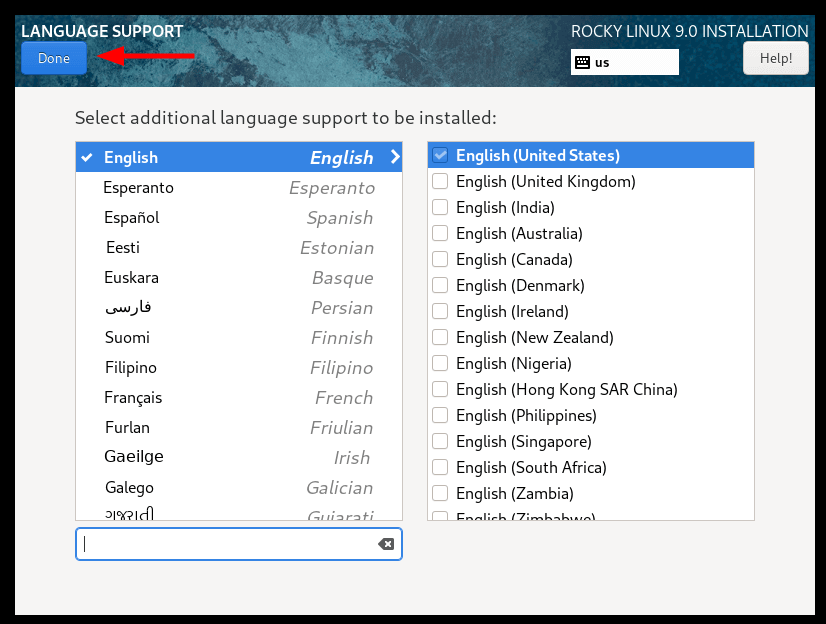
To choose the OS language, click on ‘Language Support’.
Select the language that you prefer to use to administer Rocky Linux and click on ‘Done’.
Configure Time and Date
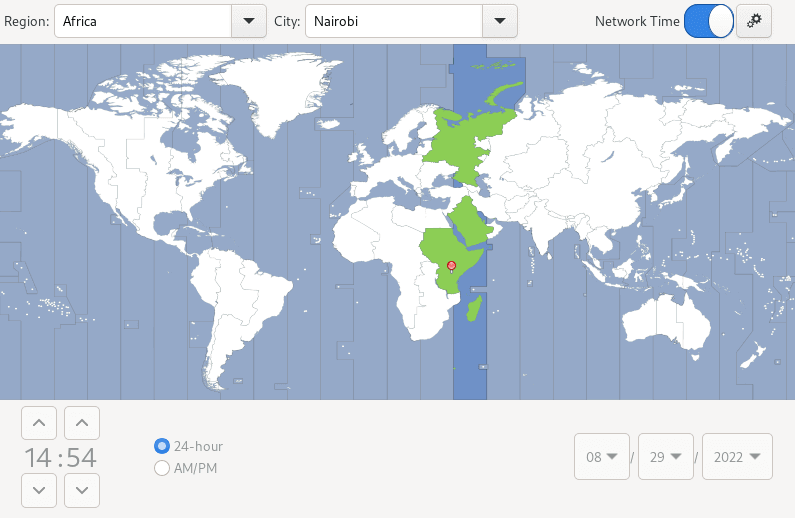
The next step is to set up time and date settings by clicking the ‘Time and Date’ option.
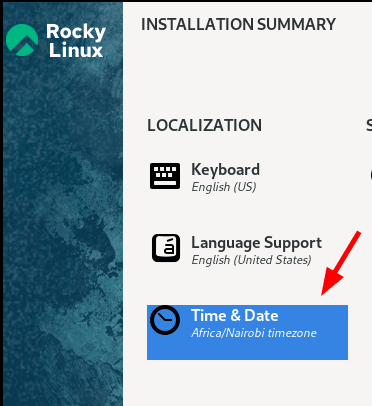
By default, the installer auto-detects your region and corresponding timezone if your PC is connected to the internet. As such, no intervention is required.
However, if you are offline, select your region on the world map provided and click ‘Done’.
Configure Software
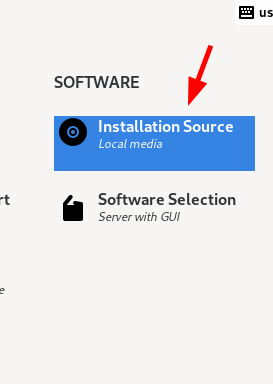
The next parameter to configure is ‘SOFTWARE’ which comprises ‘Installation Source’ and ‘Software Selection’.
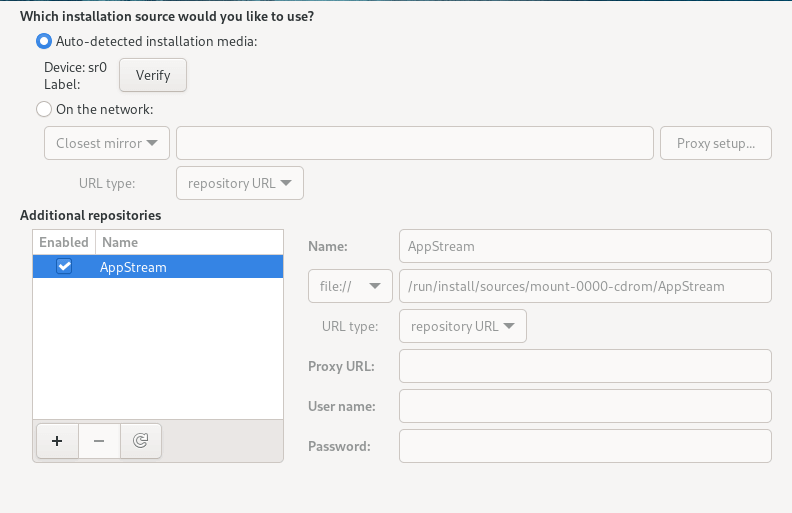
For the first option, nothing much is required and the default settings are just okay. But you can take a look for curiosity’s sake.
Accept the default settings and Click ‘Done’ to head back to the installation summary.
Next, click the ‘Software Selection’ option.
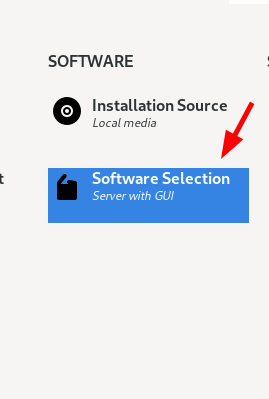
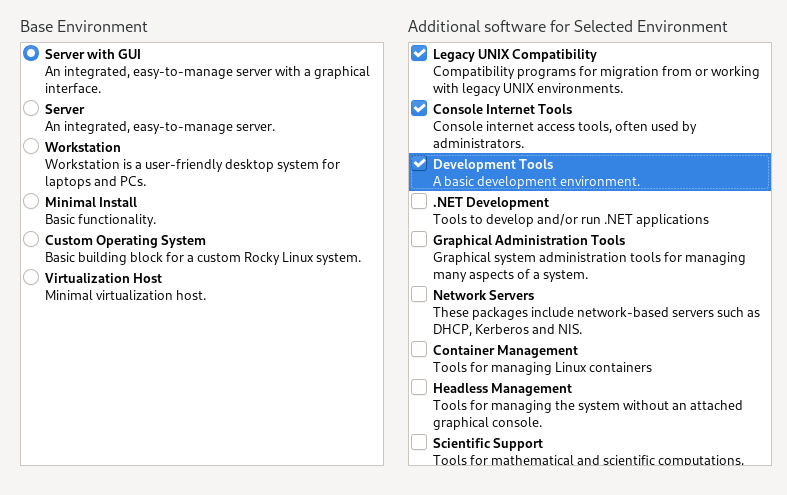
This section provides a selection of six Base Environments to choose from. These dictate the functionality, build, and appearance of your system. On the right section is a list of additional software utilities and tools that you can select to install.
Therefore, select your preferred base environment and additional software and click ‘Done’.
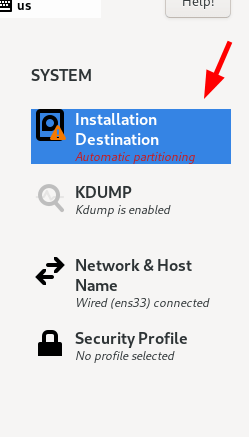
Installation Destination – Configure Partitioning
This is the most crucial part of the installation of any Linux OS, and Rocky Linux is no exception. You need to partition your hard drive before the installation can start. By default, the ‘Automatic partitioning’ is selected. Still, some additional steps are required, and therefore, click on ‘Installation Destination‘.
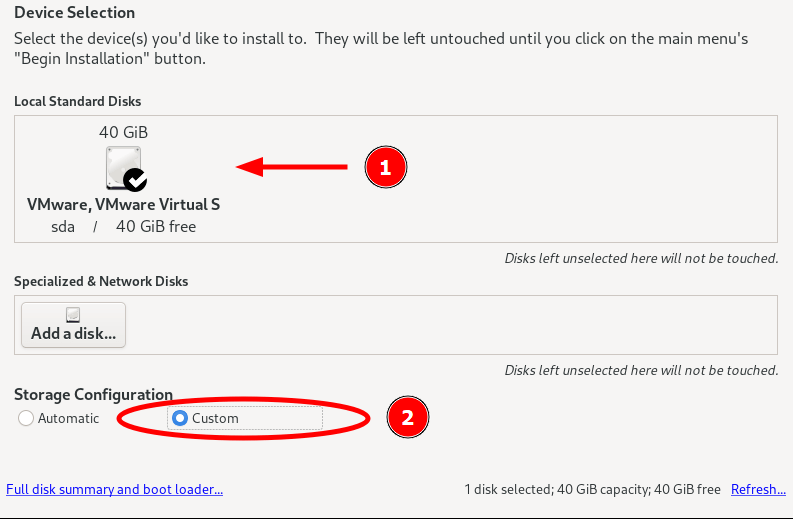
Your hard disk drive will be listed in the ‘Local Standard Disks’ section. In this guide, we have a 40GB hard drive. Be sure to click on the hard drive icon so that it bears a black check mark.
As mentioned previously, the default partitioning scheme is set to Automatic. This is ideal for beginners in Linux or novices who are not conversant with manually partitioning the hard drive. This option automatically and intelligently partitions the hard drive and thus, takes away the hard work of partitioning the drive.
In this guide, we will explore manual partitioning. Therefore, click the ‘Custom’ option and click ‘Done’.
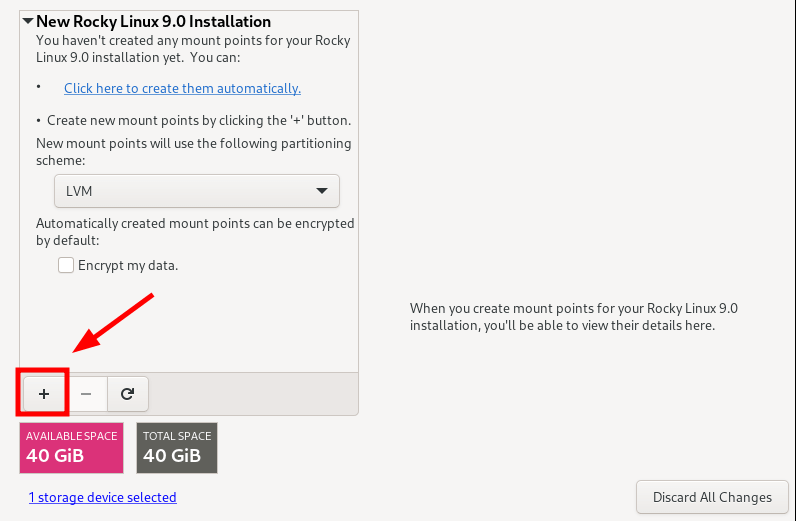
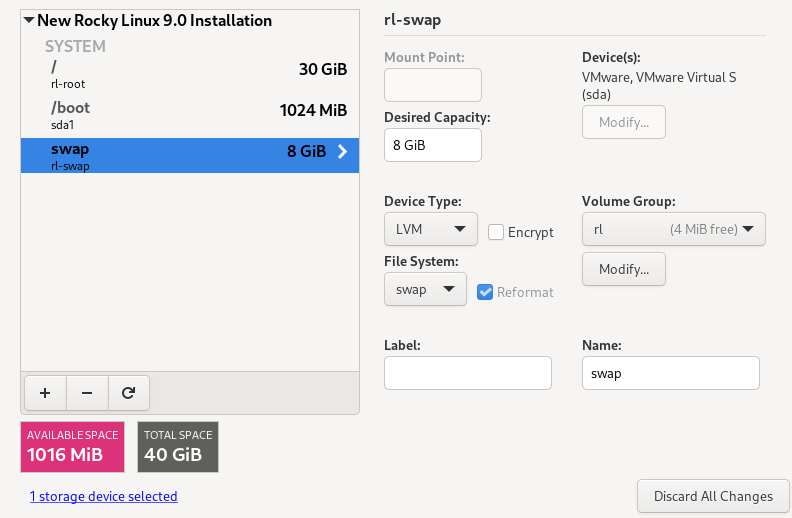
This ushers you to the ‘Manual partitioning’ window as shown. So, here is a summary of how we intend to partition the hard drive.
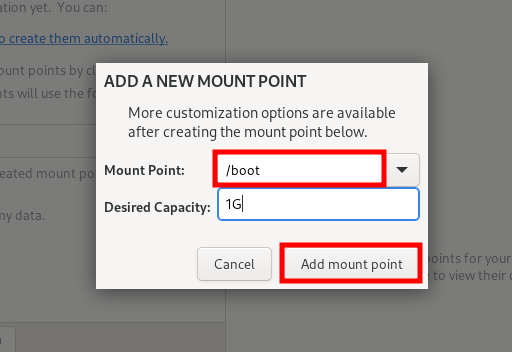
/boot -	1GB
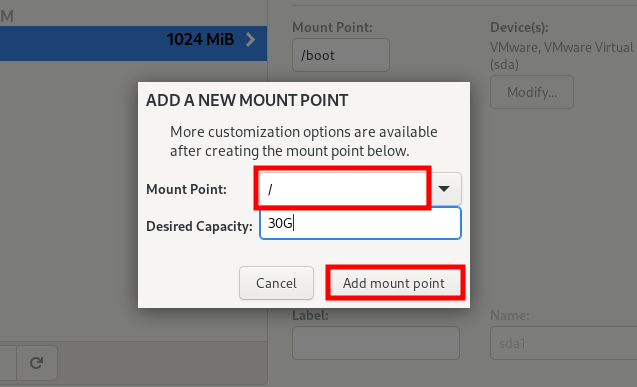
/root -	30GB
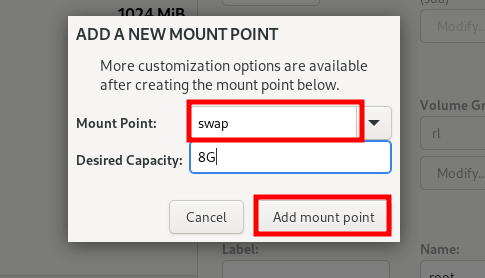
swap - 8GB
To continue with manual partitioning, click on the plus sign (+) as indicated.
Define the /boot partition and specify its size. Then click ‘Add Mount Point’.
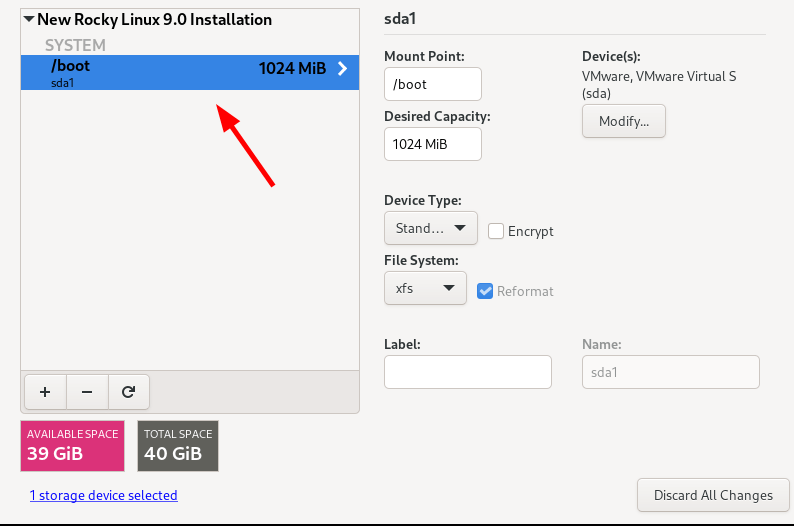
The newly created /boot partition will be listed on the partition table as shown.
Repeat the same steps to create the / (root) partition.
And the swap space as well.
This is how our partition table looks with all the partitions. If you are satisfied, click ‘Done’ to save the changes.
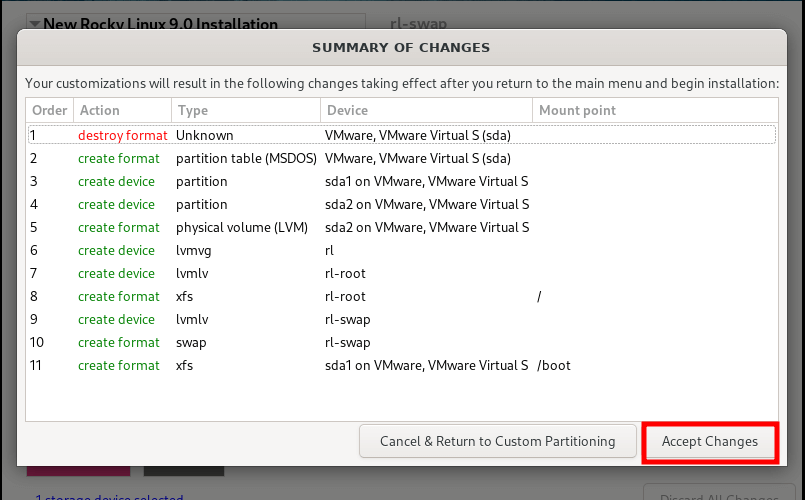
A summary of the changes to be effected on your hard drive will be displayed on the pop-up dialogue box that appears.
Click ‘Accept Changes’ to confirm and exit.
Configure Network and Hostname
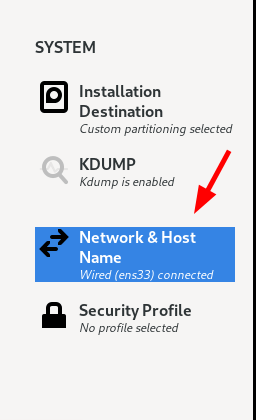
Another equally important parameter to configure is the ‘Network and Host Name’. Therefore click the ‘Network and Host Name’ option.
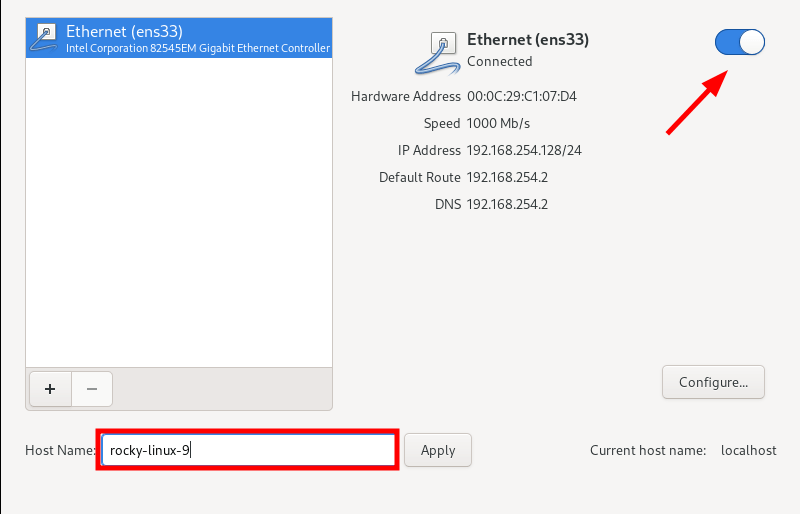
The active Network adapter will be displayed. So toggle it on so that your system acquires an IP address dynamically from your router or DHCP server. When successfully connected, the IP configuration will appear just below the interface.
You might also want to set a hostname for your system at this stage, so, provide your preferred hostname in the ‘Hostname’ textbox and click ‘Apply’.
Next, click ‘Done’ to return to the ‘Installation Summary’ Window.
Configure User Settings
In the ‘USER SETTINGS’ section, you will configure root and regular user accounts. So, first, click ‘Root Password’.
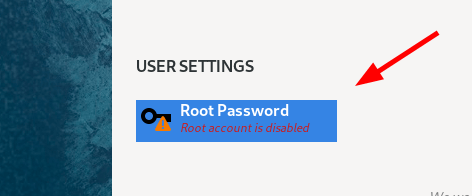
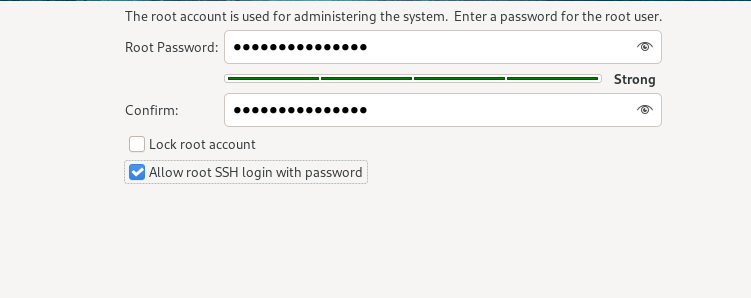
Specify the Root password and confirm it. Rocky Linux 9 disallows remote root login via the SSH protocol. If you wish to allow SSH login as root via SSH, check the ‘Allow root login with password’.
Then click ‘Done’ to save the changes.
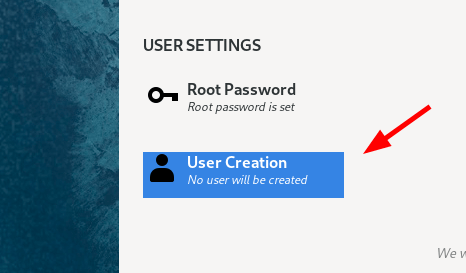
Next, click ‘User Creation’ to create a regular user account.
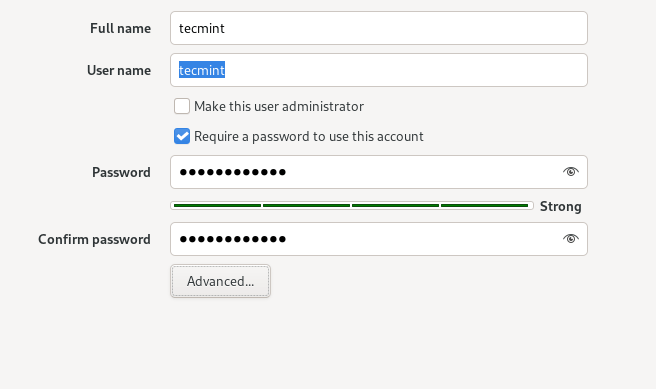
Provide the user’s full name, username, and password. As always, click ‘Done’ to save the changes.
Begin the Installation of Rocky Linux 9
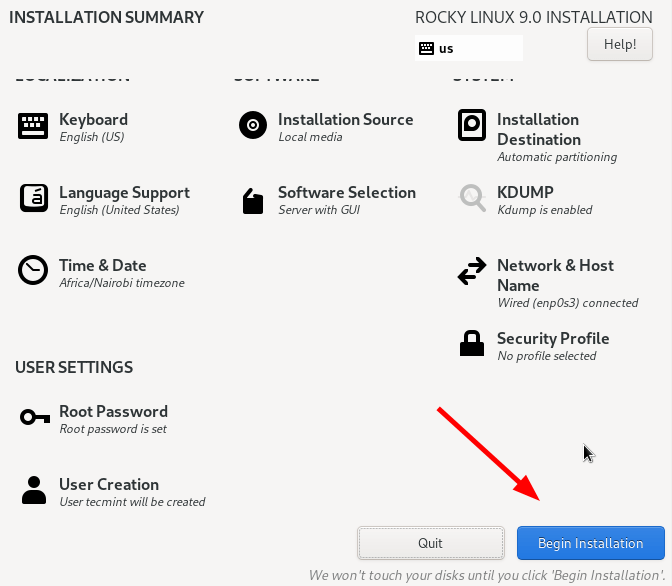
At this juncture, all the required parameters have been properly configured. You can always go back and edit the changes made in case you change your mind.
If you are satisfied with your selections, click ‘Begin Installation’ to get underway with the installation.
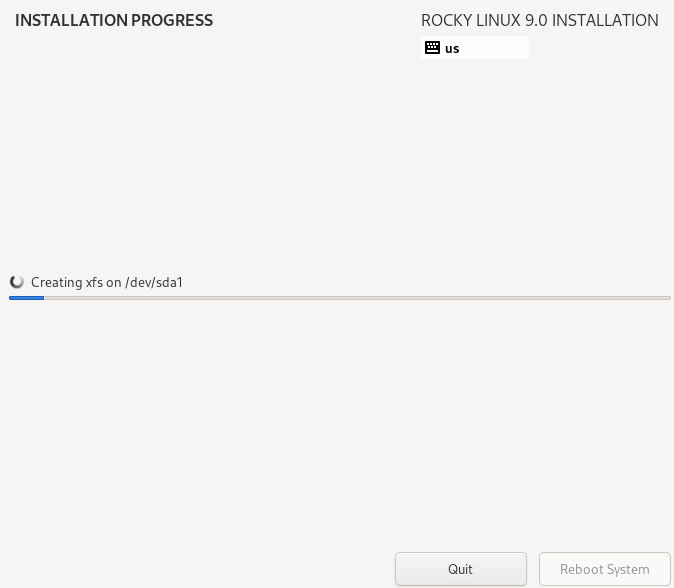
The installer displays a progress bar indicating the actions being performed. The installation takes roughly 30 minutes, and this would be an ideal moment to take a breather and grab some coffee.
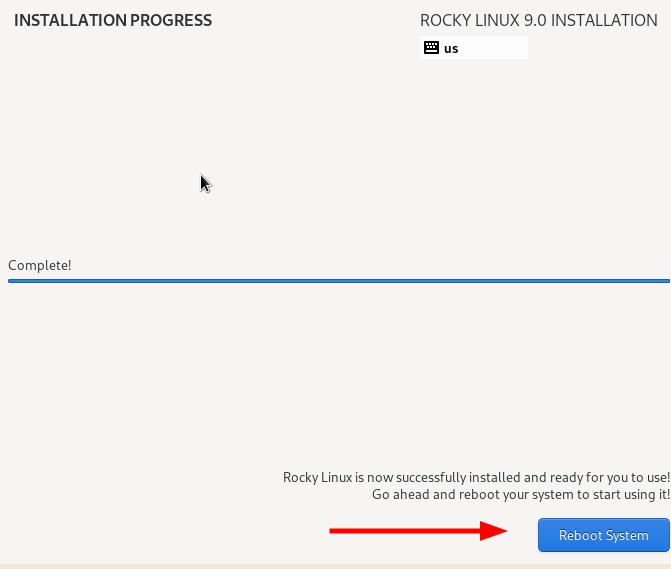
Once the installation is complete click ‘Reboot System’ so as to login into your fresh Rocky Linux 9 installation.
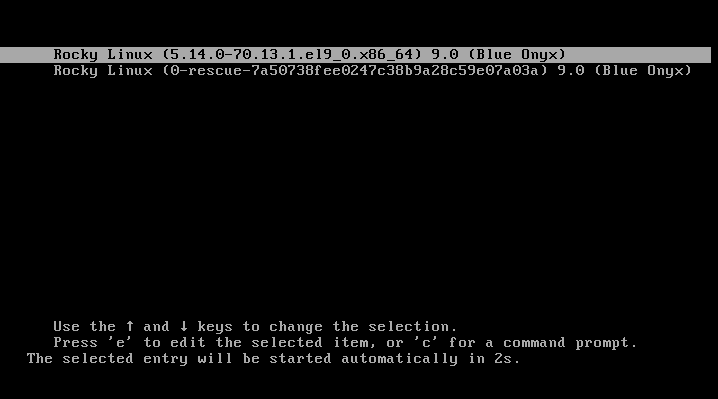
On the GRUB menu that appears, select the first option to boot into Rocky Linux.
Thereafter, click on the username tab and provide the user’s password, and hit ‘ENTER’ to log in.
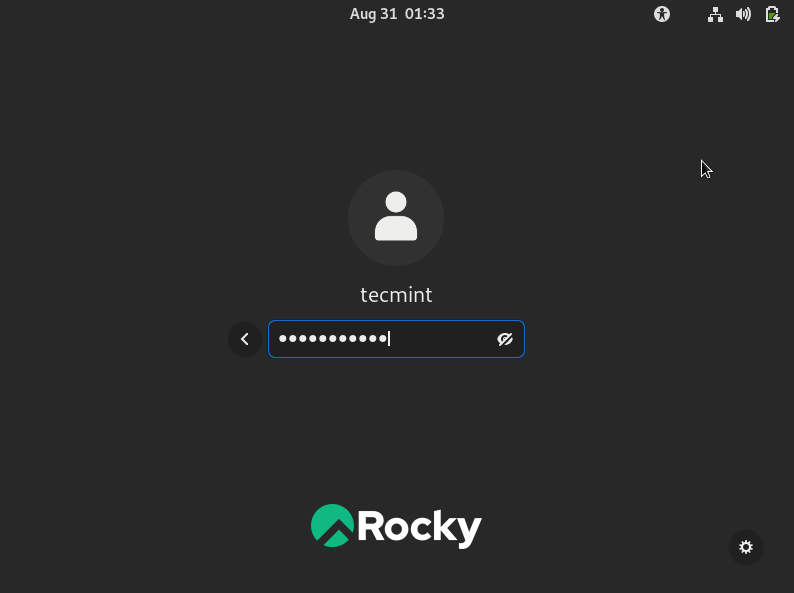
This displays the Rocky Linux 9 GNOME desktop, and a walkthrough Tour GUI will be displayed to take you through the basics of using your system. You can take the tour or decline. This is entirely up to you.
Once you have completed the Tour or declined it, the GNOME environment will be displayed in full view.
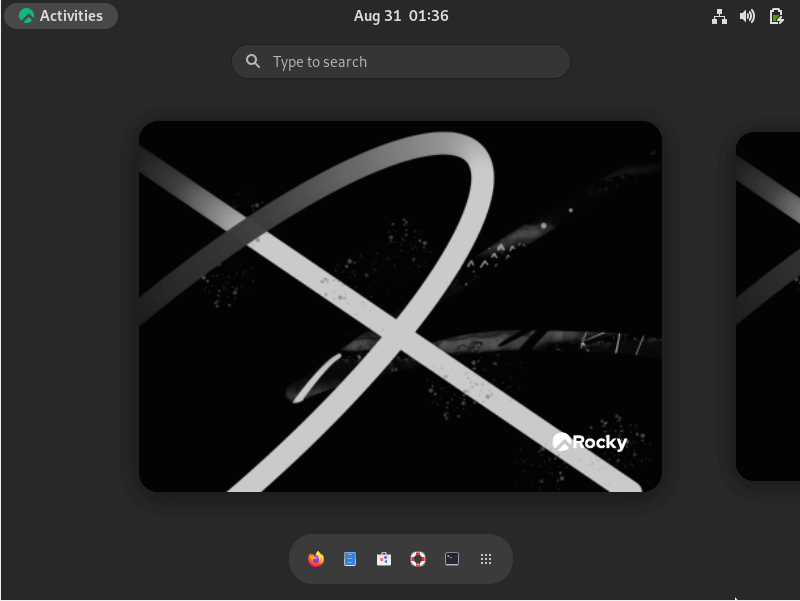
And that’s it! We have successfully installed Rocky Linux 9 step by step. Have fun as you get started with your new installation. Your feedback on this guide is welcome.