2026 Retrocomputing Challenge: USBSID-Pico Has Two SIDs, Many Inputs

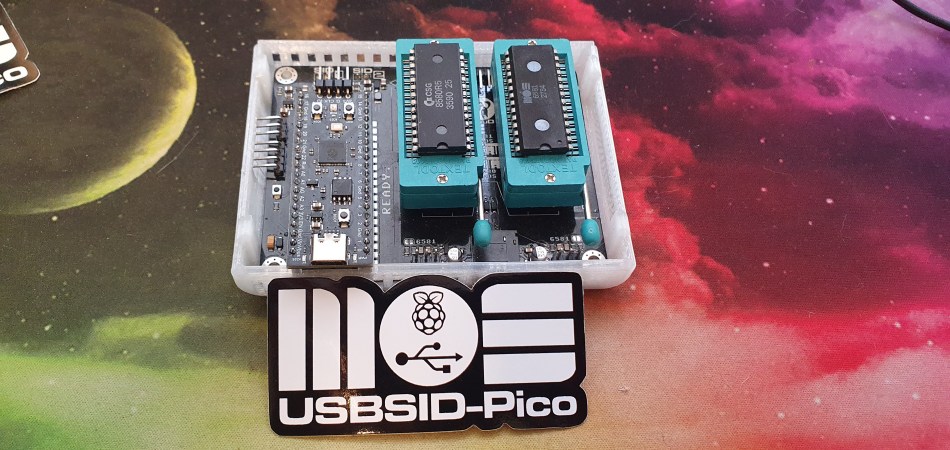
We’ll give you three guesses what the most important bits of silicon in [LouD]’s USBSID-Pico are, and two don’t count. Yes, there’s a Raspberry Pi Pico, and a pair of the unforgettable SID chips from MOS– the sound chip of the C64, the die that launched a thousand chiptunes. Well, unless you build it with a hardware SID replacement, but the goal of this device is to get SIDs hooked up to modern hardware.

To that end, USBSID-Pico can be controlled via USB– obviously– in the form of CDC/WebUSB/WebSerial but also MIDI, and even ASID, which is a specific protocol for streaming SID register data over MIDI. You might be wondering the point, since surely you can get cycle-accurate SID emulation on an RP2040, right? Well, not everyone agrees that cycle-accurate emulation is accurate enough; like the people who swear by the subtle distortions tube amplifiers introduce into the sound, some say the chip’s own inaccuracies give the sound out of the physical device a unique vibe emulators don’t match. That’s a fight for others to litigate; we just appreciate the work that went into getting these old sound chips talking to modern hardware, and getting the project certified as Open Source Hardware.

This combination of old sound and new microcontroller makes the USBSID-Pico a good entry for our ongoing retrocomputing contest, particularly the retro-modern category. Just be aware of PAL and NTSC differences with these old chips, or your beeps and boops might be out of tune. They haven’t made them in decades, but there are more than a few modern replacements for the MOS 6581.

Drum Machina Go! As A New Music Tool For The Game Boy

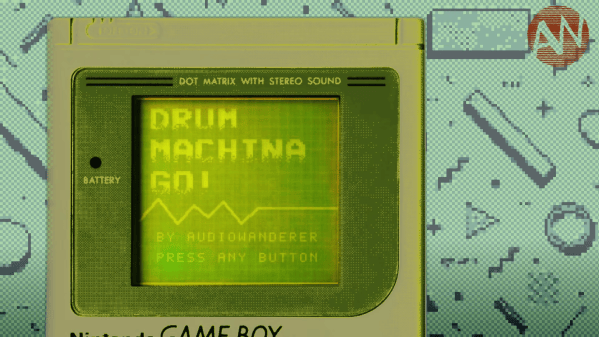
The Nintendo Game Boy is quite possibly the most popular console in the international chiptune community. You might have seen musicians cranking out tunes with LSDJ or Nanoloop, but now there’s a new option for writing bangers on the DMG. It’s Drum Machina Go!, put together by [audiowanderer].

The original Game Boy has a four-bit audio engine with two pulse channels, one waveform channel, and a noise channel. To that end, DMGo! gives you those four channels to play with, each with a 16-step sequencer. There’s also an FX section, ADSR controls, and various filtering options to make your sound juicier, richer, or grainier, depending on your taste.

There are also helpful sync options via the link port, such as for use with other Game Boys, or you can use PULSE OUT sync to hook up to your Teenage Engineering Pocket Operators or KORG Volcas if you have them. There are also fun features like the MANGLING FX which lets you decay and destroy your musical creations live by playing with the D-pad and buttons.

If you’re eager to try a new way to compose on the Game Boy, you can throw it on a flash cart or in an emulator and start tinkering away.  We’ve featured other fun Game Boy music hacks before, too, like this nifty project that turns it into a MIDI sequencer.

Continue reading “Drum Machina Go! As A New Music Tool For The Game Boy” →

Pi Pico Demos, Therefore It Is

A good demo, like [Linus Akesson]’s Sum Ergo Demonstrato, looks like magic to the average hacker. To normies who don’t know the limitations of the RP2350, they don’t see the big deal. To anyone who has spent any time with the chip, though, it’s a series of tricks you cannot help but be amazed by. Fortuanately for us, [Linus] isn’t actually a magician, because while a magician never reveals his tricks, [Linus] has an hour-long video explaining exactly how his demo was accomplished. We’ve embedded both the demo and the explanation below.

Even if you aren’t into YouTube, you should check out the demo video, and again– remember this is all on a Pi Pico with only the extra passives required for video-out. Then you can watch [Linus] explain how he did it, which is really best heard in his own words. There are a couple of bleeding-edge tricks on the RISC V core and peripherals that we would hate to misrepresent– especially the clever hack with the interpolator that he uses for 3D acceleration.

If this sounds a bit familiar, it’s because we were equally impressed by his Kaleidoscopico demo last year. From demos like this to 3D engines on the ESP32, its amazing what you can do on modern micros if you’re willing to hit the limits of the hardware.

Thanks to [Stephen Walters] for the tip!

Continue reading “Pi Pico Demos, Therefore It Is” →

Polyphonic Tunes On The Sharp PC-E500

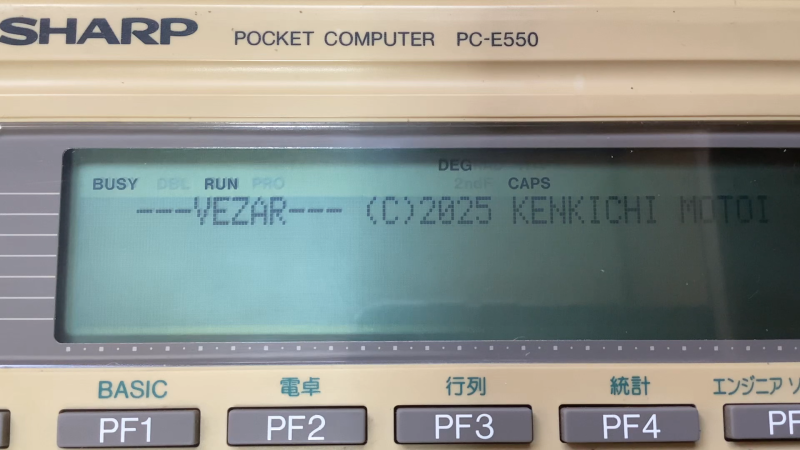
If you’re a diehard fan of the chiptune scene, you’ve probably heard endless beautiful compositions on the Nintendo Game Boy, Commodore 64, and a few phat FM tracks from Segas of years later. What the scene is yet to see is a breakout artist ripping hot tracks on the Sharp PC-E500. If you wanted to, though, you’d probably find use in this 3-voice music driver for the ancient 1993 mini-PC. 

This comes to us from [gikonekos], who dug up the “PLAY3” code from the Japanese magazine “Pocket Computer Journal” published in November 1993. Over on GitHub, the original articles have been scanned, and the assembly source code for the PLAY3 driver has been reconstructed. There’s also documentation of how the driver actually works, along with verification against RAM dumps from actual Sharp PC-E500 hardware. The driver itself runs as a machine code extension to the BASIC interpreter on the machine. The “PLAY” command can then be used to specify a string of notes to play at a given tempo and octave. Polyphony is simulated using time-division sound generation, with output via the device’s rather pathetic single piezo buzzer.

It’s very cool to see this code preserved for the future. That said, don’t expect to see it on stage at the next Boston Bitdown or anything—as this example video shows, it’s not exactly the punchiest chiptune monster out there. We’ll probably stick to our luscious fake-bit creations for now, while Nintendo hardware will still remain the bedrock of the movement.

Continue reading “Polyphonic Tunes On The Sharp PC-E500” →

10 Cent Microcontroller Makes Music

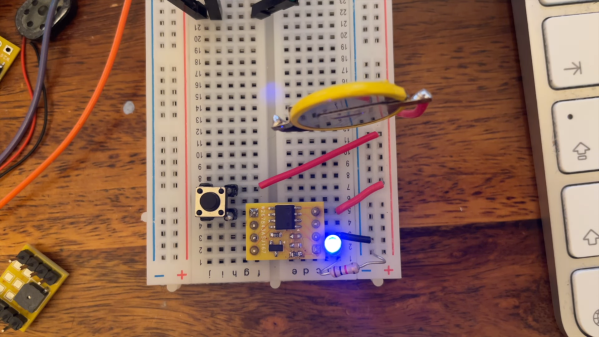
Compared to the old 8-bit Arduinos, it’s incredible how cheap modern microcontrollers like the ESP32 have become. But there are even cheaper options out there if you don’t need that kind of horsepower, and are willing to do a little work yourself, as [atomic14] demonstrates.

The CH32V003 is a dirt cheap microcontroller—which can reportedly be had for as little as 10 cents if you know where to look. It’s not the most powerful chip by any means, boasting just 16 K flash, and 2 K of SRAM. However, it is a 32-bit RISC V machine, and it does run at 48 MHz—giving it a leg up on many 8-bit parts that are still out there.

Surprisingly there aren’t a whole lot of CH32V003 products for the maker market, so if you want to play with it, you’ll probably need to spin up your own boards. [atomic14] does just that, showing us how the chip can be put to good use by turning it into a little musical trinket. It’s a fun demo, and a great way to get to grips with programming on a new microcontroller platform.

It’s hard to get more chiptune than a 10 cent chip beeping its little head off. How could possibly justify spending tens of dollars modding a Game Boy when this exists, even if it sounds like a caffeinated greeting card?

Continue reading “10 Cent Microcontroller Makes Music” →

NTRON Plays Games, Music

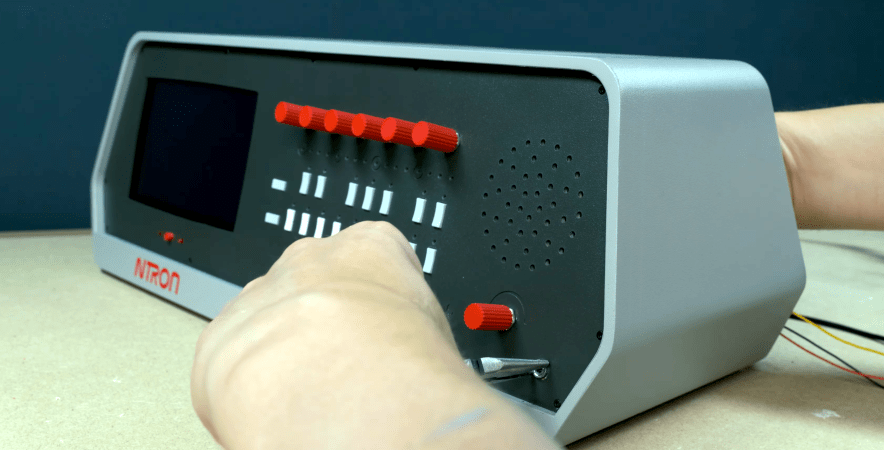
What do you get if you meld a Raspberry Pi, a chiptune synthesizer, and a case that looks like an imaginary Kenback-2000? Well, if you are [Artifextron], you get the NTRON. Part Nintendo console, part chip tune synthesizer, and part objet d’art. You can see the device do its things in the video below.

This is less of a bare metal design and more of a synthesis of parts, but it is a very clever system design using audio mixers and an assortment of modules to do its tasks. It does have an IC handling the gamepad ports. Of course, it also features a ton of 3D printed parts.

Continue reading “NTRON Plays Games, Music” →

Crossing Commodore Signal Cables On Purpose

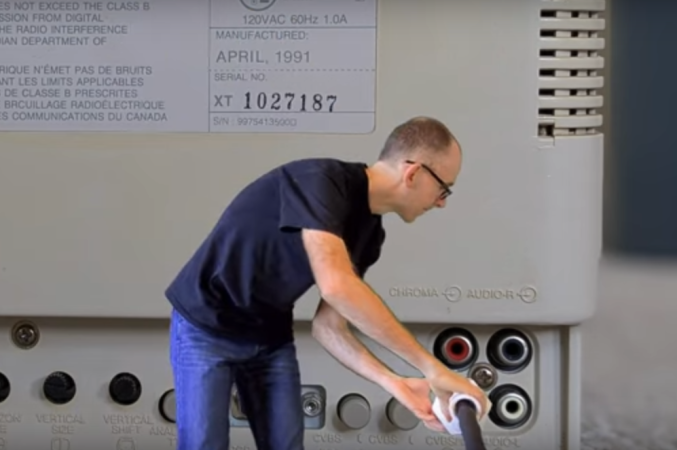
On a Commodore 64, the computer is normally connected to a monitor with one composite video cable and to an audio device with a second, identical (although uniquely colored) cable. The signals passed through these cables are analog, each generated by a dedicated chip on the computer. Many C64 users may have accidentally swapped these cables when first setting up their machines, but [Matthias] wondered if this could be done purposefully — generating video with the audio hardware and vice versa.

Getting an audio signal from the video hardware on the Commodore is simple enough. The chips here operate at well over the needed frequency for even the best audio equipment, so it’s a relatively straightforward matter of generating an appropriate output wave. The audio hardware, on the other hand, is much less performative by comparison. The only component here capable of generating a fast enough signal to be understood by display hardware of the time is actually the volume register, although due to a filter on the chip the output is always going to be a bit blurred. But this setup is good enough to generate large text and some other features as well.

There are a few other constraints here as well, namely that loading the demos that [Matthias] has written takes so long that the audio can’t be paused while this happens and has to be bit-banged the entire time. It’s an in-depth project that shows mastery of the retro hardware, and for some other C64 demos take a look at this one which is written in just 256 bytes.

Continue reading “Crossing Commodore Signal Cables On Purpose” →